

How Do You Reset the Check Engine Light on a 2013 Toyota Corolla?
Contents
- 1 Key Takeaways
- 2 📑 Table of Contents
- 3 Understanding Your 2013 Toyota Corolla’s Check Engine Light
- 4 Essential Preparation Before You Reset Anything
- 5 Method 1: The Battery Disconnect Method (The “Hard Reset”)
- 6 Method 2: The OBD2 Scanner Method (The “Clean & Professional” Reset)
- 7 Method 3: The Driving Cycle Method (Letting the Car Do It)
- 8 When to Absolutely Seek Professional Help
- 9 Preventing Future Check Engine Lights
- 10 Conclusion: A Reset is a Tool, Not a Cure
- 11 Frequently Asked Questions


Resetting the check engine light on a 2013 Toyota Corolla is a simple process, but it’s critical to diagnose and fix the underlying issue first. The light is a warning from your car’s computer that something needs attention. You can clear it temporarily by disconnecting the battery or using an OBD2 scanner, but if the problem persists, the light will return. Always retrieve the trouble codes before resetting to understand what’s wrong.
Key Takeaways
- Diagnose First, Reset Second: Never reset the light without understanding the cause. Use an OBD2 scanner to read the diagnostic trouble codes (DTCs) that triggered the light.
- The Reset is Temporary: Clearing the light does not fix mechanical or electrical problems. If the issue isn’t repaired, the light will come back, often after a few drive cycles.
- Multiple Reset Methods Exist: You can disconnect the battery, use an OBD2 scanner, or sometimes complete a specific driving cycle. The scanner method is the most reliable and does not reset other vehicle systems.
- Battery Disconnect Has Downsides: This method can reset other systems like the radio, climate control, and idle learn values, requiring a “re-learn” period for optimal performance.
- Some Issues Require a Professional: Problems with the catalytic converter, internal engine mechanics, or complex emissions systems often need a mechanic’s expertise and specialized tools to properly diagnose and repair.
- Safety First: If the check engine light is flashing, it indicates a severe problem (like a misfire) that can damage your catalytic converter. Stop driving and seek immediate professional help.
- Gas Cap is a Common Culprit: A loose, damaged, or missing gas cap is one of the most frequent reasons for a check engine light. Tighten or replace it before attempting any reset.
[FEATURED_IMAGE_PLACEHOLDER]
📑 Table of Contents
- Understanding Your 2013 Toyota Corolla’s Check Engine Light
- Essential Preparation Before You Reset Anything
- Method 1: The Battery Disconnect Method (The “Hard Reset”)
- Method 2: The OBD2 Scanner Method (The “Clean & Professional” Reset)
- Method 3: The Driving Cycle Method (Letting the Car Do It)
- When to Absolutely Seek Professional Help
- Preventing Future Check Engine Lights
- Conclusion: A Reset is a Tool, Not a Cure
Understanding Your 2013 Toyota Corolla’s Check Engine Light
That little amber light on your dashboard, shaped like an engine, can cause a lot of anxiety. On your 2013 Toyota Corolla, it’s officially called the Malfunction Indicator Lamp (MIL), but we all know it as the check engine light. Its primary job is to tell you that your car’s engine computer, the Engine Control Module (ECM), has detected a problem that could increase emissions. This light is a key part of your Corolla’s On-Board Diagnostics (OBD-II) system, a standardized system mandated in all cars sold in the US since 1996.
It’s crucial to understand what the light means. A solid, steady light indicates a non-emergency issue that should be diagnosed soon. A flashing light, however, is a severe warning. It usually means a cylinder is misfiring badly enough to potentially overheat and destroy your catalytic converter, a very expensive component. If your light is flashing, pull over safely and shut off the engine. Do not drive the car. Call for a tow or a mobile mechanic.
What Triggers the Light?
The ECM constantly monitors dozens of sensors and systems. When a reading falls outside the acceptable range, it stores a Diagnostic Trouble Code (DTC) and illuminates the light. Common triggers for a 2013 Corolla include:
- Loose or Faulty Gas Cap: This is the #1 cause. A poor seal allows fuel vapors to escape, tripping the EVAP system monitor.
- Oxygen (O2) Sensor Failure: These sensors monitor exhaust gases. A faulty one reduces fuel efficiency and increases emissions.
- Catalytic Converter Issues: Inefficiency or damage to this emissions component will trigger a code.
- Mass Air Flow (MAF) Sensor Problems: This sensor measures incoming air. A dirty or failed MAF causes poor performance and fuel economy.
- Spark Plugs/Wires or Ignition Coils: Worn components can cause misfires, leading to a solid or flashing light.
- Vacuum Leaks: Unmetered air entering the engine disrupts the air-fuel ratio.
Before you ever think about resetting the light, you must know why it came on. Resetting without repair is like turning off a smoke alarm without finding the fire. The problem will worsen, and you’ll be driving blind.
Essential Preparation Before You Reset Anything
Rushing to reset the light is a mistake. Proper preparation ensures you’re solving the right problem and not creating new ones.
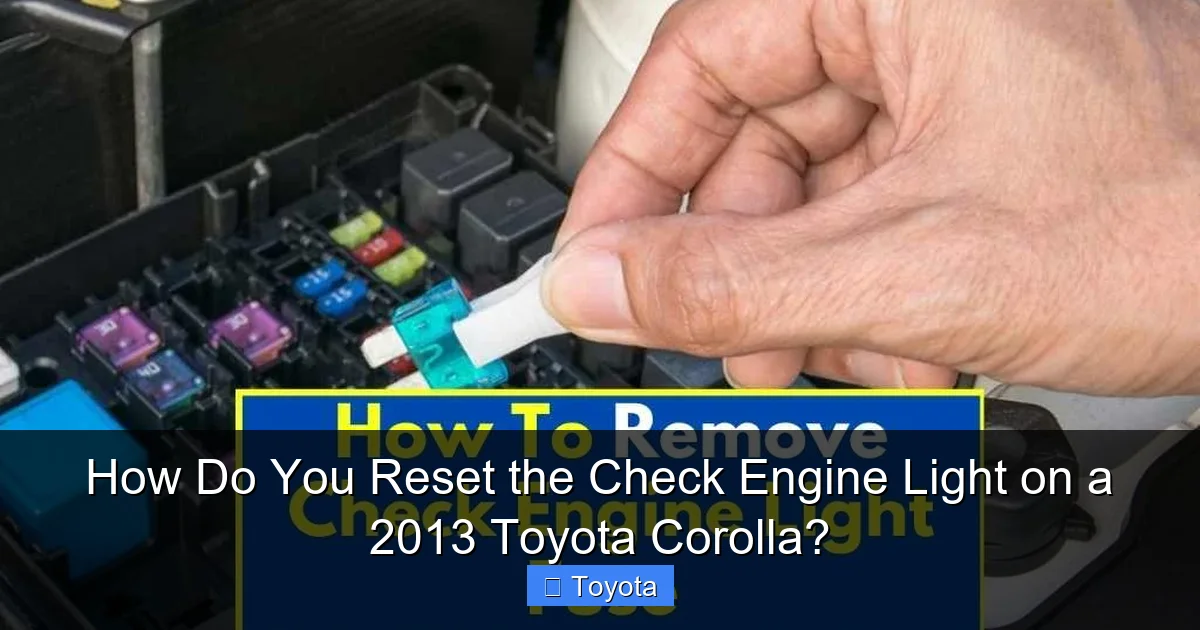
Visual guide about How Do You Reset the Check Engine Light on a 2013 Toyota Corolla?
Image source: weldingtroop.com
Step 1: Retrieve the Diagnostic Trouble Codes (DTCs)
You cannot proceed without this step. You need to know the code(s) stored in your Corolla’s computer. The easiest way is with an OBD2 scanner. You have a few options:
- Basic Code Reader ($20-$50): Plug it into the OBD2 port (under the dashboard, left of the steering column). Turn the ignition to “ON” (not start). Follow the device’s menus to read codes. It will give you a code like “P0171” or “P0420.”
- Advanced Scan Tool ($100+): These provide more data, like live sensor readings and manufacturer-specific codes.
- Smartphone Adapter + App ($15-$30): A Bluetooth or Wi-Fi OBD2 plug pairs with an app like Torque or OBD Fusion on your phone. This is a cost-effective and powerful option.
- Auto Parts Store Free Scan: Many national chains (AutoZone, Advance Auto, O’Reilly) offer free code reading as a customer service. This is a great option if you don’t own a scanner.
Once you have the code, write it down. You can look it up online for a general description. For example, P0171 is “System Too Lean (Bank 1),” often pointing to a vacuum leak or MAF issue. P0442 is “Evaporative Emission System Leak Detected (Small Leak),” frequently a gas cap problem. If you need a more detailed guide on using scanners across different models, our article on how to reset the check engine light on a Toyota Corolla covers the basics that apply to your 2013 model.
Step 2: Perform a Visual Inspection
Armed with a code, do a simple visual check under the hood and around the vehicle.
- Check the Gas Cap: Is it tight? Listen for clicks. Is the seal damaged or missing? Try tightening it firmly. If the code is an EVAP leak (P0440-P0457), replacing the cap is the cheapest and most likely fix.
- Inspect the Air Intake: Look for cracks or disconnected hoses from the air filter box to the throttle body.
- Check Engine Bay: Look for obviously disconnected electrical connectors, damaged wiring, or fluid leaks.
- Listen and Smell: A rough idle could point to a vacuum hose. The smell of raw fuel might indicate a leaking injector or fuel line.
Step 3: Address the Obvious Problems
If your inspection reveals a loose gas cap, tighten it. If you see a cracked vacuum hose, note it for replacement. You should attempt to repair the root cause before you clear the code. For many minor issues, like a loose cap, the car may clear the code itself after a few drive cycles if the problem is resolved. However, manually resetting ensures the light goes off immediately after a repair.
Method 1: The Battery Disconnect Method (The “Hard Reset”)
This is the old-school method that worked on cars before complex electronics. It will clear the check engine light and all other stored data in the ECM, effectively returning it to factory default settings. Use this method only after you have fixed the problem and cleared the codes with a scanner, or if you have no scanner and are certain the issue is resolved (e.g., you just tightened the gas cap).
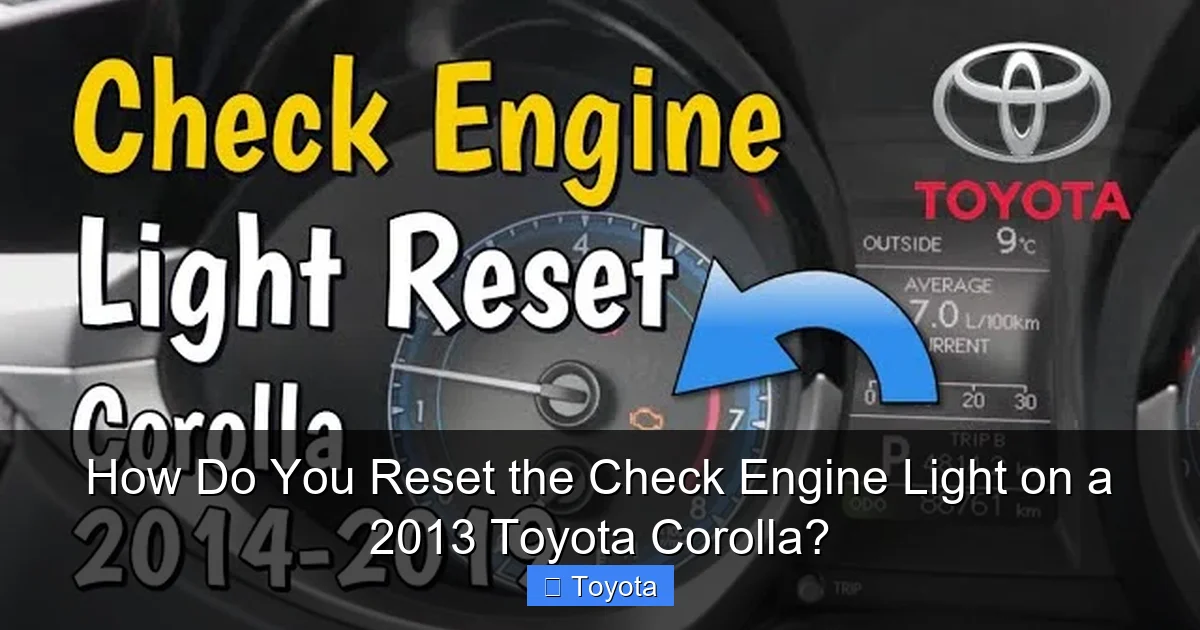
Visual guide about How Do You Reset the Check Engine Light on a 2013 Toyota Corolla?
Image source: i.ytimg.com
Step-by-Step Battery Disconnect
Warning: This process will reset your radio presets, clock, and any learned idle or transmission shift points. Your Corolla’s engine may run a bit rough for the first 10-20 minutes of driving as the ECM re-learns optimal settings. Climate control settings may also reset.
- Gather Tools: You typically need an 8mm or 10mm socket/wrench for the negative battery terminal. Have some dielectric grease or a battery terminal protector spray on hand to prevent corrosion.
- Park and Secure: Park your Corolla on a flat surface, engage the parking brake, and ensure the ignition is OFF. Open the hood.
- Locate the Battery: It’s in the engine bay, usually on the driver’s side near the firewall.
- Disconnect the NEGATIVE Terminal: Loosen the nut on the black (-) negative cable clamp. Carefully lift the clamp off the battery post. Tuck the cable away so it cannot accidentally touch the post. Do not disconnect the positive (+) terminal.
- Wait: This is the most important part. Let the car sit with the battery disconnected for at least 10-15 minutes. This ensures all residual power (and thus stored codes) drains from the ECM’s memory. Some sources recommend 30 minutes for a full reset.
- Reconnect: Re-secure the negative cable clamp to the post. Tighten the nut firmly but do not over-tighten and crack the clamp. Apply a thin layer of dielectric grease to the post and clamp to prevent future corrosion.
- Start the Car: Close the hood, start the engine. The check engine light should be off. It may illuminate briefly during startup as the system performs a self-check, but it should go out within a few seconds.
What to Expect After a Battery Reset
Your first drive will feel different. The transmission may shift harder or later as the Transmission Control Module (TCM) relearns your driving habits. The idle may be slightly high or lumpy. This is normal. Drive normally for 20-30 minutes, including some steady-speed highway driving and some stop-and-go traffic. This allows all systems to re-calibrate. The light should stay off if the original problem is truly fixed. If it returns, the issue was not resolved or a new problem has developed. For other Toyota-specific resets, such as the maintenance required light on a Corolla, the process is different and often involves a button sequence—checking our guide on resetting the maintenance light on a Toyota Avalon shows how these vary by model and year.
Method 2: The OBD2 Scanner Method (The “Clean & Professional” Reset)
This is the preferred, modern method. An OBD2 scanner can not only read and clear codes but also does so without disrupting other vehicle systems. Your radio presets and idle settings will remain intact. The process is straightforward.
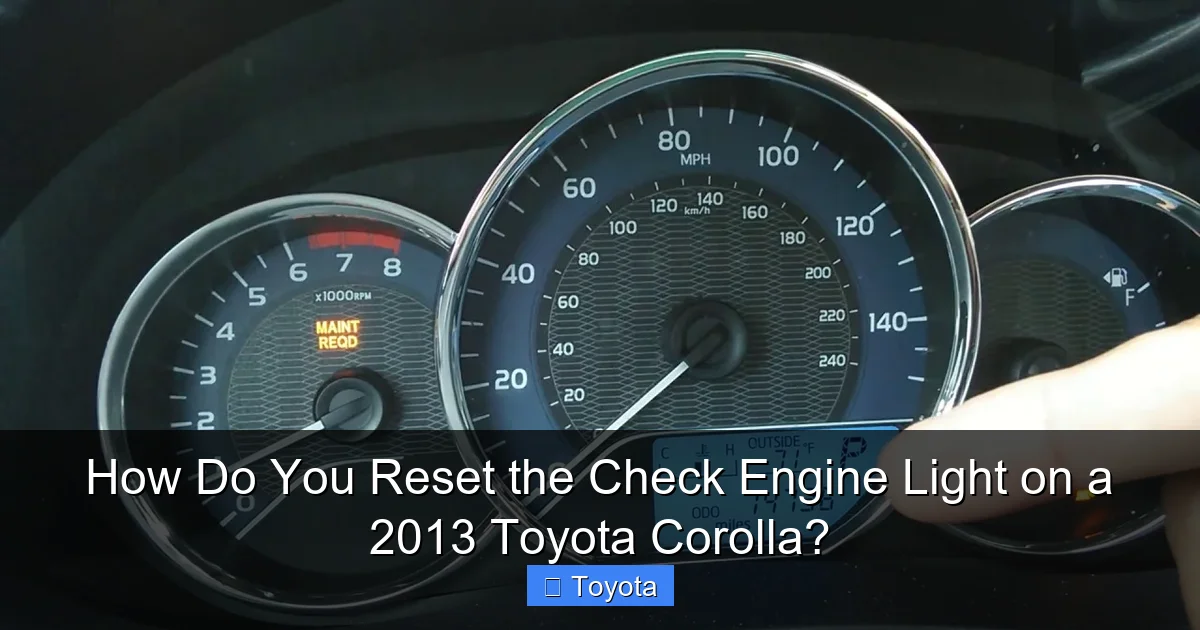
Visual guide about How Do You Reset the Check Engine Light on a 2013 Toyota Corolla?
Image source: i.ytimg.com
Using a Basic Code Reader/Cleaner
- Locate the OBD2 Port: In your 2013 Corolla, it’s under the dashboard, on the driver’s side, just above the pedals. It’s a trapezoidal-shaped 16-pin connector.
- Connect the Scanner: Plug the scanner’s cable firmly into the port. Ensure the key is in the OFF position before plugging in.
- Turn Ignition to ON: Turn the key to the “ON” or “ACC” position (the position right before starting the engine). Do not start the car.
- Power On the Scanner: Turn the scanner on. It may communicate with the car automatically. If prompted, select “OBD-II” or “Generic” as the protocol.
- Read Codes: Navigate the menu to “Read Codes” or “DTCs.” Write down all codes (e.g., P0301, P0442) and their descriptions (e.g., “Cylinder 1 Misfire Detected”).
- Clear Codes: Navigate to “Clear Codes,” “Erase Codes,” or ” MIL Off.” Confirm the action. The scanner will communicate with the ECM to erase the stored codes and turn off the light.
- Verify: The check engine light should extinguish immediately. You can now start the car. The light should remain off.
Using a Smartphone App & Adapter
The steps are similar but managed through an app.
- Plug the OBD2 Bluetooth/Wi-Fi adapter into your Corolla’s port.
- Turn the ignition to ON.
- On your phone, go to Settings > Bluetooth and pair with the adapter (for Bluetooth models).
- Open your OBD2 app (like Torque Pro).
- Select your vehicle profile (Toyota, Corolla, 2013).
- Use the app’s dashboard to read codes, then find the “Clear DTCs” or “Clear Codes” function.
Pro Tip: After clearing codes with a scanner, you must drive the car for a bit. The ECM will run its monitors to check if the problem is truly gone. If the fault recurs, the code and light will return. This is a key difference from the battery disconnect method, which also clears the “monitor status” data, forcing all systems to restart their self-tests.
Method 3: The Driving Cycle Method (Letting the Car Do It)
Sometimes, if you fix a minor issue like a loose gas cap, the check engine light will turn itself off after a specific set of driving conditions, known as a “drive cycle” or “relearn cycle.” This is the ECM’s way of verifying the repair. This method is passive and requires no tools, but it can take several days of normal driving.
Typical Toyota Drive Cycle Requirements
For your 2013 Corolla to complete its internal monitors (especially the EVAP system monitor, which is often triggered by a gas cap issue), it needs to experience a variety of conditions. A generic successful drive cycle often includes:
- Cold Start: Start the engine when it’s been off for several hours and the coolant temperature is below 122°F (50°C). Let it idle for 2-3 minutes.
- Steady Cruise: Drive at a steady speed (40-60 mph) on a highway or open road for 10-15 minutes without heavy acceleration or braking.
- City Driving: Include 5-10 minutes of stop-and-go traffic, allowing the car to come to a complete stop and accelerate normally.
- Deceleration: Coast to a stop from 40 mph without braking, then brake gently to a stop. Do this a few times.
- Engine Off: Turn the engine off and let it sit for at least 1 hour (overnight is best). This resets the cycle.
Repeat this sequence 2-3 times over a couple of days. If the original fault was truly minor and fixed (like a tightened gas cap), the light should go out on its own. You can check if the monitors have completed by using an OBD2 scanner; it will show a “Ready” or “Complete” status for each monitor (Catalyst, EVAP, O2 Sensor, etc.). If you’re curious about fuel range when other lights come on, our piece on how many miles you can drive after the gas light comes on in a Toyota Corolla provides useful context for dashboard warnings.
When to Absolutely Seek Professional Help
Not all check engine light situations are DIY-friendly. Here are clear signs you need a mechanic:
- The Light is Flashing: As stated, this is an emergency. Stop driving.
- Severe Driveability Issues: If the car is shaking violently, stalling, has no power, or is making strange noises, do not drive it. Have it towed.
- Complex Codes: Codes related to the catalytic converter (P0420, P0430), EGR system (P0400 series), or internal engine mechanics (P0300-P0304 misfires on all cylinders) often require advanced diagnostic tools and expertise.
- Multiple Codes: If you have 5-6 different codes, it could indicate a major problem like a failed ECM or a massive vacuum leak. A professional can perform a systematic diagnosis.
- You’ve Tried and Failed: You’ve fixed what you thought was the problem (e.g., replaced the gas cap, cleaned the MAF), cleared the code, but the light returns within a day or two. The problem is likely more complex or intermittent.
A professional technician uses a high-end scan tool to view live data streams (fuel trim, oxygen sensor voltages, etc.), performs voltage tests, and uses smoke machines for EVAP leaks. They can pinpoint the exact faulty component. While resetting the light is easy, a proper diagnosis is an investment in your car’s health.
Preventing Future Check Engine Lights
Once you’ve resolved the current issue and reset the light, adopt habits to keep it off.
- Regular Maintenance: Stick to your Corolla’s service schedule. Replace spark plugs, air filters, and fuel filters on time. A well-maintained engine is less likely to throw codes.
- Use Quality Fuel: Buy from reputable stations. Poor-quality or contaminated fuel can cause misfires and sensor issues.
- Don’t Ignore Minor Issues: A rough idle, decreased fuel economy, or a faint smell of gas are precursors. Address them early before they trigger a code.
- Gas Cap Care: Always tighten the cap until it clicks. Replace it if the seal is cracked or missing. It’s a cheap part that prevents a very common code.
- Battery Health: A weak or failing battery can cause voltage fluctuations that confuse the ECM, sometimes triggering a light. Have your battery tested annually, especially in a 10+ year old car like a 2013 Corolla. If you’ve had battery issues, you might also need to look into how to reset other systems; for instance, a dead battery in a Toyota sometimes requires a specific procedure to reset the battery light after a jump-start or replacement.
Conclusion: A Reset is a Tool, Not a Cure
Resetting the check engine light on your 2013 Toyota Corolla is a straightforward task with the right knowledge and tools. The battery disconnect method is a universal but blunt instrument, clearing all memory. The OBD2 scanner method is precise and preserves other settings. The driving cycle method is a test of your repair’s success. However, the most critical step always comes before the reset: diagnosis.
Your Corolla’s check engine light is a communication tool from your car’s sophisticated computer system. It’s telling you something isn’t right. By retrieving and understanding the codes, you empower yourself to make informed decisions—whether that’s a simple $20 gas cap replacement or a necessary visit to a trusted mechanic for a more serious issue. Remember, a cleared light without a repair is a temporary placebo that leaves you vulnerable to a breakdown and more costly damage down the road. Treat the light as a helpful warning, not an annoyance to be silenced. With this guide, you’re now equipped to handle it the right way.
Frequently Asked Questions
Can I just reset the check engine light without fixing anything?
Technically yes, using a scanner or by disconnecting the battery. However, this is strongly discouraged. The light will return once the car’s computer detects the problem again, usually after 1-3 drive cycles. More importantly, you risk serious engine or emissions damage by ignoring an active fault.
How long does it take for the check engine light to reset after fixing the problem?
If you use an OBD2 scanner to clear the code immediately after a repair, the light goes out instantly. If you rely on the car’s natural driving cycle, it can take 1-3 days of normal driving (including a cold start and highway cruise) for the light to extinguish on its own, provided the repair was successful.
Will disconnecting the battery reset other things in my Corolla?
Yes. Disconnecting the negative battery terminal will reset the ECM, but it will also clear your radio presets, clock, and any learned data for the idle control and automatic transmission. The car may run or shift differently for 10-20 minutes of driving as the computer re-learns optimal settings.
What if the check engine light comes back right after I reset it?
This means the underlying problem was not fixed, or a new problem has developed. The code will likely be the same or a new one will appear. You must re-scan the car to get the new code and begin a new diagnosis. Do not keep resetting it; this masks a real issue.
Do I need a special scanner for a 2013 Toyota Corolla?
No. Any standard OBD2 scanner (basic, advanced, or smartphone adapter) will work. Since 1996, all cars sold in the US use the same OBD2 port and basic protocol. However, some manufacturer-specific codes or advanced functions may require a more expensive, brand-specific tool.
Is it safe to drive my Corolla with the check engine light on?
If the light is solid and the car is running normally (no noises, smoke, or performance loss), a short trip to a repair shop is usually safe. Get it diagnosed within a few days. If the light is flashing, or if you notice severe misfiring, loss of power, or strange smells, stop driving immediately. A flashing light indicates an urgent problem that can cause catastrophic damage.


