
Graco 4Ever DLX Grad 5 in 1 Car Seat Manual: Complete Setup Guide

Quick Answer
The Graco 4Ever DLX Grad 5-in-1 is an all-in-one car seat with rear-facing, forward-facing, highback booster, backless booster, and removable seat belt trainer modes. Before installing or converting it, use the official Graco 4Ever DLX Grad instruction manual and your vehicle owner’s manual together.
Before You Install
- Check the model: Confirm the model information on your actual car seat before following instructions.
- Choose the mode: Base the mode on your child’s age, height, weight, and the manufacturer’s limits.
- Read both manuals: The car seat manual and vehicle manual contain information that must work together.
- Use one installation method: Follow the instructions for either the vehicle belt or lower anchors rather than improvising.
- Check the final fit: Test installation tightness at the correct belt path and check the child’s harness or seat-belt fit.
Important
- Do not rely on a generic 4Ever guide if its mode limits or model identification differ from your seat.
If you’re searching for the Graco 4Ever DLX Grad 5 in 1 car seat manual, the biggest mistake is assuming every Graco 4Ever works exactly the same way. The current DLX Grad adds a fifth seat-belt-training stage, so older 4-in-1 instructions can create unnecessary confusion.
As of 2026, I treat the printed model label and official manual like a vehicle’s torque specification: when online advice conflicts with them, the manufacturer’s instructions win.
In This Guide
- Where Can You Find the Graco 4Ever DLX Grad 5-in-1 Manual?
- What Are the Five Graco 4Ever DLX Grad Modes?
- How Do You Install the Graco 4Ever DLX Grad Rear-Facing?
- How Do You Install It Forward-Facing?
- How Do You Convert It to Booster or Seat Belt Trainer Mode?
- How Do You Adjust, Clean, and Check the Car Seat?
- Frequently Asked Questions
Where Can You Find the Graco 4Ever DLX Grad 5-in-1 Manual?
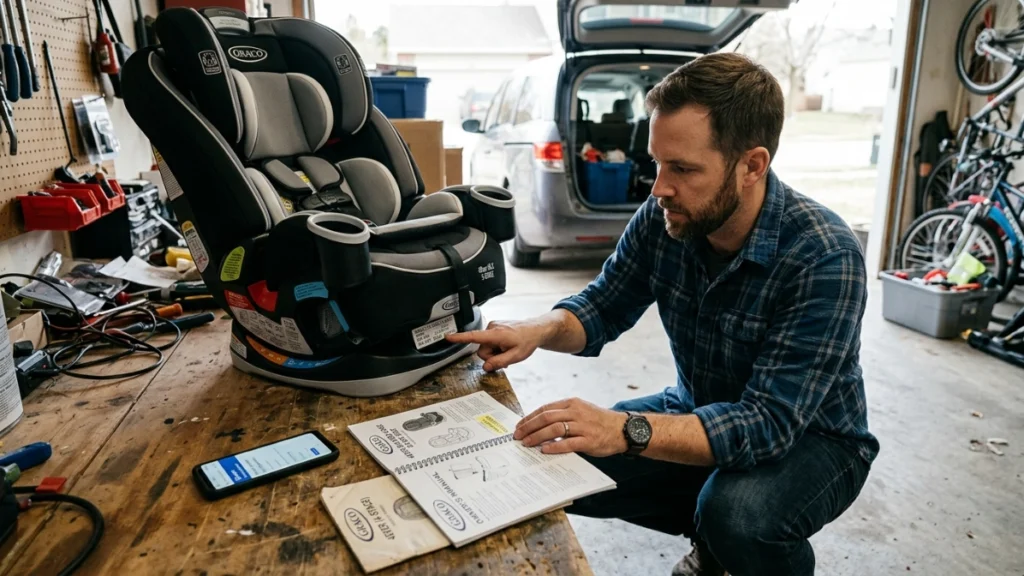
You can get the instructions through Graco’s official product-support information. The safest approach is to identify your seat first, then open the manual that matches it.
Graco’s current 4Ever DLX Grad 5-in-1 Slim product page includes an English instruction manual under its Product Instructions section.
Check the model label before using a manual
The current Graco listing I verified shows model number 2215747 for the displayed Harrison configuration. Check the label attached to your own restraint instead of assuming that number applies to every version.
Graco says product information such as the model number and manufacture date can be found on the child restraint. Those details also matter when ordering replacement parts.
- Find the model number on the seat’s manufacturer label.
- Find the manufacture date on the same or nearby label.
- Match the product name to 4Ever DLX Grad 5-in-1 rather than an older 4Ever version.
- Keep the manual accessible for future mode changes.
Do not confuse the DLX Grad with the older 4Ever DLX
Older 4Ever DLX seats are often described as 4-in-1 models. The Grad version covered here has five stages, including a removable seat belt trainer.
That extra stage is one reason I wouldn’t use a random video or secondhand PDF as the primary instruction source.
What Are the Five Graco 4Ever DLX Grad Modes?
The 4Ever DLX Grad progresses from a rear-facing harness through a seat belt trainer. However, reaching a minimum weight doesn’t automatically mean a child should graduate immediately.
The National Highway Traffic Safety Administration’s car-seat guidance recommends choosing the restraint based on the child’s age and size and keeping children within a suitable stage as long as they remain within its manufacturer limits.
| Mode | Graco Listed Weight | Height/Age Details | Restraint Used |
|---|---|---|---|
| Rear-facing harness | 4–40 lb | Head at least 1 inch below headrest adjustment handle | Built-in 5-point harness |
| Forward-facing harness | 26.5–65 lb | Up to 49 inches | Built-in 5-point harness |
| Highback booster | 40–100 lb | 43–57 inches; at least 4 years old | Vehicle lap-and-shoulder belt |
| Backless booster | 40–120 lb | 43–57 inches; at least 4 years old | Vehicle lap-and-shoulder belt |
| Seat belt trainer | 50–120 lb | 43–60 inches; at least 5 years old | Vehicle seat belt with trainer |
Graco also states that children should remain rear-facing as long as possible within the rear-facing limits. They should then remain in the forward-facing harness until they outgrow that stage.
The current product listing gives the seat a 10-year useful life from its manufacture date. Check your seat’s date label rather than counting from the day you bought it.
Section Takeaway: The five modes overlap by weight, so don’t change modes using weight alone. Check age, height, fit, maturity, and the exact manual requirements together.
How Do You Install the Graco 4Ever DLX Grad Rear-Facing?
Rear-facing installation starts with the correct recline position, belt path, and installation method. The seat should be placed in an appropriate rear seating position permitted by both manuals.
Use these as checkpoints, not as a substitute for the diagrammed instructions:
- Select rear-facing mode. Confirm your child remains within Graco’s rear-facing limits.
- Set the required recline. Use the seat’s recline system and indicator exactly as the manual directs.
- Choose an installation method. Use the vehicle belt or approved lower-anchor method according to both manuals.
- Route through the correct belt path. Never route a belt through a path intended for a different mode.
- Remove slack. Tighten the installation while keeping the seat correctly positioned.
- Test at the belt path. Check movement where the installation belt passes through the restraint.
- Harness the child correctly. Keep the straps flat and snug and position the chest clip properly.
NHTSA’s car-seat installation guidance says a properly secured seat should not move more than one inch side-to-side or front-to-back when checked at the belt path.
How should the rear-facing harness fit?
For a rear-facing child, NHTSA says the harness straps should lie flat and come through the appropriate slot at or below the shoulders. The chest clip should sit around armpit level.
Use the pinch test described in child-restraint guidance to check snugness. Bulky clothing can interfere with a secure harness fit.
- Keep straps flat rather than twisted.
- Confirm the harness position relative to the shoulders.
- Remove obvious harness slack.
- Place the chest clip at armpit level.
- Recheck fit as your child grows.
Don’t add unapproved padding, accessories, belt-routing tricks, or other modifications. A clever-looking shortcut isn’t worth departing from tested instructions.
How Do You Install It Forward-Facing?
Forward-facing installation uses the forward-facing belt path and normally adds the vehicle’s top tether. The tether is an important part of controlling forward movement in a crash.
NHTSA’s forward-facing installation instructions tell caregivers to read both manuals and use the tether with a forward-facing seat when permitted by the manufacturers.
- Confirm forward-facing eligibility. Check the child’s weight, height, and other manual requirements.
- Adjust the seat. Select a forward-facing recline position permitted by Graco.
- Choose the belt or lower anchors. Follow the exact permitted method for your child and vehicle.
- Use the forward-facing belt path. Make sure the belt isn’t accidentally routed through the rear-facing path.
- Attach the top tether. Connect it to the designated vehicle tether anchor.
- Tighten the installation. Remove slack without changing the required seat position.
- Perform the movement check. Test the seat at its belt path.
Watch the lower-anchor weight limit
Lower anchors have weight limits. A child may therefore need the seat installed with the vehicle belt before reaching the maximum forward-facing harness weight.
Check the restraint labels, Graco manual, and vehicle manual for the applicable limit. Do not assume the forward-facing harness maximum and lower-anchor maximum are the same number.
Forward-facing harness position
When forward-facing, harness straps should be positioned at or above the child’s shoulders according to NHTSA guidance. Keep them flat and snug.
The DLX Grad uses Graco’s No-Rethread Simply Safe Adjust system, which moves the headrest and harness together. That makes routine height changes easier, but you still need to check fit after each adjustment.
Section Takeaway: Forward-facing installation is more than turning the seat around. Recheck the belt path, recline, harness position, lower-anchor limits, and top tether.
How Do You Convert It to Booster or Seat Belt Trainer Mode?
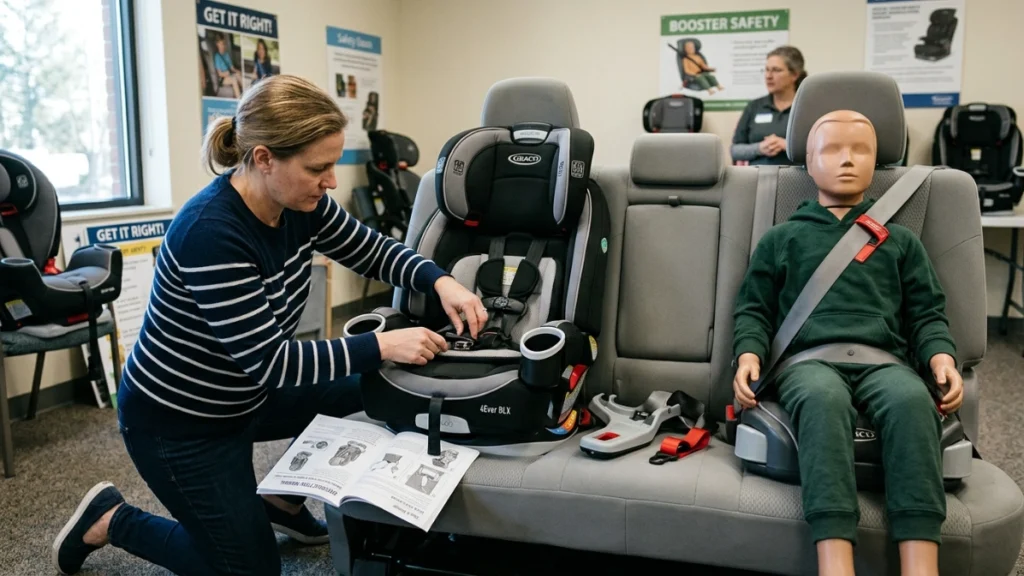
Booster mode changes how the child is restrained. Instead of relying on the built-in 5-point harness, the vehicle’s lap-and-shoulder belt restrains the child.
Follow Graco’s manual sequence for storing or removing harness-related components. Don’t invent a storage method that leaves parts interfering with the vehicle belt.
Highback booster
Graco lists highback booster use from 40 to 100 pounds and 43 to 57 inches, with a minimum age of 4 years. Meeting those minimums doesn’t mean every child is ready to sit correctly for an entire trip.
The vehicle belt should stay correctly positioned across the child’s body. Check the manual’s belt guide routing carefully.
Backless booster
The backless configuration expands the listed maximum weight to 120 pounds. Graco still lists a 43-to-57-inch height range and minimum age of 4 years for this stage.
Vehicle head support and belt geometry also matter in backless booster use. Confirm those requirements in both manuals before removing the seat back.
What does the seat belt trainer do?
The removable trainer creates the fifth stage in the DLX Grad system. Graco lists it for children from 50 to 120 pounds, 43 to 60 inches tall, and at least 5 years old.
Its job is to help route and position the vehicle belt after the booster stages. It isn’t a 5-point harness or a substitute for a vehicle belt.
- Lap belt: It should fit low across the hips or upper thighs rather than the abdomen.
- Shoulder belt: It should cross the shoulder and chest appropriately.
- Child position: The child needs to maintain the correct sitting position throughout the ride.
- Vehicle fit: Follow the vehicle manufacturer’s head-restraint and seating instructions.
How Do You Adjust, Clean, and Check the Car Seat?
The manual isn’t only for the first installation. Keep it available for harness adjustments, cleaning, mode changes, replacement parts, and troubleshooting.
Headrest and recline adjustment
Graco lists a 10-position headrest and 6-position recline on the current DLX Grad product. The correct position depends on the operating mode and child fit.
Don’t choose a recline position only because it looks more comfortable. Use a position Graco permits for the mode you’re using.
Cleaning the seat pad
Graco says the seat pad and canopy can be machine washed in cold water with gentle soap on a delicate cycle. They should drip dry, and bleach shouldn’t be used.
Cleaning the buckle
The buckle requires different care. Graco directs users to place it in warm water and gently agitate it while pressing the red button several times.
- Do not submerge the buckle strap.
- Do not use soap on the buckle.
- Do not apply detergent.
- Do not lubricate the buckle.
Cleaning the harness
Graco says to surface-clean the harness using mild soap and a damp cloth or wipes. Do not immerse the harness straps or lower-anchor strap in water.
This is one place where aggressive cleaning can cause more harm than a few stains. Follow the material-specific instructions rather than treating every removable-looking component like laundry.
Do a quick safety check after reinstalling it
- Confirm the correct operating mode.
- Confirm the correct belt path.
- Check installation tightness at the belt path.
- Check the recline or angle indicator.
- Check the harness height and snugness.
- Check the chest clip position when using the harness.
- Check the tether when forward-facing.
- Make sure no parts were left out after cleaning.
If the installation still doesn’t make sense, don’t keep experimenting. NHTSA provides access to certified Child Passenger Safety Technicians who can inspect installations and teach caregivers how to use their seats correctly.
Section Takeaway: Treat cleaning or mode conversion like a fresh installation. Once the seat goes back together, verify every routing, adjustment, and fit point again.
Frequently Asked Questions
Where can I download the Graco 4Ever DLX Grad 5-in-1 manual?
Graco provides the English instruction manual through the Product Instructions area of its official 4Ever DLX Grad 5-in-1 product page. Match the instructions to the model information printed on your own restraint before installation or conversion.
Is the Graco 4Ever DLX Grad the same as the 4Ever DLX 4-in-1?
No. The DLX Grad is marketed as a five-mode seat because it adds a removable seat belt trainer after the rear-facing, forward-facing, highback booster, and backless booster stages. Don’t assume an older 4-in-1 manual contains identical conversion instructions.
Can I use LATCH and the vehicle seat belt together?
Follow the exact installation method stated by Graco and your vehicle manufacturer. NHTSA’s general guidance directs caregivers to secure a car seat using the permitted lower-anchor method or vehicle seat belt rather than combining methods unless specifically instructed.
When should I turn the Graco 4Ever DLX Grad forward-facing?
Graco recommends keeping children rear-facing as long as possible until they reach the rear-facing height or weight limit. The current DLX Grad listing gives a rear-facing weight range of 4 to 40 pounds, but all stated fit requirements must be satisfied.
Can I machine wash the Graco harness straps?
No. Graco’s current care instructions say to surface-clean the harness with mild soap and a damp cloth or wipes. The harness straps and lower-anchor strap shouldn’t be immersed in water.
What should I do if the car seat moves more than one inch?
Recheck the belt path, locking method, slack, and installation instructions. NHTSA says a properly installed child restraint should not move more than one inch side-to-side or front-to-back when checked at the belt path.
How long can the Graco 4Ever DLX Grad be used?
Graco’s current product information says to stop using the restraint and dispose of it 10 years after the date of manufacture. Use the manufacture date printed on the actual seat rather than the purchase date to determine that point.
Final Takeaway
The Graco 4Ever DLX Grad can cover a long stretch of childhood, but its flexibility means the setup changes several times. Keep the official manual with the seat and review it whenever you change modes, move the seat to another vehicle, or reinstall it after cleaning.
Before your next drive, check the model label, confirm the correct mode, and give the installation and child fit one more inspection. Those few minutes matter more than any shortcut.
