How to Use Bmw Touch-up Paint
Contents
- 1 Key Takeaways
- 2 📑 Table of Contents
- 3 Introduction: Why Bother with Touch-Up Paint?
- 4 Understanding BMW Touch-Up Paint: What You’re Really Working With
- 5 Phase One: Meticulous Preparation – The Foundation of Success
- 6 Phase Two: The Application – Precision and Patience
- 7 Phase Three: Finishing and Blending for Invisibility
- 8 When to Walk Away: The Case for Professional Repair
- 9 Conclusion: Pride in Preservation
- 10 Frequently Asked Questions
Fixing minor scratches on your BMW with touch-up paint is a DIY skill that can save you money and keep your car looking pristine. Success depends entirely on proper preparation, precise application, and careful finishing. This guide walks you through every critical step, from identifying the right paint code to achieving a seamless blend that prevents rust.
Key Takeaways
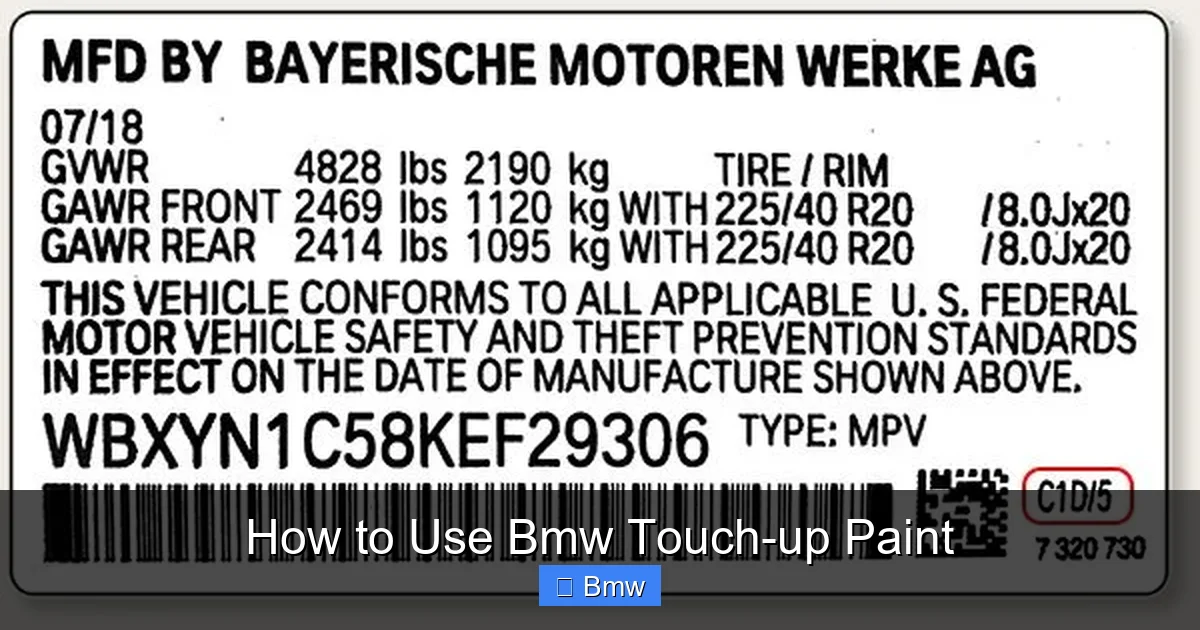
- Color Matching is Non-Negotiable: Always use your BMW’s exact paint code, found on the driver’s door jamb sticker, to order the correct touch-up paint. A mismatched color will be glaringly obvious.
- Surface Preparation is 90% of the Job: Thoroughly cleaning and decontaminating the damaged area, then carefully feathering the edges of the scratch, is more important than the paint application itself.
- Technique Over Tools: While quality brushes help, a steady hand and thin, multiple layers are the secrets to a smooth, level repair that doesn’t look like a blob of paint.
- Patience is a Required Ingredient: Rushing the drying time between coats and before applying clear coat is the #1 reason for DIY touch-up failures. Allow ample curing time.
- Know When to Call a Pro: For deep scratches that reach the bare metal or plastic, large damage, or complex curves, professional repainting is the only way to guarantee a factory-like finish.
- The Clear Coat is the Final Seal: Skipping the clear coat layer leaves your repair vulnerable to UV damage and oxidation, causing the new paint to fade and degrade quickly.
- Practice First: Always test your paint and technique on a inconspicuous area, like the inside of a wheel arch, to understand the product’s behavior before touching the visible body panel.
📑 Table of Contents
- Introduction: Why Bother with Touch-Up Paint?
- Understanding BMW Touch-Up Paint: What You’re Really Working With
- Phase One: Meticulous Preparation – The Foundation of Success
- Phase Two: The Application – Precision and Patience
- Phase Three: Finishing and Blending for Invisibility
- When to Walk Away: The Case for Professional Repair
- Conclusion: Pride in Preservation
Introduction: Why Bother with Touch-Up Paint?
You love your BMW. It’s a symbol of engineering excellence, driving pleasure, and—let’s be honest—a significant investment. So, when that first inevitable door ding, shopping cart scratch, or chip from a loose stone appears, it stings. It’s not just about aesthetics; that breach in your paintwork is an open invitation for rust to start its silent, destructive work. While a full panel repaint at a body shop is the gold standard for major damage, for those tiny, frustrating imperfections, learning how to use BMW touch-up paint is a valuable skill. It’s a cost-effective, satisfying way to maintain your car’s value and appearance without a hefty bill. This isn’t about replacing a professional job; it’s about a smart, immediate intervention that stops problems before they escalate. Think of it as first aid for your paint.
The process might seem daunting—painting a precision machine like a BMW feels risky. But with the right approach, the correct materials, and a calm, patient hand, you can achieve results that are remarkably close to flawless. The key is to shift your mindset from “painting” to “precise pigment deposition.” You’re not laying down a new coat of paint; you’re microscopically filling a defect and carefully building it back to level with the surrounding surface. This guide will demystify every step, from finding your paint code to the final buffing, ensuring your repair is durable, invisible from a few feet away, and, most importantly, protects your BMW’s bodywork for years to come.
Understanding BMW Touch-Up Paint: What You’re Really Working With
Before you buy a single brush, you need to understand what’s in that little bottle. BMW touch-up paint isn’t just one substance; it’s a miniature, three-part coating system in a tiny package. Using only part of that system is why many DIY repairs fail.
Visual guide about How to Use Bmw Touch-up Paint
Image source: res.cloudinary.com
The Trio: Base Color, Clear Coat, and Applicators
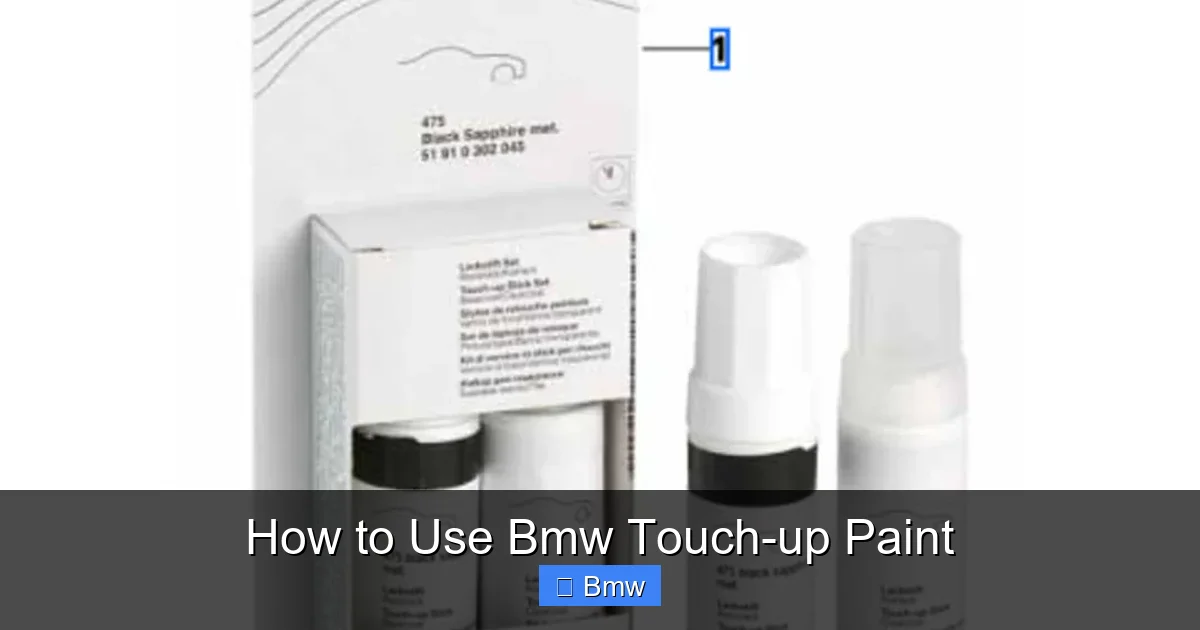
A proper BMW touch-up kit contains three essential components:
- Base Color (Lacquer): This is the pigmented paint that matches your car’s color. It’s a solvent-based lacquer, which dries very quickly. This is the layer that fills the scratch. It comes in a small bottle, often with a built-in brush or a separate fine-tip brush.
- Clear Coat (Lacquer): This is a transparent, protective layer. It provides gloss, UV protection, and chemical resistance. Applying this over the dried base color is absolutely critical. Without it, your repair will look dull, feel rough, and the color will fade rapidly in the sun. It usually comes in a separate, smaller bottle with its own applicator.
- Prep & Finishing Supplies: Quality kits include or recommend items like rubbing compound, polishing compound, and wax. These are for the final stages of blending and protecting the repair.
Some all-in-one “paint pens” combine the color and clear in one chamber. While convenient, they are notoriously difficult to control for fine work and often yield inferior results. For a BMW, investing in separate base and clear bottles with proper brushes is the recommended path.
Decoding Your BMW Paint Code
This is the most important step. Ordering the wrong paint code guarantees a failed repair. Your BMW’s factory paint code is not on the paint itself; it’s on a sticker, typically located on the driver’s side door jamb when you open the door. Look for a label that says “BMW” or has the BMW logo. You’ll see fields like “FARBE” (German for color) or “PAINT.” The code is usually a 3-digit number (e.g., 354 for Alpine White) or a 3-digit number followed by a letter (e.g., 354A). Sometimes it’s a 4-digit code. Copy this code exactly. When ordering from a BMW dealer or a reputable online supplier like BMW Original Touch-Up Paint, provide this code. Don’t guess based on your car’s name (e.g., “Melbourne Red” might have different codes for different model years). If the sticker is missing or illegible, a body shop can use a spectrophotometer to scan the paint and find the match, but that’s an extra cost.
Phase One: Meticulous Preparation – The Foundation of Success
You cannot overstate the importance of preparation. A perfectly applied paint layer over a dirty, oily, or improperly feathered surface will lift, peel, or look terrible. Dedicate 70% of your time and effort to this phase.
Visual guide about How to Use Bmw Touch-up Paint
Image source: res.cloudinary.com
Step 1: Clean and Decontaminate the Area
Start with a thorough wash of the entire panel, not just the scratch. You don’t want any surrounding dirt or wax getting into your repair. Use a dedicated car wash soap, not dish soap. Rinse completely. Then, using isopropyl alcohol (IPA) or a dedicated automotive paint prep solvent (like 3M General Purpose Adhesive Remover or a silica-based “paint prep” spray), thoroughly wipe down the area you’ll be painting and a generous border around it. This removes any last traces of wax, sealant, oils, or embedded contaminants. Use a clean, lint-free microfiber cloth for each wipe. Let the solvent evaporate completely; the surface should feel squeaky clean.
Step 2: Assess and Address the Damage
Run your fingernail lightly over the scratch. Can you feel a distinct ridge or catch? If it’s just in the clear coat, you may be able to sand and polish it out without paint. If your nail catches in the scratch and you see bare metal or plastic primer, you need paint. For deep scratches that have exposed metal, you must apply a primer first to prevent rust. Some BMW touch-up kits include a primer in a separate bottle. If not, you must purchase a compatible automotive primer (often a “self-etching” primer for bare metal). Apply a tiny dot of primer only to the bare metal areas and let it cure fully per instructions before moving to the base color.
Step 3: The Art of Feathering (Sanding)
This is the professional secret that makes a repair invisible. You need to create a smooth transition from the damaged, rough area to the surrounding, perfect paint. Using very fine sandpaper (2000 to 3000 grit) soaked in water (wet sanding), gently sand the entire damaged area and the immediate surrounding good paint. Your goal is to remove any loose paint flakes, rust, or rough edges and create a slight, gradual bevel. Sand in one direction with light pressure. The area should feel smooth to the touch and have a uniformly dull, matte appearance. Wipe clean with water and dry thoroughly. This “feathered edge” allows the new paint to blend seamlessly into the old.
Phase Two: The Application – Precision and Patience
Now, the moment of truth. Rushing here ruins everything. Work in a dust-free, well-lit area. A garage is ideal. Avoid direct sunlight, which can cause the paint to dry too fast and trap solvents.
Visual guide about How to Use Bmw Touch-up Paint
Image source: bmwaccessories.ie
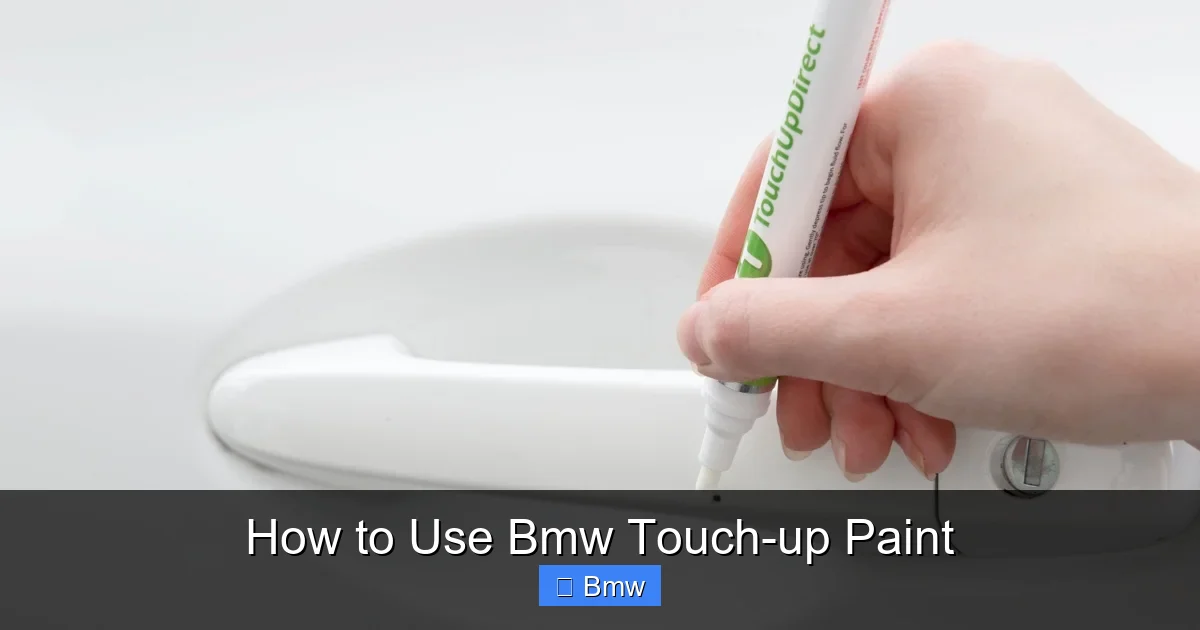
Applying the Base Color
Shake the base color bottle vigorously for 2-3 minutes. The pigment needs to be fully suspended. Using the fine brush (a 0 or 00 sable brush is best; the cheap brushes that come with kits are often too thick), dip it lightly—you want a tiny amount of paint on the bristles. It’s better to have too little and add more than to overload.
Apply the paint only to the bare or primed areas first. Use a “tapping” or “dabbing” motion. Don’t try to spread it like nail polish. Build up thin layers. For a scratch that’s mostly in the clear coat, you’re filling a very shallow groove. You’ll likely need 2-3 extremely thin coats. The first coat will look terrible and uneven—that’s normal. Let each coat dry according to the product instructions (usually 10-20 minutes to “flash” or become tacky). The final coat should just about fill the scratch level with the surrounding paint. Do not overfill! It’s easier to add another thin coat than to sand off a big blob.
The Crucial Clear Coat Layer
Once the base color is completely dry (cured—check the time, often 24 hours for full hardness, but you can apply clear after the “flash” time), shake the clear coat bottle. Using a clean, fine brush (or the one provided), apply the clear coat in the same thin, building manner. The clear coat should extend slightly beyond the edges of your base color repair (a 1/4″ overlap is good) to create a seamless protective film. Apply 2-3 thin coats, allowing proper flash time between each. The final coat should have a wet, glossy look. The clear coat will flow and level itself as it dries. Let the final clear coat cure completely. This is often 24-48 hours before any sanding or polishing. Do not skip this waiting period.
Phase Three: Finishing and Blending for Invisibility
Your repair is now a small, slightly raised island of fresh paint. The goal now is to level it with the surrounding factory paint and restore the gloss. This is where the magic happens.
Sanding the Repair Smooth
After the clear coat is fully cured (it should be rock-hard), you’ll need to sand it down. Using 1500 grit sandpaper (dry or with a little water), very gently sand the entire repaired area and its immediate border. Your goal is to remove the “orange peel” texture and the raised edge, blending the repair into the panel. Sand with light, circular motions. Keep the area wet if using wet sandpaper. You’ll see a uniform, dull, matte finish. Be careful not to sand through the clear coat into the base color. If you see the color start to dull uniformly, you’re okay. If you see a distinct spot of color, you’ve sanded too deep in that spot—stop.
Polishing and Waxing
Now, use a polishing compound and a dual-action orbital polier (or by hand with a microfiber cloth) to restore the gloss. Apply a small amount of compound to a foam pad and work it over the sanded area at a low speed. You’ll see the haze from sanding disappear and the shine return. Wipe clean. Follow with a finishing polish if needed for maximum clarity. Finally, apply a coat of wax or sealant to the entire panel to protect the new paint and blend the sheen. This final step is what makes the repair truly disappear from a normal viewing distance.
When to Walk Away: The Case for Professional Repair
Learning how to use BMW touch-up paint is empowering, but it has limits. Knowing when to stop and seek a professional is a sign of wisdom, not failure. Here are the scenarios where DIY is likely to be unsatisfactory and could even cause more harm:
- Deep Gouges to Metal: If the scratch is deep enough that you can see bare metal and the surrounding paint is cracked or flaking, a simple touch-up won’t hold. The area needs proper metal prep, possibly filler, and a full repaint of the panel to ensure durability and prevent rust.
- Damage on Complex Curves: The side of a door or a fender’s crease is one thing. Trying to blend touch-up paint on the complex, concave curve of a rear quarter panel or the sharp edge of a hood is extremely difficult. The paint will likely run or not blend, making the repair more noticeable.
- Large Areas or Multiple Scratches: If the total damaged area is larger than a few square inches, or if there are numerous scratches in close proximity, a professional blend is more efficient and will look better.
- Lack of Patience or a Dust-Free Environment: If you can’t dedicate several hours over a couple of days in a clean, controlled space, your results will suffer. Dust particles landing in wet paint are a permanent flaw.
For these situations, getting a quote from a reputable BMW body shop is the smart move. While more expensive, a professional job will include a proper assessment of underlying damage, use of professional-grade materials, and techniques like “blending into adjacent panels” that are impossible to replicate at home. You can also research how much it costs to paint a BMW to set your budget expectations for professional work.
Conclusion: Pride in Preservation
Mastering the use of BMW touch-up paint connects you more deeply to your vehicle. It transforms you from a passive owner into an active preserver of its beauty and integrity. The process teaches patience, precision, and respect for the factory finish. Remember, the goal is not perfection from six inches away, but invisibility from normal viewing distances and, more importantly, robust corrosion protection. By following this guide—respecting the preparation, embracing thin coats, and honoring cure times—you will consistently achieve repairs that are durable and discreet. You’ll save money on minor fixes, maintain your car’s resale value, and enjoy the quiet satisfaction of knowing you kept another imperfection at bay. Your BMW deserves that care. Now, go find that paint code and get started.
Frequently Asked Questions
How long should I wait between coats of touch-up paint?
Always follow the specific product’s instructions, but as a general rule, wait for the “flash” time—usually 10-20 minutes—until the previous coat is tacky but not dry to the touch. Applying a new coat to a wet surface will cause it to run. For the final clear coat, allow at least 24 hours of curing before any sanding or polishing.
Can I use touch-up paint on plastic bumper parts?
Yes, but with caution. Most BMW bumpers are plastic (often polypropylene). You must use a touch-up paint system specifically formulated for plastic, which includes a plastic adhesion promoter or primer. Standard body paint will not adhere properly and will peel. Check your kit’s compatibility.
My touch-up paint looks dull and raised. What went wrong?
The most common cause is applying the paint too thickly in one or two coats instead of many thin coats. Thick paint takes forever to cure, remains soft, and traps solvent, leading to a dull, uneven finish. Sanding it smooth with fine grit and then polishing will often salvage it, but prevention with thinner coats is best.
Do I need to wax the area after the repair is complete?
Absolutely. Once the repair is fully cured and polished, apply a coat of high-quality carnauba wax or synthetic sealant to the entire panel. This protects the new clear coat, helps blend the sheen with the surrounding paint, and provides a sacrificial layer against the elements.
What’s the biggest mistake people make when using touch-up paint?
Rushing the process, especially the curing time between coats and before final sanding. Impatience leads to disturbed wet paint, sanding through layers, and a soft, damaged final finish. Treat it like a science experiment with strict timing.
Will a touch-up repair prevent rust from forming?
Yes, if done correctly. The primary purpose of the touch-up paint and clear coat is to seal the bare metal or primer from moisture, oxygen, and road salt. A fully cured, unbroken layer of paint and clear coat is an effective rust barrier. This is why thorough surface prep and complete coverage are so vital.