What Does “check Fuel Fill Inlet” Mean on a Ford F-150?
Contents
- 1 Key Takeaways
- 2 📑 Table of Contents
- 3 Decoding the Dashboard: “Check Fuel Fill Inlet” on Your Ford F-150
- 4 Most Common Causes: From a $10 Cap to a Complex Repair
- 5 Diagnosing the “Check Fuel Fill Inlet” Warning: A Step-by-Step Guide
- 6 Model Year Nuances and Related Warnings
- 7 Can You Drive With “Check Fuel Fill Inlet”?
- 8 Repair Costs: What to Expect
- 9 Conclusion: Don’t Ignore Your F-150’s Request
- 10 Frequently Asked Questions
The “Check Fuel Fill Inlet” warning on a Ford F-150 indicates a problem with the vehicle’s Evaporative Emission Control (EVAP) system, specifically related to the fuel tank filler neck or its sealing components. It’s triggered by a sensor detecting a leak or pressure issue that could allow fuel vapors to escape. While often caused by a simple loose or faulty gas cap, it can also signal more serious issues like a damaged filler neck, cracked hoses, or a failing purge valve. Addressing it promptly is crucial to prevent failed emissions tests, reduced fuel efficiency, and potential safety hazards.
Key Takeaways
- It’s an EVAP System Alert: This warning is not about fuel level or engine trouble; it specifically points to a leak or malfunction in the sealed system that captures and reuses gasoline vapors.
- The Gas Cap is the Prime Suspect: A loose, damaged, or missing gas cap is the most common and easiest-to-fix cause of this warning.
- Multiple Components Can Trigger It: Beyond the cap, issues can include a cracked filler neck, damaged vapor hoses, a faulty purge or vent solenoid, or a compromised charcoal canister.
- Driving With It On Is Possible But Unwise: You can usually drive the truck, but you risk failing emissions tests, seeing lower MPG, and potentially triggering more severe check engine lights.
- Diagnosis Requires Specific Tools: A simple visual check comes first, but a proper diagnosis often needs a mechanic to perform a smoke test or use an advanced scan tool to pinpoint the leak.
- It May Not Set a Traditional Check Engine Light: On many F-150s, this message appears in the message center *without* illuminating the standard “Service Engine Soon” light, making it easy to miss.
[FEATURED_IMAGE_PLACEHOLDER]
📑 Table of Contents
- Decoding the Dashboard: “Check Fuel Fill Inlet” on Your Ford F-150
- Most Common Causes: From a $10 Cap to a Complex Repair
- Diagnosing the “Check Fuel Fill Inlet” Warning: A Step-by-Step Guide
- Model Year Nuances and Related Warnings
- Can You Drive With “Check Fuel Fill Inlet”?
- Repair Costs: What to Expect
- Conclusion: Don’t Ignore Your F-150’s Request
Decoding the Dashboard: “Check Fuel Fill Inlet” on Your Ford F-150
You’re cruising down the highway in your trusty Ford F-150, the V8 humming contentedly, when a new message flickers to life in your instrument cluster: “Check Fuel Fill Inlet.” Your first thought might be, “Is my gas cap off? Did I forget to tighten it?” That’s a great instinct, because that’s the culprit more often than not. But this message is your truck’s way of telling you that something in its sophisticated pollution-control system—specifically the part that handles fuel vapors at the filler neck—has detected a breach. It’s a specific, focused warning from your F-150’s onboard computer, the Powertrain Control Module (PCM), and it’s not something you should just clear and forget. In this complete guide, we’ll break down exactly what this message means, walk through the most common causes from the simplest to the most complex, and give you a clear action plan to diagnose and fix it, saving you time and money at the shop.
The Heart of the Matter: Understanding Your F-150’s EVAP System
To grasp the “Check Fuel Fill Inlet” warning, you need to understand the system it’s tied to: the Evaporative Emission Control System, or EVAP. This sealed system is a critical part of your truck’s emissions equipment. Its job is to capture gasoline vapors that naturally evaporate from your fuel tank—these vapors are harmful pollutants—and instead of letting them escape into the atmosphere, it stores them in a charcoal canister and later directs them into the engine to be burned. It’s a brilliantly simple but effective closed-loop system. The “fuel fill inlet” is the physical opening where you pump gas, including the filler neck, the cap, and the seals that connect it to the tank and vapor lines. The PCM constantly monitors the system’s pressure. If it detects a leak large enough to potentially vent vapors, it sets the diagnostic trouble code (DTC) and illuminates the message. Think of it like a tire with a slow leak; the system knows pressure is dropping where it shouldn’t.
Most Common Causes: From a $10 Cap to a Complex Repair
When that message appears, don’t panic. The solution could be incredibly simple. Here’s a hierarchy of causes, starting with the one you can check in 30 seconds.
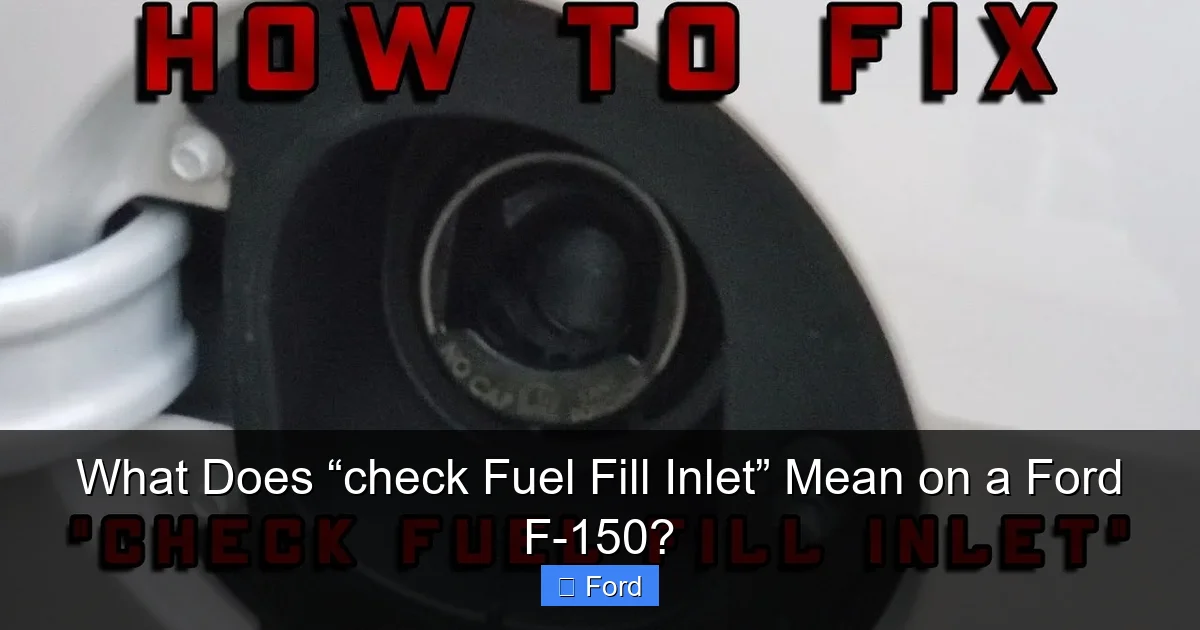
Visual guide about What Does “check Fuel Fill Inlet” Mean on a Ford F-150?
Image source: carglassadvisor.com
1. The Loose, Damaged, or Missing Gas Cap
This is the undisputed champion of “Check Fuel Fill Inlet” triggers, accounting for a massive percentage of cases. Modern F-150 gas caps are not just simple twist-on lids; they are precision sealing valves with multiple seals and a ratcheting mechanism to ensure a perfect, airtight fit. If you didn’t hear the definitive “clunk” after tightening, or if the cap’s seals are cracked, hardened, or missing, vapors will leak. Even a cap from a different vehicle or an aftermarket “universal” cap often won’t seal correctly. First Step: Remove the cap. Inspect the rubber seals on both the cap itself and the filler neck inlet for cracks, tears, or debris. Reinstall it firmly until you hear at least three distinct clicks. If the cap feels loose, wobbles, or the seals are damaged, replace it. Use only a genuine Ford cap or a high-quality OEM-spec replacement. This is the easiest and cheapest fix.
2. A Faulty or Missing Fuel Fill Inlet Seal
Behind the capless door (if your F-150 has one) or under the gas cap, there’s a large rubber or plastic seal that creates the primary barrier between the filler neck and the outside air. Over years of exposure to sun, temperature swings, and gasoline, this seal can become brittle, shrink, crack, or even fall out of its groove. A compromised seal here is a direct path for vapor leakage. Visually inspect this seal carefully. It should be pliable, intact, and seated perfectly in its channel. Any gaps, cracks, or missing pieces mean it needs replacement. This is a very common failure point on higher-mileage trucks.
3. Cracked or Disconnected EVAP Hoses
The EVAP system is a network of small, often black plastic or rubber hoses that run from the fuel tank, up the filler neck, to the charcoal canister (usually located near the spare tire or under the truck), and to the engine bay where the purge and vent valves reside. These hoses can become brittle and crack over time, especially in areas with extreme heat or cold. They can also become disconnected at their plastic connectors due to vibration or during other repairs. A quick visual inspection under the truck, around the tank, and near the canister can sometimes reveal a cracked hose or a dangling connector. Look for signs of cracking, especially on hoses that are bent or clamped.
4. Failing Purge Valve or Vent Solenoid
The system has two key electrically-controlled valves. The purge valve (often on or near the engine intake) opens to allow vapors from the canister to be sucked into the engine for burning. The vent solenoid/valve (usually near the charcoal canister) opens to allow fresh air into the canister to purge it and closes to seal the system for leak tests. If either valve is stuck open, stuck closed, or has a torn diaphragm inside, the PCM will detect an inability to maintain pressure during its self-test and trigger the warning. These valves can fail electronically or mechanically. Diagnosis typically requires a scan tool to command them on/off and listen for clicking, or a smoke test to see if they hold pressure.
5. A Saturated or Damaged Charcoal Canister
The charcoal canister is the system’s “sponge.” If it becomes saturated with liquid fuel (from overfilling the tank or a malfunctioning injector), or if the internal charcoal breaks down into dust, it can cause blockages or allow vapors to bypass. A physically cracked canister housing will also leak. This is a less common but possible cause, often accompanied by other symptoms like a strong gasoline smell or difficulty refueling (the pump nozzle constantly clicking off).
6. A Physical Crack in the Filler Neck or Tank
This is the most severe and rare cause. The metal or plastic filler neck itself could corrode or crack. More seriously, the fuel tank itself could be damaged. This is usually the result of impact damage (like hitting a curb or debris) or extreme corrosion on older trucks. If you suspect this, look for visible damage or wet spots near the tank. Repair involves tank or neck replacement, which is a major job.
Diagnosing the “Check Fuel Fill Inlet” Warning: A Step-by-Step Guide
Before you rush to a mechanic, you can perform some basic diagnostics. Remember: safety first. Do not smoke or create sparks near the vehicle.
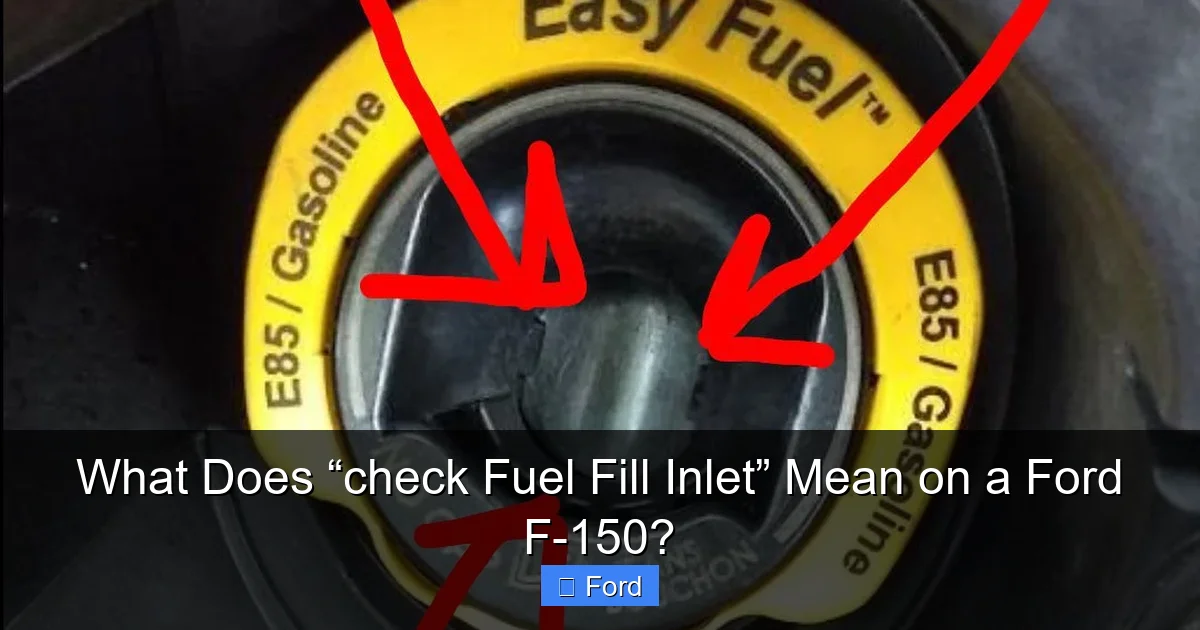
Visual guide about What Does “check Fuel Fill Inlet” Mean on a Ford F-150?
Image source: mechanictimes.com
Step 1: The Immediate Reseat and Drive Cycle
After tightening the gas cap firmly, you need to give the PCM a chance to re-test the system. This requires a specific “drive cycle.” Typically, this means driving at steady speeds above 40 mph for 10-15 minutes, then letting the vehicle idle for a few minutes. The system performs its leak check when certain conditions are met (engine warm, fuel level between 15-85%, ambient temperature within a range). Sometimes, the warning will clear itself after a successful drive cycle if the issue was a momentary loose cap. If it returns immediately or after a few drives, the leak is persistent.
Step 2: The Visual and Olfactory Inspection
Pop the hood and look around the engine bay for any disconnected or cracked hoses related to the EVAP system (they often run to the intake or firewall). Then, get under the truck (use jack stands safely!) and inspect: the charcoal canister (usually a black plastic box), all connected hoses for cracks, and the filler neck area for any signs of wetness or damage. Also, sniff around. A strong, persistent raw gasoline smell, especially when parked or refueling, is a major red flag for a significant leak.
Step 3: The Professional Smoke Test
This is the gold standard for finding EVAP leaks. A mechanic connects a specialized “smoke machine” to the EVAP system (usually via a port near the engine). The machine pumps harmless, visible smoke into the sealed system under slight pressure. Wherever smoke seeps out—be it a cracked hose, a bad seal on the cap, or a hole in the filler neck—that’s your leak. It’s quick, definitive, and non-invasive. If your basic checks don’t solve it, a smoke test is what you should pay for. It’s far more efficient than just guessing and replacing parts.
Step 4: Advanced Scan Tool Analysis
A decent OBD2 scanner can read the specific EVAP-related trouble code stored in your F-150’s PCM. Codes like P0455 (Large EVAP Leak), P0456 (Very Small Leak), P0442 (Small Leak), or P0457 (Fuel Cap Loose) give a strong hint about the leak size and location. A more advanced professional scan tool can also perform active tests—commanding the purge and vent valves to open/close—to see if they operate correctly and if the system can hold pressure. This helps isolate a valve failure from a physical leak.
Model Year Nuances and Related Warnings
While the core EVAP system is similar across modern F-150s, there are some variations. Later models (2013+) with the “capless” fuel fill system have a different internal sealing mechanism in the filler neck instead of a traditional cap. On these, the inlet seal is even more critical, and the system has a small flapper door that can also fail. You might also see this warning alongside or confused with other messages:
Visual guide about What Does “check Fuel Fill Inlet” Mean on a Ford F-150?
Image source: cdn.cartipsdaily.com
- “Check Engine” Light: Sometimes the PCM will illuminate the generic service engine light in addition to the specific message.
- “Service Engine Soon”: Synonymous with the check engine light.
- Refueling Difficulties: If the pump nozzle constantly clicks off, it’s often because the EVAP system isn’t venting properly (a clogged canister or stuck vent valve), which is directly related.
It’s also worth noting that dashboard warnings across different brands often share similar logic. For instance, a “Check AWD System” on a Toyota Highlander or a wrench light on a Honda Civic are also specific system alerts from their respective control modules, much like our Ford fuel inlet warning. They all point to a self-diagnosed fault in a specific subsystem.
Can You Drive With “Check Fuel Fill Inlet”?
Technically, yes, in most cases. The EVAP system is an emissions control system, not a primary safety system like brakes or steering. Your engine will run, and you’ll be able to drive. However, “can” does not mean “should.” Driving with an unresolved EVAP leak has consequences:
- Failed Emissions Test: This is the most immediate practical issue. Any state or local emissions inspection (smog check) will fail the EVAP portion, and you won’t be able to renew your registration.
- Reduced Fuel Economy: A compromised system can’t effectively route vapors back to the engine for combustion, meaning you’re literally letting fuel evaporate into the air instead of using it.
- Potential for More Warnings: A small leak can sometimes lead to other codes or a more general “Check Engine” light if left unaddressed.
- Safety & Environmental: You are releasing unburned hydrocarbons, a smog-forming pollutant, into the atmosphere. In extreme cases of a large leak or a saturated canister, you might also smell strong gasoline fumes, which is a fire risk.
If the warning is accompanied by severe performance issues, rough running, or a strong smell of fuel inside the cabin, stop driving and have it towed. But for a solitary message with no other symptoms, you can drive cautiously to a repair facility, but treat it as a priority appointment.
Repair Costs: What to Expect
The cost spectrum is enormous, which is why diagnosis is key:
- Gas Cap: $15 – $40 for a quality OEM-style cap. DIY in 2 minutes.
- Filler Neck Seal: $10 – $30 for the seal. Requires removing the gas cap/door and possibly some filler neck bolts. Moderate DIY for the handy.
- EVAP Hose: $5 – $20 per hose. Simple clip-on replacement if you can access it.
- Purge/Vent Solenoid: $50 – $150 for the part. Usually located in the engine bay or under the truck. DIY can be easy to moderate depending on location.
- Charcoal Canister: $80 – $250+ for the part. Often requires dropping the spare tire or accessing under the vehicle. Moderate DIY.
- Filler Neck or Tank: $300 – $1000+ for parts and labor. This is a major repair involving dropping the tank or significant bodywork.
Labor costs will add significantly if you go to a shop. A diagnostic fee ($80-$120) for a smoke test is often the best money you can spend, as it tells you exactly what to replace.
Conclusion: Don’t Ignore Your F-150’s Request
The “Check Fuel Fill Inlet” message is your Ford F-150’s precise way of communicating a specific issue. It’s a cry for help from its environmental protection system. While the fix is often wonderfully simple—just tighten or replace the gas cap—it can also be a sign of aging components that need attention. By following a logical diagnostic path, starting with the cap and seal, then moving to a professional smoke test if needed, you can solve this problem efficiently. Addressing it promptly saves you from failed inspections, poor fuel economy, and the nagging worry that a small leak could turn into a big, expensive problem. Treat this dashboard alert not as an annoyance, but as a helpful piece of information that keeps your truck running cleanly, efficiently, and in compliance with emissions regulations.
Frequently Asked Questions
Will the “Check Fuel Fill Inlet” message go away by itself?
Sometimes, if the issue was a temporary loose gas cap, the message may clear after a successful drive cycle once the system re-pressurizes and passes its self-test. However, if there is a persistent leak (cracked seal, bad hose), the warning will return and will not clear permanently until the fault is repaired and the code is reset with a scan tool.
Can I just clear the code with an OBD2 scanner and forget about it?
You can clear the code, but it’s not a fix. The PCM will run its EVAP system self-test again within a few drive cycles. If the leak still exists, the code and warning will return. Clearing it without repairing the problem is pointless and will cause you to fail any upcoming emissions test.
Is it safe to pump gas with this warning on?
Yes, it is generally safe to refuel. However, you should ensure the gas cap is tightened properly until it clicks multiple times. Be mindful not to overfill the tank (“clicking off” the nozzle is sufficient), as overfilling can saturate the charcoal canister and worsen EVAP problems.
My gas cap seems fine and tight. What’s the next most likely cause?
After verifying the cap is the correct OEM-style cap and is tightened properly, the next most common culprit is the large rubber seal around the filler neck inlet (where the cap seals). This seal dries out, shrinks, and cracks. Visually inspect it for damage. The third most common cause is a small crack or disconnect in one of the EVAP system’s vapor hoses.
Will this affect my truck’s performance or fuel economy?
You may not notice a dramatic drop in power, but fuel economy can be slightly reduced because the system can’t efficiently capture and reuse fuel vapors. More importantly, you will fail an emissions test, and there is a risk of a gasoline vapor smell, especially on hot days.
How much does it typically cost to fix at a dealership or shop?
Cost varies wildly. If it’s just the gas cap, parts are ~$30 and labor is minimal. For a more complex leak found via smoke test, parts (like a vent solenoid or hose) might be $50-$150, with 1-2 hours of labor ($100-$200/hr). A major repair like a filler neck or tank can exceed $1000. Getting a specific diagnosis first is crucial for an accurate quote.