How Do You Reset the Check Engine Light on a 2013 Toyota Rav4?
Contents
- 1 Key Takeaways
- 2 📑 Table of Contents
- 3 Understanding Your 2013 Toyota RAV4’s Check Engine Light
- 4 Step 1: The Non-Negotiable Diagnosis Phase
- 5 Method 1: The Battery Disconnect Reset (The “Hard Reset”)
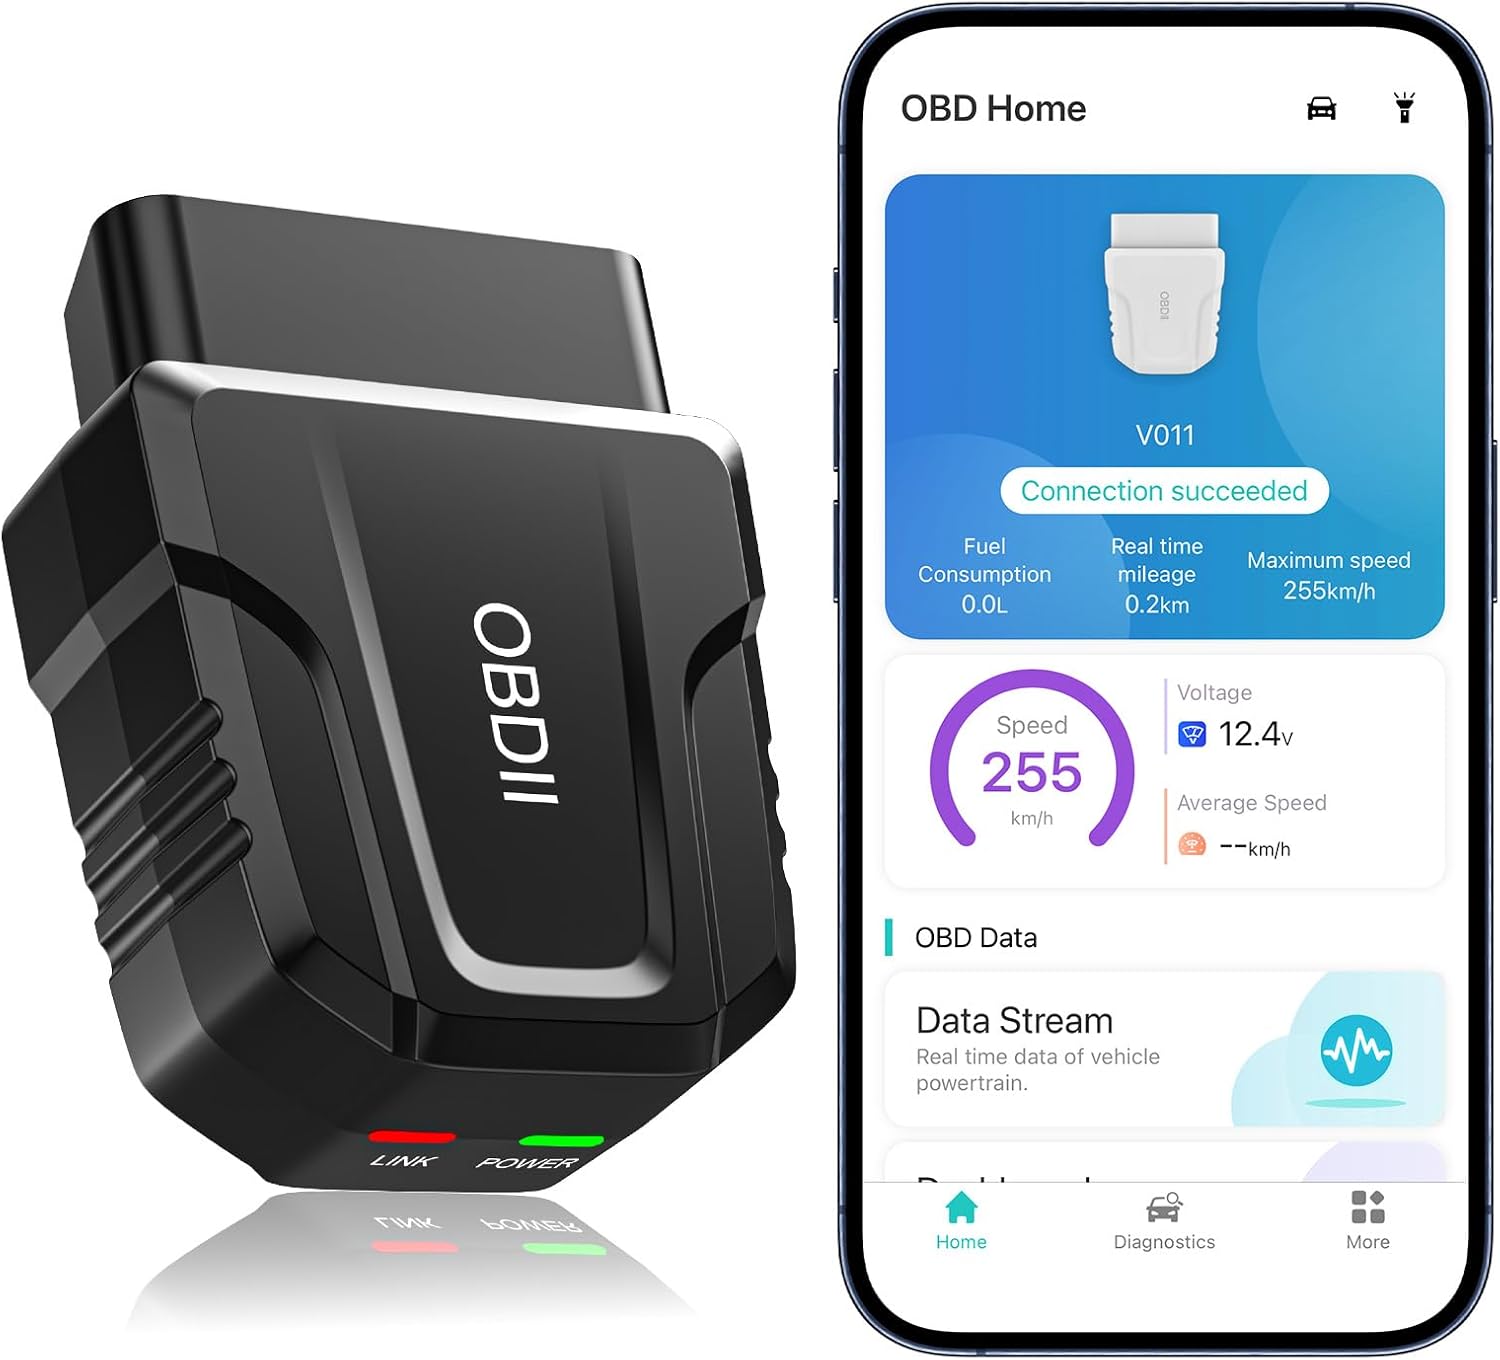
- 6 Method 2: The OBD2 Scanner Reset (The “Precision Reset”)
- 7 What to Do Immediately After Resetting the Light
- 8 Common Mistakes and Crucial Warnings
- 9 The Bottom Line: Reset is the Final Step, Not the First
- 10 Frequently Asked Questions
Resetting the check engine light on a 2013 Toyota RAV4 is a simple process, but it’s critical to understand it’s not a repair. You must first diagnose and fix the underlying problem that triggered the light; otherwise, it will return. The two primary reset methods are disconnecting the battery for a few minutes or using an OBD2 scanner to erase the codes. Never ignore a steady check engine light, and driving with a flashing light requires immediate roadside assistance.
Key Takeaways
- The check engine light is a warning, not a maintenance reminder. It indicates a problem in the emissions, engine, or transmission system that needs diagnosis.
- Always diagnose before you reset. Use an OBD2 scanner to read the trouble codes, identify the faulty component, and perform the necessary repair to prevent the light from returning.
- Two main reset methods exist: a temporary battery disconnect (which also resets other systems) and the permanent OBD2 scanner erase function.
- A reset light does not mean the problem is fixed. If the underlying issue persists, the light will come back, often after a few drive cycles.
- Safety is paramount: A flashing check engine light signals a severe problem (like a misfire) that can damage your catalytic converter. Stop driving and seek help immediately.
- Resetting may clear other adaptive data. Disconnecting the battery can reset the engine’s learned fuel trims and the radio’s presets, causing minor drivability quirks initially.
- Professional help is often wise. If you’re uncomfortable diagnosing the codes or the problem is complex, a mechanic can ensure the repair is done correctly before resetting.
📑 Table of Contents
- Understanding Your 2013 Toyota RAV4’s Check Engine Light
- Step 1: The Non-Negotiable Diagnosis Phase
- Method 1: The Battery Disconnect Reset (The “Hard Reset”)
- Method 2: The OBD2 Scanner Reset (The “Precision Reset”)
- What to Do Immediately After Resetting the Light
- Common Mistakes and Crucial Warnings
- The Bottom Line: Reset is the Final Step, Not the First
Understanding Your 2013 Toyota RAV4’s Check Engine Light
That small, glowing amber icon on your dashboard—often shaped like an engine or labeled “Check Engine”—is one of the most misunderstood features in your 2013 Toyota RAV4. It’s not a simple “service required” light like the maintenance reminder. Instead, it’s your vehicle’s primary communication tool for a wide range of potential issues, from a loose gas cap to a failing catalytic converter. When it illuminates, your RAV4’s Engine Control Module (ECM) has stored a diagnostic trouble code (DTC) and is trying to get your attention.
Before we talk about resetting it, we must establish a golden rule: you do not reset the check engine light without first diagnosing and repairing the cause. Resetting is simply the final step—erasing the code from the computer’s memory—after the problem is solved. If you reset it while the fault still exists, the light will return, usually within 50-100 miles of driving. This guide will walk you through the proper process, emphasizing diagnosis first, then the two effective methods for resetting the light on your specific model year RAV4.
Step 1: The Non-Negotiable Diagnosis Phase
You cannot skip this. The diagnostic process is what separates a responsible car owner from someone who might cause expensive damage. The 2013 RAV4 uses the universal OBD2 (On-Board Diagnostics II) system, a standard port located under the dashboard, usually just to the left of the steering column. This port is your gateway to the vehicle’s computer.
Visual guide about How Do You Reset the Check Engine Light on a 2013 Toyota Rav4?
Image source: static.cargurus.com
What You’ll Need for Diagnosis
At a minimum, you need a basic OBD2 scanner or code reader. These are widely available at auto parts stores (often with a free loaner program), Walmart, or Amazon. For a 2013 RAV4, you don’t need a top-of-the-line professional tool, but a simple reader that can retrieve and clear generic and manufacturer-specific (Toyota) codes is essential. More advanced scanners provide live data streams, which are incredibly helpful but not strictly necessary for a basic reset.
The Diagnostic Process
Plug the scanner’s connector into your RAV4’s OBD2 port with the ignition turned to the “ON” position (do not start the engine). Follow the scanner’s prompts to link to the vehicle and read the codes. You will get a code like “P0420” or “P0171.” Do not just clear it! Write down every code. Then, use a reliable source (like a repair manual, a trusted mechanic, or reputable online forums for the 2013 RAV4) to understand what that code means. For example, P0420 typically points to a catalytic converter efficiency issue, while a P0455 is a large EVAP (fuel vapor) system leak, often a loose gas cap. Fix the problem associated with the code. Only after the repair is complete should you proceed to reset the light.
Method 1: The Battery Disconnect Reset (The “Hard Reset”)
This is the classic, no-tool-required method that has worked on vehicles for decades. It works by fully draining the residual power from the ECM and other control modules, forcing them to reboot and clear any stored non-permanent codes. However, it comes with significant side effects.
Visual guide about How Do You Reset the Check Engine Light on a 2013 Toyota Rav4?
Image source: i.ytimg.com
Step-by-Step Battery Disconnect Procedure
1. Safety First: Ensure the RAV4 is parked on a level surface, the engine is off, and the parking brake is set. Gather your tools: typically a 10mm socket/wrench for the negative terminal and possibly a terminal puller. Wear safety glasses and gloves.
2. Locate the Battery: Open the hood. The battery in a 2013 RAV4 is located in the engine bay, on the driver’s side near the firewall.
3. Disconnect the Negative Terminal: Always start with the negative (black, marked with a “-” or “NEG”) cable. Loosen the clamp nut with your wrench and carefully lift the cable off the terminal post. Tuck it away so it cannot accidentally touch the post. Do not let the wrench touch any metal parts of the car while it’s on the terminal.
4. Wait: This is the crucial step. You need to wait at least 10-15 minutes. This allows all capacitors in the vehicle’s electronic modules to fully discharge. Some technicians recommend waiting 15-30 minutes for a complete reset.
5. Reconnect: Reattach the negative cable tightly to the terminal post. Tighten the nut securely.
6. Start the Vehicle: Start your RAV4. The check engine light will likely illuminate for a few seconds as the system performs its startup self-check (bulb check). This is normal. If the repair was successful and there are no new faults, the light should go out after this check cycle. If it comes back on, either the repair failed or a new problem exists.
Important Consequences of a Battery Disconnect
This method is a “sledgehammer” approach. It will reset everything electronic to factory defaults. You should be prepared for:
- Radio Presets: All your saved radio stations and possibly clock settings will be lost.
- Power Window/Auto-Down Memory: The one-touch auto-down feature for windows may need to be re-learned by the vehicle. You’ll need to raise and lower each window fully to reset it.
- Engine Idle and Drivability: The ECM’s long-term fuel trim and idle adaptation data are erased. For the first 15-30 minutes of driving, the engine may idle slightly higher or lower than normal, and acceleration might feel a bit different as the computer relearns your driving habits and the engine’s baseline. This is normal and will resolve quickly.
- Other Systems: Systems like the steering angle sensor calibration may need to be reset, which could trigger a steering wheel light. A simple straight-line drive usually re-calibrates it.
Method 2: The OBD2 Scanner Reset (The “Precision Reset”)
This is the preferred, professional method. Using an OBD2 scanner to erase codes is targeted. It only clears the stored diagnostic trouble codes and related data from the ECM, leaving your radio presets and other system memories intact.

Visual guide about How Do You Reset the Check Engine Light on a 2013 Toyota Rav4?
Image source: i.ytimg.com
Using Your Scanner to Erase Codes
After you have completed the repair for the code(s) you retrieved, reconnect your OBD2 scanner to the port under the RAV4’s dashboard.
- Turn the ignition to the “ON” position (do not start the engine).
- Follow the scanner’s menu to link to the vehicle (if it doesn’t do so automatically).
- Navigate to the main menu. You are looking for an option like “Erase Codes,” “Clear DTCs,” or “Clear Emissions Related Data.”
- Select this option. The scanner will communicate with the ECM and command it to delete the stored fault codes and the associated “freeze frame” data (a snapshot of conditions when the fault occurred).
- You should receive a confirmation message like “Codes Cleared” or “DTCs Erased.”
- Disconnect the scanner.
What to Expect After an OBD2 Reset
Start the engine. The check engine light should not illuminate. However, the ECM has now been cleared of all its learned data. The vehicle will enter a “relearning” phase. Drive the RAV4 normally for 20-30 minutes, including a mix of city and highway driving. During this time, the computer is monitoring all sensors to ensure the repair is effective and to rebuild its fuel trim maps. After this drive cycle, if no new faults are detected, the light will remain off. If the problem wasn’t fully fixed, the code (or a new, related code) will store again, and the light will return.
What to Do Immediately After Resetting the Light
Your job isn’t done when the light goes out. The period immediately following a reset is the most important for verifying your repair.
The Essential Drive Cycle and Monitoring
For the first 30 minutes of driving after a reset, pay close attention to your RAV4’s behavior. Does it idle smoothly? Is acceleration normal? Are there any strange noises, smells, or vibrations? If anything seems off, stop and re-scan for codes immediately. Do not assume the reset means all is well.
After your initial drive, perform a proper drive cycle to ensure all onboard monitors (like the oxygen sensor and catalytic converter monitors) have had a chance to run and set to “Ready.” This typically involves specific patterns of driving (cold start, steady-speed cruise, deceleration). A professional scan tool can show you the status of these monitors. If they all show “Ready” or “Complete,” your repair is likely successful. If any show “Incomplete,” the system hasn’t had the proper conditions to test that component yet.
When to See a Professional
If the check engine light returns after a reset, or if you retrieved a complex code (like multiple cylinder misfires P0300-P0304, or catalytic converter codes P0420/P0430) that you’re not 100% confident in repairing, it’s time to consult a certified Toyota mechanic or a reputable independent shop. Some issues, especially those related to the emissions system, require specialized knowledge and tools. Furthermore, if the light was flashing before you addressed the issue, that indicates a severe misfire that could have already damaged the catalytic converter, requiring a costly replacement.
Common Mistakes and Crucial Warnings
Many RAV4 owners make critical errors when dealing with the check engine light. Avoiding these will save you time, money, and potential safety risks.
Mistake 1: Resetting Without Repairing
This is the cardinal sin. As emphasized, you are merely erasing the symptom, not curing the disease. The light will return, and you’ve wasted time and potentially allowed a minor problem (like a faulty oxygen sensor) to escalate into a major one (like a ruined catalytic converter).
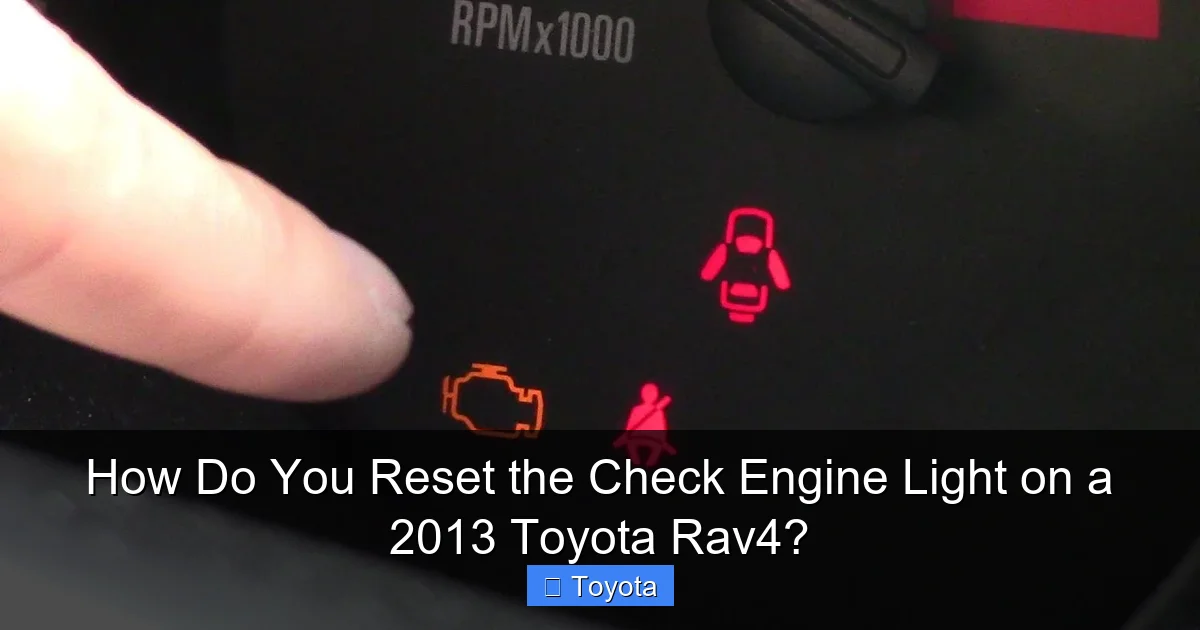
Mistake 2: Ignoring a Flashing Light
A steadily illuminated check engine light is a “soft” warning. A flashing or blinking check engine light is a “hard” emergency. It means unburned fuel is entering the exhaust system, which can overheat and destroy the catalytic converter in minutes. If your light is flashing, pull over safely, shut off the engine, and call for roadside assistance or a tow truck. Do not continue driving.
Mistake 3: Using the “Drive Cycle” Trick to Pass Emissions
Some people try to reset the light and then immediately drive to an emissions test station, hoping the monitors won’t have time to run and detect the problem. This is unethical and often ineffective. Most states’ emissions tests now check not just for a “Not Ready” status but also for the presence of any stored codes, even if the light is off. You will fail. The only way to pass is to genuinely repair the fault and allow the monitors to complete their cycles.
Mistake 4: Disconnecting the Battery on a Toyota with a Smart Key System
The 2013 RAV4 may be equipped with a smart key (keyless entry/start). Disconnecting the battery can sometimes cause the system to lose synchronization, requiring you to re-register your key fobs with the vehicle. Consult your owner’s manual first. In some cases, you may need to perform a specific sequence with the key and door locks to restore functionality after a battery disconnect.
The Bottom Line: Reset is the Final Step, Not the First
Resetting the check engine light on your 2013 Toyota RAV4 is a straightforward final step in a repair process. The battery disconnect method is free but has broader system impacts. The OBD2 scanner method is clean, targeted, and the standard for proper automotive repair. The absolute most important takeaway is this: the light came on for a reason. Your primary goal is to find and fix that reason using an OBD2 scanner and reliable repair information. Only after the fix is confirmed through a test drive should you use one of the reset methods to clear the code and extinguish the light. Treating the check engine light with this level of respect will save you from catastrophic failures, failed emissions tests, and unnecessary repair costs down the road. Your RAV4 is a reliable vehicle; give it the diagnostics it’s asking for, and it will reward you with many more miles of dependable service.
Frequently Asked Questions
Can I just disconnect the battery to turn off the check engine light?
Yes, disconnecting the negative battery terminal for 10-15 minutes will reset the ECM and turn off the light. However, this is a blunt tool that also resets radio presets, window auto-up functions, and engine adaptive data. More importantly, it does not fix the underlying problem, so the light will likely return if the fault persists.
How much does it cost to have a shop reset my check engine light?
Simply resetting the light at a shop is often free or a very small fee ($20-$50). However, a reputable shop will almost always insist on diagnosing the problem first, which typically costs $75-$150 for the initial scan and diagnosis. You are paying for their expertise to find and fix the cause, not just to clear a code.
My check engine light came on after I refueled. What should I do?
This is a classic sign of an EVAP system leak, most commonly a loose or faulty gas cap. First, ensure the cap is tightened until it clicks. Then, drive for a few days. If the light goes off on its own, the system detected the leak and sealed it. If it remains on, you need to scan for codes (likely P0455, P0456, or P0442) to find the leak source, which could be the cap, a hose, or a purge valve.
Do I need a special scanner for a 2013 Toyota RAV4?
No, you need a basic OBD2 scanner that is “OBD2 compliant.” Any scanner purchased after 2003 should work for reading and clearing generic powertrain codes. For full access to Toyota-specific codes and advanced data, you’d need a more expensive professional-grade tool, but for a simple reset after a common repair, a basic $30-$60 code reader is sufficient.
Will disconnecting the battery harm my 2013 RAV4’s computer?
No, it will not harm the computer. It is a standard procedure for resetting systems. The only “harm” is the inconvenience of having to reset your radio, clock, and possibly re-learn window positions. For vehicles with complex systems like keyless entry, there is a small chance of needing to re-sync the key fobs, but this is usually a simple process outlined in the owner’s manual.
How many miles can I drive with the check engine light on before it’s a problem?
There is no safe number. It depends entirely on the fault. A loose gas cap is low-risk. A failing oxygen sensor will hurt fuel economy and eventually damage the catalytic converter. A misfire (indicated by a flashing light) can destroy the converter in under 50 miles. The only correct answer is to diagnose the code immediately and address the problem before driving more than absolutely necessary.