
How to Reset the Check Engine Light on a 2010 Toyota Camry
Contents
- 1 Key Takeaways
- 2 📑 Table of Contents
- 3 Understanding Your 2010 Toyota Camry’s Check Engine Light
- 4 Essential Tools for Resetting the Check Engine Light
- 5 Method 1: The Battery Disconnect Technique (The Old-School Way)
- 6 Method 2: Using an OBD2 Scanner (The Professional Method)
- 7 What Happens After You Reset the Light?
- 8 When to Seek Professional Help
- 9 Conclusion: A Reset is a Tool, Not a Fix
- 10 Frequently Asked Questions
Resetting the check engine light on a 2010 Toyota Camry is a simple process, but it must be done correctly and for the right reasons. The light is a warning indicator, not a simple reminder. You should always diagnose and repair the underlying issue before clearing the code. The two primary methods are using an OBD2 scanner to clear codes or, as a last resort, disconnecting the battery. Never ignore a persistent check engine light, as it can lead to more serious and expensive damage.
Key Takeaways
- The check engine light indicates a problem: It is triggered by the engine computer (ECU) detecting an issue with the emissions, engine, or transmission system. It is not a service reminder like the maintenance light.
- Diagnose before you reset: The most critical step is to read the stored diagnostic trouble codes (DTCs) to understand *why* the light is on. Resetting without fixing the root cause is pointless and dangerous.
- Two main reset methods exist: The professional method uses an OBD2 scanner to clear codes. The alternative method involves disconnecting the negative battery terminal for a few minutes to reset the ECU’s memory.
- Battery disconnect has side effects: This method will also reset other vehicle systems like the radio presets, power window settings, and climate control memories. It may also require a throttle body re-learn procedure.
- The light may come back immediately: If the repair was not successful or the problem is intermittent, the check engine light will illuminate again after a short drive as the system re-detects the fault.
- Some codes require professional tools: Certain manufacturer-specific codes or those for complex systems like the hybrid system (if applicable) may require a high-end scanner or a dealership-level tool to properly diagnose and reset.
- Safety first: A flashing check engine light indicates a severe misfire that can damage the catalytic converter. Stop driving the vehicle immediately and have it towed for repair.
📑 Table of Contents
- Understanding Your 2010 Toyota Camry’s Check Engine Light
- Essential Tools for Resetting the Check Engine Light
- Method 1: The Battery Disconnect Technique (The Old-School Way)
- Method 2: Using an OBD2 Scanner (The Professional Method)
- What Happens After You Reset the Light?
- When to Seek Professional Help
- Conclusion: A Reset is a Tool, Not a Fix
Understanding Your 2010 Toyota Camry’s Check Engine Light
That small, glowing icon on your dashboard—often shaped like an engine with the words “Check Engine” or a generic “Service Engine Soon” message—is one of the most misunderstood features in your 2010 Toyota Camry. It’s not a polite suggestion; it’s your car’s direct line of communication, screaming that something under the hood isn’t right. For many drivers, the immediate impulse is to find the quickest way to make it go away. But before we dive into the “how,” we must firmly establish the “why” and the “what.”
The check engine light, officially called the Malfunction Indicator Lamp (MIL), is part of your Camry’s On-Board Diagnostics II (OBD-II) system. Since 1996, all cars sold in the U.S. have had this standardized system. Its primary job is to monitor the performance of engine, transmission, and emissions-related components. When a sensor or system operates outside of its predetermined parameters, the ECU stores a specific Diagnostic Trouble Code (DTC) and illuminates the light to get your attention. It’s a vital emissions control and engine protection feature.
What the Light Actually Means
The behavior of the light itself provides crucial clues. A steady, solid illumination means a non-emergency fault has been detected. Your car is likely still drivable, but you should schedule a diagnosis soon. A flashing or blinking light, however, is a severe emergency. It typically indicates a catastrophic engine misfire that is dumping unburned fuel into your catalytic converter. Driving even a short distance in this condition can cause thousands of dollars in damage by overheating and melting the converter’s internal substrate. If your light is flashing, pull over safely and shut off the engine. Do not attempt to reset it. The vehicle needs immediate professional attention.
Common Triggers for the Check Engine Light
While hundreds of codes can trigger the light, some are notoriously common on the 2010 Camry’s 2.5L 4-cylinder (2AR-FE) or 3.5L V6 (2GR-FE) engines. A loose or faulty gas cap is the #1 culprit—it breaks the sealed fuel system, allowing vapors to escape. Other frequent offenders include:
- Oxygen (O2) Sensor failures: These monitor exhaust gases. A failing sensor reduces fuel economy and increases emissions.
- Mass Air Flow (MAF) Sensor issues: This sensor measures incoming air. Contamination or failure causes poor running, stalling, and reduced power.
- Catalytic Converter efficiency codes: Often a symptom of a prior, unaddressed problem like a misfire or bad O2 sensor.
- Evaporative Emission (EVAP) system leaks: Related to the fuel vapor system, often from a bad purge valve or vent solenoid.
- Misfire codes (P0300-P0304/P0306): Can be caused by spark plugs, ignition coils, fuel injectors, or vacuum leaks.
You must identify the specific code to know what you’re dealing with. Resetting the light without addressing a P0171 (System Too Lean) code will just bring the light back in minutes.
Essential Tools for Resetting the Check Engine Light
Assuming you’ve already diagnosed the issue and completed the necessary repairs—or you’re dealing with a one-time glitch you’ve verified is resolved—you need the right tools to clear the code and reset the light. There are two paths: the professional electronic way and the crude mechanical way.
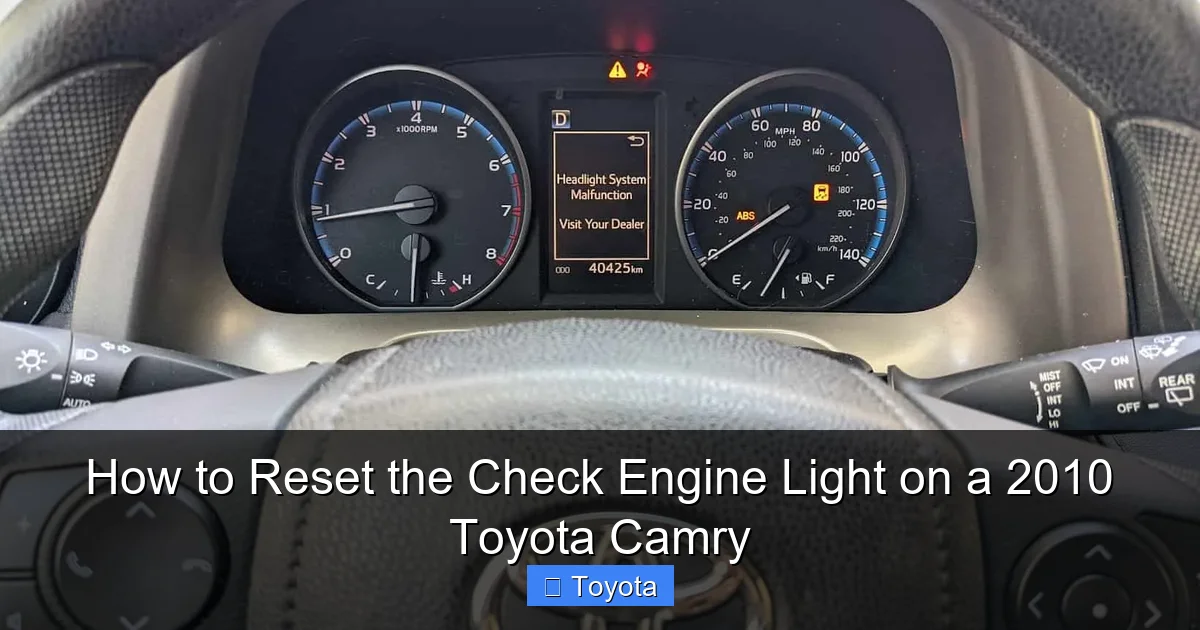
Visual guide about How to Reset the Check Engine Light on a 2010 Toyota Camry
Image source: youcanic.com
The OBD2 Scanner: Your Best Friend
This is the correct, recommended method for any modern vehicle. An OBD2 scanner plugs into the Data Link Connector (DLC) under your Camry’s dashboard, typically on the driver’s side. You don’t need an expensive, professional-grade tool. A basic, affordable code reader from any auto parts store (often with a free loaner program) will suffice for reading and clearing generic OBD2 codes. More advanced “enhanced” scanners are needed for manufacturer-specific codes and system tests, but for a simple reset after a common repair, a basic tool is perfect. It’s fast, doesn’t mess with other vehicle settings, and is the only way to confirm the codes are truly gone.
The Basic Tool Approach: Wrench and Patience
The alternative is a simple 10mm socket and wrench (or pliers). This method involves resetting the ECU by disconnecting the battery’s negative terminal. It’s a “hard reset” that clears all temporary memory, including the check engine light codes. However, this is a sledgehammer approach. It will also reset your radio presets, clock, power seat memory, and learned transmission shift points. On some vehicles, it may require a throttle body re-learn procedure or cause rough idle until the ECU re-adapts. We only recommend this if you have absolutely no access to a scanner and understand the collateral effects. It’s also a temporary fix if the underlying problem persists; the light will return once the system re-detects the fault during its self-tests.
Method 1: The Battery Disconnect Technique (The Old-School Way)
Let’s walk through the battery disconnect method step-by-step. Remember: only use this if you have already repaired the issue and cannot access a scanner, or as a last resort to clear a persistent, unexplained light after verifying no active faults exist.
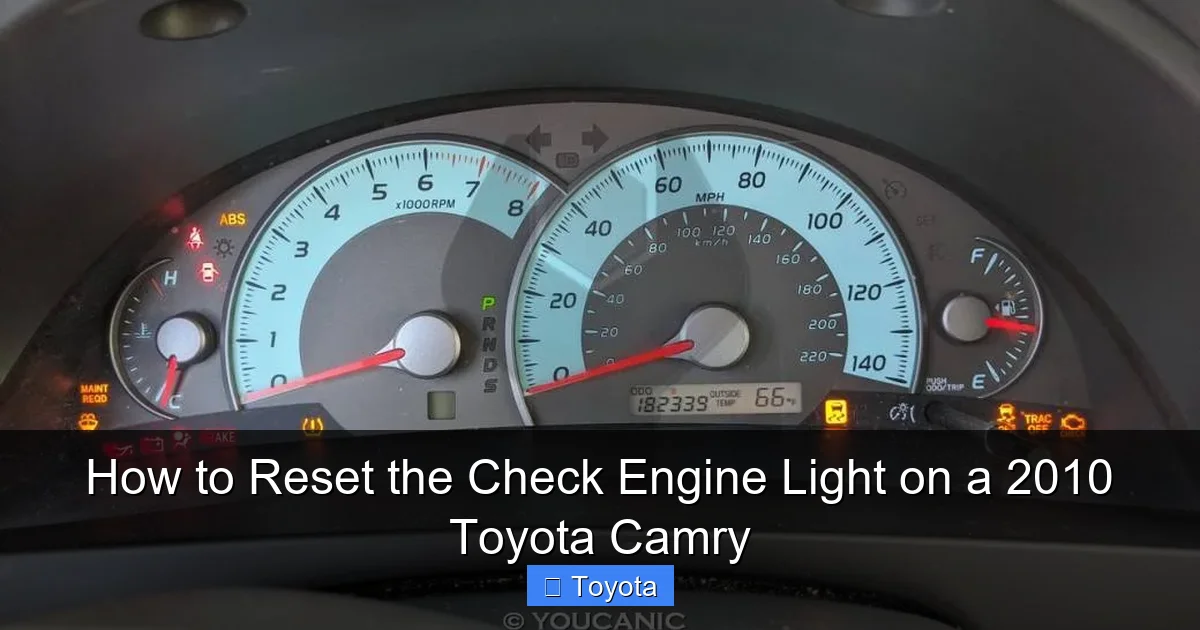
Visual guide about How to Reset the Check Engine Light on a 2010 Toyota Camry
Image source: youcanic.com
Step-by-Step Battery Reset Procedure
- Safety First: Ensure the car is parked, turned off, and the parking brake is set. Have your keys away from the vehicle to prevent any accidental electrical draws.
- Locate the Battery: Open the hood. The battery in a 2010 Camry is located in the engine bay, near the front on the driver’s side.
- Identify Terminals: Identify the negative (-) terminal, which is connected to the black battery cable and usually marked with a black cover or a minus (-) symbol. The positive (+) terminal is red.
- Disconnect the Negative Cable: Using a 10mm socket or the appropriate wrench, loosen the nut on the negative terminal clamp. Once loose, carefully lift the clamp off the terminal post. Tuck the cable aside so it cannot accidentally touch the terminal. Do not let the positive and negative cables touch each other.
- Wait: Let the battery remain disconnected for at least 10-15 minutes. This allows the ECU’s capacitors to fully discharge, clearing its volatile memory. Some sources suggest longer, but 15 minutes is generally sufficient.
- Reconnect: Reattach the negative cable clamp to the terminal post and tighten the nut securely. Do not overtighten, but ensure it’s snug and corrosion-free.
- Close Up and Start: Close the hood. Start the car. The check engine light should be off. However, it may illuminate again within a few drive cycles if the problem persists.
Important Precautions Before You Start
Disconnecting the battery on your 2010 Camry can cause more than just radio presets to vanish. You should be prepared for:
- Radio Anti-Theft Code: Your stereo may require a unique code to reactivate. This code is often found in your owner’s manual or on a card provided when you bought the car. If you don’t have it, you may need to contact a dealership.
- Power Window & Sunroof Re-Calibration: The one-touch up/down feature for windows and the sunroof may stop working. You’ll need to perform a re-initialization procedure (usually involves holding the switch in the full up/down position for a few seconds). Consult your manual.
- Throttle Body Re-Learn: Some models, especially with electronic throttle control, may experience a high idle or stalling immediately after a battery disconnect. This is because the ECU has “forgotten” the throttle plate’s learned position. Often, a few minutes of idling and gentle driving will allow it to re-learn. If the issue persists, a specific re-learn procedure using a scanner may be required.
- Automatic Transmission Shift Points: The transmission control module also loses its learned shift strategy. Shifts may feel harsh or unusual for the first 20-30 miles of driving until it adapts to your driving style again.
Given these hassles, the battery disconnect method is truly a last resort. Whenever possible, use an OBD2 scanner.
Method 2: Using an OBD2 Scanner (The Professional Method)
This is the clean, efficient, and recommended way to reset your Camry’s check engine light. It targets only the engine/emissions codes and leaves all your personal settings intact.
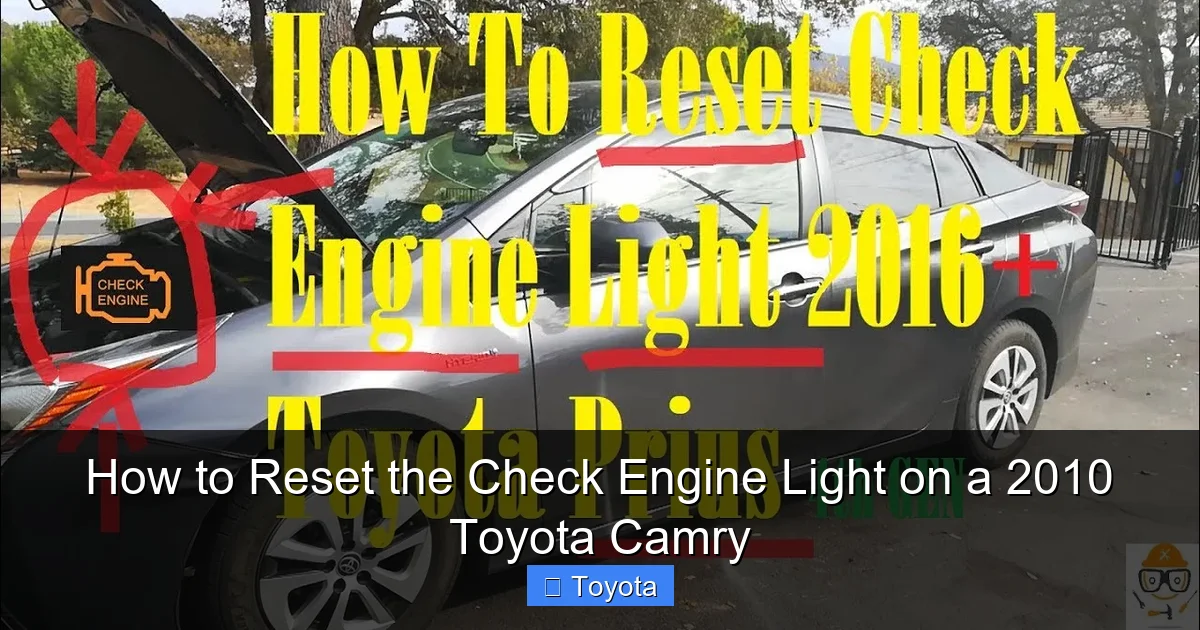
Visual guide about How to Reset the Check Engine Light on a 2010 Toyota Camry
Image source: i.ytimg.com
Connecting and Reading Codes
First, locate the OBD2 Data Link Connector (DLC). It’s a trapezoidal, 16-pin connector located under the dashboard, to the left of the steering column, usually behind a small plastic cover. With the ignition in the “ON” position (engine off, key turned to run or push the start button twice without pressing the brake), plug your scanner’s cable into this port. The scanner should power on.
Turn the scanner on and navigate through its menus. Select “Read Codes” or “Diagnose.” The tool will communicate with your Camry’s ECU and display any stored codes. These codes are alphanumeric, like “P0420” or “P0441.” Write these down! They are your diagnosis. A quick internet search for “2010 Toyota Camry P0420” will tell you it’s a “Catalyst System Efficiency Below Threshold.” This step is non-negotiable for proper repair. If you clear codes without fixing the problem, the light will return, and you’ve wasted your time.
Clearing the Codes Properly
Once you have completed the necessary repairs (replaced the bad O2 sensor, fixed the EVAP leak, tightened the gas cap), it’s time to clear the codes. On your scanner, navigate to the “Erase Codes,” “Clear Codes,” or “Reset MIL” function. The scanner will ask for confirmation. Confirm the action. The scanner will send a command to the ECU to erase the stored DTCs and turn off the check engine light.
After clearing, turn the ignition off for a few seconds, then back on. The light should be extinguished. Start the engine. It should remain off. Now, you must perform a “drive cycle” to allow the ECU’s monitors to run and verify the repair is holding. This typically involves a specific sequence of driving conditions (cold start, steady highway speed, deceleration, etc.). Your scanner may have a “Monitor Status” or “I/M Readiness” menu. After the drive cycle, all or most monitors should show “Complete” or “Ready.” If a monitor is “Incomplete” or a code returns, your repair was not successful. For a detailed look at how these systems work across different models, you might find our article on resetting the check engine light on a Toyota Corolla helpful, as the fundamental OBD2 principles are identical.
What Happens After You Reset the Light?
You’ve cleared the codes. The light is off. You’re done, right? Not so fast. The reset is just the end of one phase and the beginning of another: verification.
The Drive Cycle and Readiness Monitors
Your Camry’s computer doesn’t just believe the problem is fixed because you cleared a code. It needs to run a series of internal tests, called “readiness monitors,” to confirm all systems are operating within spec. These include tests for the catalytic converter, oxygen sensors, EVAP system, and secondary air system. Each monitor must complete and show a “Pass” or “Ready” status. This is what states use during emissions testing (smog checks). If your monitors aren’t ready, you will fail the test even with no light on.
A drive cycle is a specific driving pattern that ensures all conditions for these tests are met. It usually involves:
- A cold start (engine coolant temp below 122°F).
- Steady cruising at 40-55 mph for several minutes.
- A deceleration with no pedal input for a period.
- Stop-and-go city driving.
- A complete engine-off cooldown period.
The exact sequence for your 2010 Camry can be found in the factory service manual. Using an OBD2 scanner with a “Readiness Monitor” function is the best way to track progress. Drive normally for 50-100 miles, then re-check the monitor status.
When the Light Returns: Next Steps
If, after a successful drive cycle, the check engine light comes back on, it means one of two things: either the original repair was not performed correctly or completely, or there is a new, separate problem. The first thing to do is re-read the codes. Are they the same code? That points to a failed repair. Is it a different code? You have a new issue to diagnose. For example, you might have fixed an EVAP leak (P0442) only to have a failing MAF sensor (P0101) pop up next. This is why the “reset” is not a cure-all—it’s merely a tool in the diagnostic and repair process. If the same code returns immediately after a repair you were confident about, it’s time to reconsider your work or seek a second opinion.
When to Seek Professional Help
While resetting the light is a simple button-press or bolt-turn, the diagnostic journey that should precede it is often where DIYers hit a wall. Knowing when to put the tools down and call a pro is a sign of a smart car owner.
Signs You Need a Mechanic
Seek professional help if:
- The check engine light is flashing. This is an emergency.
- You read codes but cannot interpret them or determine the necessary repair.
- You perform a repair (e.g., replace spark plugs), clear the code, and the same code returns immediately.
- The vehicle is exhibiting serious symptoms like severe misfiring, loss of power, strange noises, or smoke from the exhaust.
- You need to diagnose complex codes related to the transmission (P07xx series), airbag (which has a separate light), or advanced emissions systems.
- Your scanner cannot communicate with the vehicle or only shows “No Link.”
A professional technician has access to high-end scan tools, factory wiring diagrams, technical service bulletins (TSBs), and years of experience. They can perform advanced diagnostics like using a live data stream to see sensor values in real-time, performing voltage tests, and conducting smoke tests for EVAP leaks. This expertise is invaluable for elusive, intermittent problems. For other Toyota-specific service reminders, like the maintenance required light, the process is different and often simpler; our guide on resetting the maintenance required light on a Toyota covers that specific procedure.
The Cost of Ignoring the Problem
Perhaps the biggest mistake is resetting the light and then simply ignoring it. A steady check engine light is your car’s way of saying, “Hey, something’s wrong, and if you don’t fix it, it will get worse and cost more.” A small, inexpensive problem like a faulty MAF sensor can, if left unchecked, lead to a lean fuel condition that overheats and damages the catalytic converter—a part that can easily cost $1,500 or more to replace. Ignoring an EVAP code can lead to fuel vapor leaks, which are both an environmental hazard and a fire risk. That $50 diagnostic fee at a shop is cheap insurance against a catastrophic failure. The light is your friend; it’s giving you a chance to fix a small problem before it becomes a write-off.
Conclusion: A Reset is a Tool, Not a Fix
Resetting the check engine light on your 2010 Toyota Camry is a straightforward task with the right knowledge and tools. The preferred method is always using an OBD2 scanner to clear the codes after a proper repair. The battery disconnect method works but comes with significant side effects and should be a last resort. The most important lesson is this: the light is a symptom, not the disease.
Your focus should never be on simply making the light go out. Your focus should be on listening to what your car is telling you. Read the codes, diagnose the root cause, and perform the correct repair. Only then should you use the reset function to turn off the warning. By following this disciplined approach, you protect your investment, maintain your Camry’s reliability and fuel economy, ensure it passes emissions testing, and drive with genuine peace of mind. A well-maintained 2010 Toyota Camry is a testament to Toyota’s engineering longevity—treat its warning systems with respect, and it will reward you with many more miles of dependable service.
Frequently Asked Questions
Will resetting the check engine light fix the problem?
No. Resetting the light only erases the stored error code. It does not repair the faulty sensor, leaking hose, or broken component that caused the light to come on. The underlying problem must be diagnosed and fixed; otherwise, the light will simply return.
How long does it take for the check engine light to reset itself after a repair?
It doesn’t reset itself. After a repair, the computer must complete its internal “readiness monitors.” This typically requires a specific drive cycle of 50-100 miles of mixed driving (including highway and city). Once all monitors show “Ready,” and no faults are detected, the light will turn off. You usually have to manually clear the code with a scanner after the repair.
Can I drive my 2010 Camry with the check engine light on?
It depends. A steady light means a non-emergency fault. You can drive cautiously to a safe location for diagnosis, but prolonged driving could worsen the problem or damage the catalytic converter. A flashing light means a severe misfire. Stop driving immediately and have the vehicle towed, as continued operation can destroy the catalytic converter.
What if I reset the light and it comes back on right away?
This means the problem was not fixed correctly, or the repair failed. It could also indicate a new, separate issue. Re-scan the vehicle to read the new or returning codes. The same code returning points to an incomplete repair. A different code means a new problem has developed.
Do I absolutely need an OBD2 scanner to reset the light?
No, you can disconnect the negative battery terminal for 10-15 minutes to reset the ECU. However, this method is crude, erases all vehicle settings (radio, windows, etc.), and may cause idle/performance issues until the ECU re-learns. It also doesn’t tell you what the problem was. Using a scanner is the clean, professional, and recommended method.
Is it safe to just tighten the gas cap and reset the light if I suspect that’s the issue?
Yes, a loose or faulty gas cap is a very common cause of an EVAP system code (like P0440, P0441, P0455). Tighten the cap until you hear several clicks. Then, drive the car for a few drive cycles. If the light was triggered solely by a loose cap, it should turn off on its own after the system re-pressurizes and passes its test. If it doesn’t, the cap may be defective or there is a larger leak in the EVAP system that needs diagnosis.


