How to Pop the Hood on a Subaru Outback
Contents
- 1 Key Takeaways
- 2 📑 Table of Contents
- 3 Why Knowing How to Pop the Hood Matters
- 4 Understanding the Subaru Outback Hood Release System
- 5 Step-by-Step Guide to Popping the Hood on a Subaru Outback
- 6 Model-Specific Considerations
- 7 Troubleshooting Common Hood Issues
- 8 Maintenance Tips for a Smooth-Running Hood
- 9 Safety Reminders and Best Practices
- 10 Conclusion
- 11 Frequently Asked Questions
Popping the hood on your Subaru Outback is simple once you know where to look and what to do. This guide walks you through the process for every model year, from older classics to the latest versions, with clear steps, safety tips, and troubleshooting advice to keep your maintenance routine smooth and stress-free.
So, you’ve got a Subaru Outback—maybe it’s your trusty daily driver, your weekend adventure-mobile, or the family hauler that’s seen more national parks than most people have vacation days. Whatever the case, at some point, you’re going to need to pop the hood. Whether it’s to check the oil, top off the coolant, or just take a peek at that mysterious noise coming from under there, knowing how to open the hood is a basic but essential skill every Outback owner should have in their toolkit.
Now, you might be thinking, “How hard can it be?” And honestly, it’s not—especially with a Subaru. But unlike some cars where the hood release is obvious or even labeled, the Outback keeps things simple but slightly tucked away. That’s not a design flaw; it’s just Subaru being Subaru—practical, understated, and built for real-world use. The process is consistent across most model years, but there are subtle differences depending on whether you’re driving a 2005 Outback or a brand-new 2024 model. Don’t worry—we’ll cover it all.
In this guide, we’ll walk you through every step of popping the hood on your Subaru Outback, from finding the release lever to safely propping it open. We’ll also share tips for troubleshooting common issues, maintaining your hood latch system, and understanding why Subaru designed it this way in the first place. By the end, you’ll feel confident opening your hood like a pro—no dealership visit required.
Key Takeaways
- Locate the interior hood release lever: Found under the dashboard on the driver’s side, usually near the footwell or steering column.
- Pull the lever firmly: A solid tug engages the latch; you’ll hear a click when the hood pops slightly.
- Find the secondary safety latch: Located under the front edge of the hood, requiring you to slide your fingers to release it.
- Use the hood prop rod: Once open, secure the hood with the metal rod to prevent it from falling.
- Check for model-specific differences: Newer Outbacks (2015+) may have updated latch designs or electronic features.
- Always park on level ground: Ensures safe access and prevents the vehicle from rolling during maintenance.
- Regular inspection prevents issues: Keep latches clean and lubricated to avoid sticking or failure over time.
📑 Table of Contents
- Why Knowing How to Pop the Hood Matters
- Understanding the Subaru Outback Hood Release System
- Step-by-Step Guide to Popping the Hood on a Subaru Outback
- Model-Specific Considerations
- Troubleshooting Common Hood Issues
- Maintenance Tips for a Smooth-Running Hood
- Safety Reminders and Best Practices
- Conclusion
Why Knowing How to Pop the Hood Matters
Let’s start with the basics: why does this even matter? After all, most modern cars make routine maintenance pretty straightforward. But the hood is your gateway to the engine bay—the heart of your vehicle. Whether you’re checking fluid levels, inspecting belts and hoses, or diagnosing a problem, you need reliable access. And if you’re out on a remote trail or in the middle of a road trip, being able to do this yourself can save you time, money, and stress.
Subaru Outbacks are known for their reliability and ruggedness, but like any vehicle, they require regular upkeep. The engine oil should be checked every few weeks, especially if you drive frequently or in harsh conditions. Coolant levels, brake fluid, and windshield washer fluid also need periodic attention. And let’s not forget the battery—sometimes a quick visual inspection can catch corrosion before it becomes a problem.
But here’s the thing: if you can’t get the hood open, none of that matters. A stuck or misunderstood hood release can turn a simple maintenance task into a frustrating ordeal. Worse, attempting to force the hood open without understanding the mechanism can damage the latch, bend the hood, or even cause injury. That’s why knowing the correct procedure is so important.
Plus, there’s a certain satisfaction that comes from handling your own vehicle maintenance. It builds confidence, saves money on labor costs, and helps you stay connected to your car. Subaru owners, in particular, tend to be hands-on—whether it’s changing wiper blades, rotating tires, or doing a full oil change. Popping the hood is the first step in that journey.
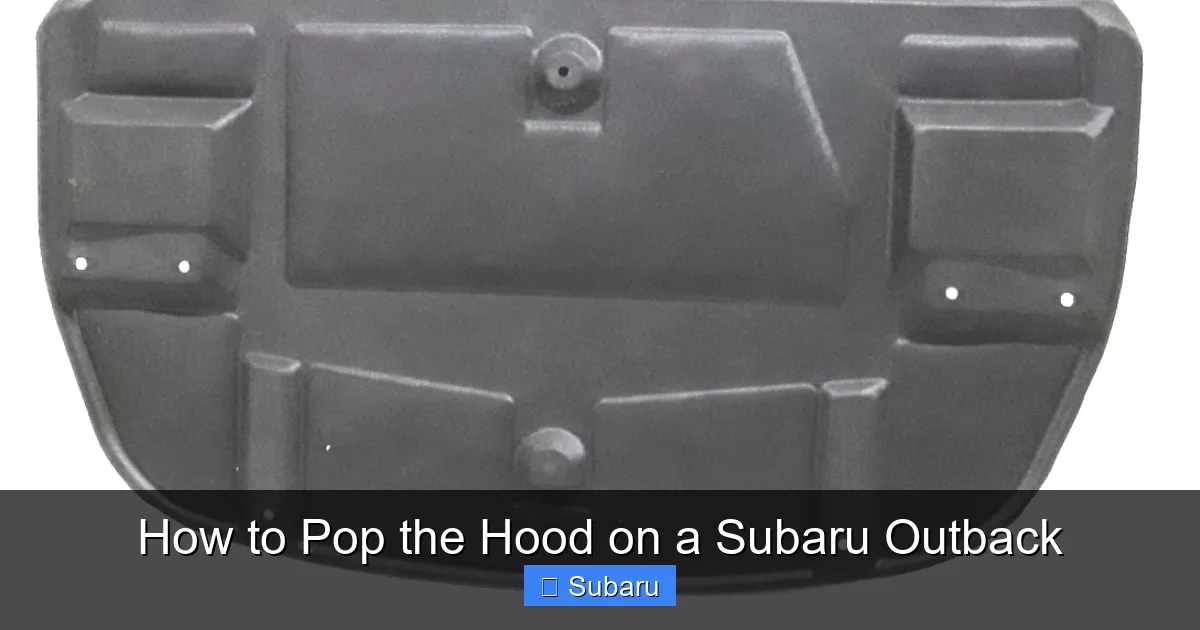
Understanding the Subaru Outback Hood Release System
Visual guide about How to Pop the Hood on a Subaru Outback
Image source: images.simplepart.com
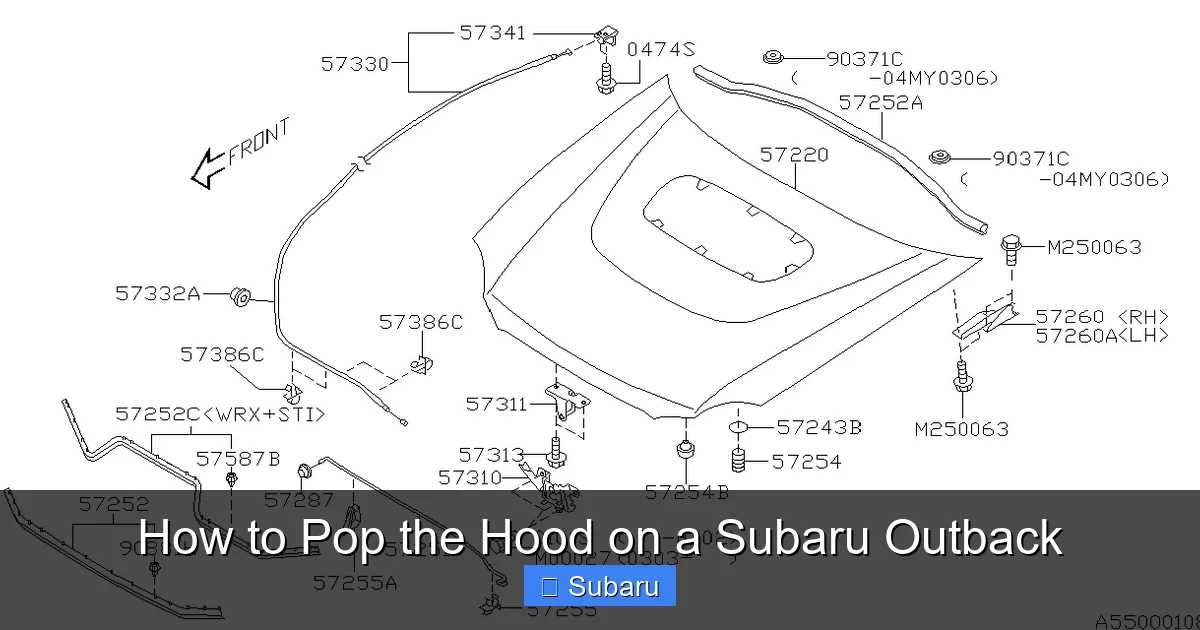
Before we dive into the step-by-step process, it’s helpful to understand how the hood release system works on a Subaru Outback. Unlike some vehicles that use a single electronic button or a more exposed lever, Subaru employs a two-stage mechanical system designed for safety and reliability.
The system consists of two main components: the interior release lever and the external safety latch. The interior lever is what you pull from inside the cabin—it’s connected by a cable to the primary hood latch under the hood. When you pull it, the latch disengages, allowing the front edge of the hood to lift slightly. However, for safety reasons, the hood doesn’t fully open at this point. That’s where the second stage comes in.
The external safety latch is a small, spring-loaded mechanism located in the center of the hood’s leading edge. It prevents the hood from flying open accidentally—say, if the primary latch fails while driving. To fully open the hood, you must manually release this secondary latch by sliding your fingers under the hood and pushing or pulling the latch to the side.
This two-step design is common in modern vehicles and is actually a safety feature, not a hassle. It ensures that even if the interior release is accidentally activated (like by a curious child), the hood won’t burst open at high speeds. Subaru has used this system consistently across Outback models for decades, with only minor refinements over the years.
It’s also worth noting that the hood itself is made of lightweight aluminum on most recent Outback models. This reduces overall vehicle weight, improves fuel efficiency, and helps with crash safety. But it also means the hood is less rigid than steel, so you should always use the prop rod to support it—never rely on the hydraulic struts alone, as some newer models may not have them.
Step-by-Step Guide to Popping the Hood on a Subaru Outback
Visual guide about How to Pop the Hood on a Subaru Outback
Image source: images.simplepart.com
Now that you understand the system, let’s walk through the actual process. Whether you’re driving a 2000 Outback or a 2023 model, the steps are largely the same. We’ll break it down into clear, easy-to-follow stages.
Step 1: Park Safely and Prepare
Before you even think about pulling a lever, make sure your vehicle is parked on a level surface. This ensures stability and prevents the car from rolling if you’re working near the front. Engage the parking brake for extra safety. If you’re in a garage or tight space, make sure there’s enough clearance above the hood—especially if you have a roof rack or aftermarket accessories.
Turn off the engine and remove the key (or ensure the vehicle is in “Park” if it’s a push-button start). This prevents accidental activation of electrical systems while you’re working. It’s also a good idea to let the engine cool down if you’ve been driving—hot components can cause burns, and steam from the radiator can be dangerous.
Finally, gather any tools you might need. For most basic checks, you won’t need anything beyond your hands. But if you’re planning to inspect fluids or belts, having a flashlight, rag, and maybe a funnel handy can make the process smoother.
Step 2: Locate the Interior Hood Release Lever
Now, sit in the driver’s seat and look under the dashboard on the left side—near the footwell or just below the steering column. You’re looking for a small, horizontal lever, usually painted black or gray, with a hood icon or the word “HOOD” stamped on it. On most Outbacks, it’s about the size of a small toggle switch and is mounted to the side of the dashboard frame.
Don’t confuse this with the parking brake lever (which is usually further back and larger) or the fuse panel cover. The hood release is typically within easy reach of your left hand when seated. If you’re having trouble finding it, try running your hand along the lower edge of the dashboard—you’ll feel it.
On some older models (pre-2005), the lever might be slightly recessed or tucked behind a plastic panel. If that’s the case, gently pull the panel aside to expose the lever. Newer models (2015 and later) often have a more streamlined design, but the lever is still in the same general area.
Step 3: Pull the Hood Release Lever
Once you’ve located the lever, grasp it firmly with your fingers and pull it toward you in a smooth, steady motion. You don’t need to yank it—just apply firm pressure. When the latch disengages, you’ll hear a distinct “click” and feel the lever move slightly.
This action releases the primary latch under the hood, allowing the front edge to lift about an inch or two. You should be able to see a small gap between the hood and the grille. If nothing happens, don’t panic—try pulling the lever again with a bit more force. Sometimes dust or debris can cause the mechanism to stick.
If the lever feels loose or doesn’t return to its original position, there might be an issue with the cable or latch. We’ll cover troubleshooting later, but for now, assume it’s working normally.
Step 4: Exit the Vehicle and Locate the Safety Latch
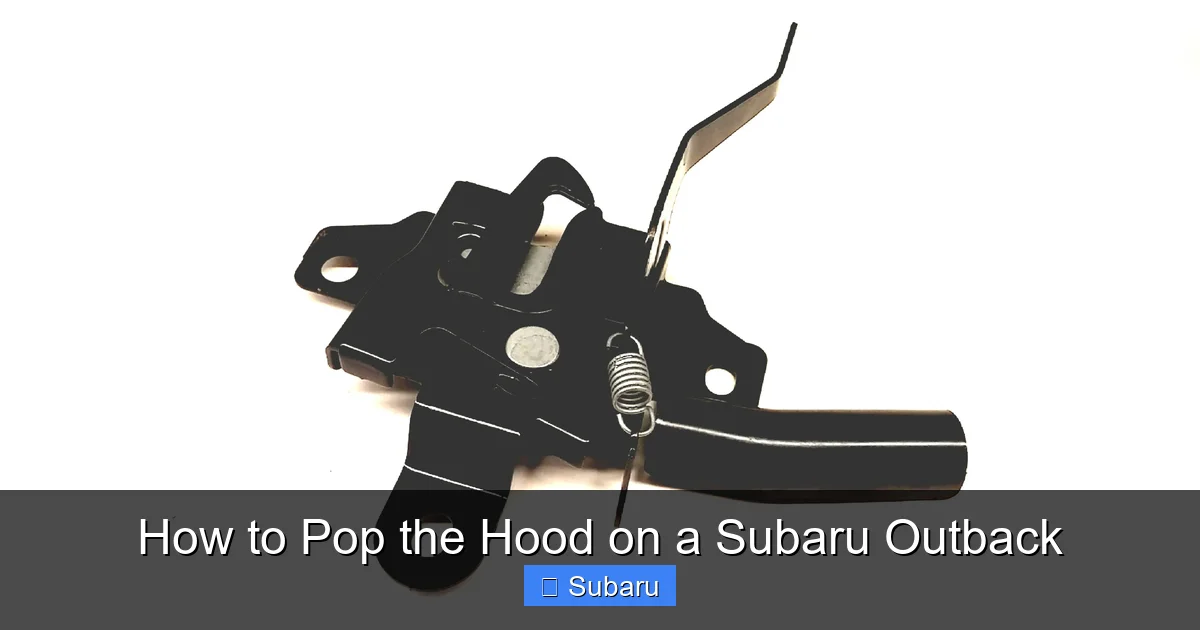
Now that the primary latch is released, exit the vehicle and walk to the front. Look at the center of the hood’s leading edge—right where it meets the grille. You’re looking for a small, horizontal slot or a visible latch mechanism.
On most Outbacks, the safety latch is a small, spring-loaded bar that runs across the front of the hood. It’s usually black or silver and may have a slight indentation or texture to help you grip it. In some models, it’s recessed slightly, so you may need to slide your fingers under the hood to feel for it.
Step 5: Release the Safety Latch
Slide your fingers under the front edge of the hood, right in the center. You should feel the safety latch—it’s typically a small metal bar or lever. To release it, push it to the left or right (depending on the model) while gently lifting the hood.
On most Outbacks, the latch moves to the driver’s side (left) when viewed from the front. Apply steady pressure—don’t jerk or force it. Once it clicks or releases, the hood should lift freely.
If you’re having trouble finding the latch, try looking for a small arrow or indicator on the hood itself. Some models have a tiny arrow pointing to the latch location. Alternatively, consult your owner’s manual—it often includes a diagram.
Step 6: Lift the Hood and Secure It
With both latches released, lift the hood smoothly and evenly. Don’t lift it too high at first—just enough to access the engine bay. As you lift, you’ll notice a metal prop rod attached to the underside of the hood.
Locate the prop rod—it’s usually on the driver’s side, near the front. It has a small handle or loop at the end. Pull it out and insert the tip into the designated slot on the hood support or fender. This keeps the hood securely open while you work.
Never rely on the hood staying open on its own, especially on windy days or uneven surfaces. The prop rod is essential for safety. On some newer Outbacks (2020+), the hood may have hydraulic struts that assist in lifting, but you should still use the prop rod as a backup.
Model-Specific Considerations
Visual guide about How to Pop the Hood on a Subaru Outback
Image source: images.simplepart.com
While the basic process is the same across most Subaru Outback models, there are some differences worth noting depending on the year and trim level.
Older Models (1995–2004)
These early Outbacks have a more traditional mechanical system. The interior lever is often more exposed and may require a firmer pull. The safety latch is usually a simple metal tab that you push to the side. Hoods on these models are typically steel, so they’re heavier—be sure to use the prop rod.
Mid-Range Models (2005–2014)
During this period, Subaru refined the design. The interior lever became more integrated into the dashboard, and the safety latch was slightly recessed for a cleaner look. Some models introduced a small cover over the latch, which you may need to lift before releasing it.
Newer Models (2015–Present)
The current-generation Outback (starting with the 2015 model) features a more aerodynamic design and updated hood mechanisms. The interior lever is often flush with the dashboard, and the safety latch may be harder to see. Some higher trims include hood struts that make lifting easier, but the prop rod is still recommended.
Additionally, newer Outbacks may have electronic features like a hood open warning light on the dashboard. If the light stays on after you close the hood, double-check that both latches are fully engaged.
Troubleshooting Common Hood Issues
Even with proper use, you might run into problems from time to time. Here are some common issues and how to fix them.
Hood Won’t Pop After Pulling the Lever
If you pull the interior lever and nothing happens, the cable may be disconnected, stretched, or broken. This is rare but possible, especially in older vehicles. Try pulling the lever multiple times with increasing force. If it still doesn’t work, you may need to access the latch from underneath the vehicle or consult a mechanic.
Safety Latch Is Stuck
Dirt, ice, or corrosion can cause the safety latch to jam. In winter, ice buildup is a common culprit. Use a de-icer spray or gently warm the area with a hair dryer. Avoid using excessive force, as this can damage the latch.
Hood Feels Loose or Won’t Stay Open
If the hood doesn’t stay open even with the prop rod, the latch mechanisms may be worn. Inspect the primary and secondary latches for damage or misalignment. Lubricating the moving parts with a silicone-based spray can help.
Hood Won’t Close Properly
After closing, the hood should sit flush with the fenders. If it’s misaligned, the latches may need adjustment. This is best done by a professional, as improper alignment can affect aerodynamics and safety.
Maintenance Tips for a Smooth-Running Hood
To keep your hood operating smoothly, perform regular maintenance:
– Clean the latch mechanisms with a soft brush and mild detergent.
– Apply a light coat of silicone lubricant to moving parts every 6–12 months.
– Inspect the hood seals for cracks or wear—they help prevent water and debris from entering the engine bay.
– Check the prop rod for rust or damage and replace if necessary.
By taking care of these small details, you’ll ensure your hood opens and closes reliably for years to come.
Safety Reminders and Best Practices
Always follow these safety guidelines:
– Never work under a hood that isn’t properly supported.
– Avoid opening the hood in high winds or on slopes.
– Keep children and pets away from the engine bay.
– Use gloves and eye protection when inspecting fluids or belts.
Popping the hood on your Subaru Outback is a simple task, but doing it safely and correctly makes all the difference.
Conclusion
Knowing how to pop the hood on your Subaru Outback is more than just a handy skill—it’s a key part of responsible vehicle ownership. Whether you’re checking the oil before a long trip or diagnosing a strange noise, this basic procedure gives you access to the heart of your car. With the two-stage release system, Subaru has designed a safe, reliable method that’s stood the test of time across multiple generations.
By following the steps outlined in this guide—locating the interior lever, releasing the safety latch, and securing the hood with the prop rod—you’ll be able to open your hood confidently and safely. And with regular maintenance, you can prevent common issues and keep your Outback running smoothly for years to come.
So the next time you need to pop the hood, don’t hesitate. You’ve got this. And remember—whether you’re cruising down the highway or exploring a backcountry trail, your Subaru Outback is built to go the distance. Taking care of it starts with something as simple as opening the hood.
Frequently Asked Questions
Where is the hood release lever on a Subaru Outback?
The hood release lever is located under the dashboard on the driver’s side, near the footwell or steering column. It’s usually a small, horizontal lever with a hood icon or the word “HOOD” on it.
Why won’t my Subaru Outback hood pop after pulling the lever?
If the hood doesn’t pop, the cable may be disconnected, stretched, or obstructed. Try pulling the lever firmly multiple times. If it still doesn’t work, inspect the latch mechanism or consult a mechanic.
Do I need to use the prop rod when opening the hood?
Yes, always use the prop rod to secure the hood. Even if your Outback has hydraulic struts, the prop rod provides essential backup support and prevents the hood from falling.
Can I open the hood from outside the vehicle?
No, the primary release is inside the cabin. You must pull the interior lever first to disengage the main latch before accessing the safety latch from the front.
Is the hood release the same on all Subaru Outback models?
The basic process is consistent, but the lever and latch design may vary slightly by year. Newer models (2015+) have more streamlined components, but the two-stage system remains the same.
What should I do if the safety latch is frozen or stuck?
Use a de-icer spray or gently warm the area with a hair dryer. Avoid forcing the latch, as this can cause damage. Regular lubrication can prevent future sticking.