
How to Open a Toyota Corolla Hood
Contents
Opening the hood of a Toyota Corolla is a simple process, but it varies slightly by model year. This guide walks you through locating the hood release, operating the safety latch, and maintaining your hood mechanism for smooth access every time.
Opening the hood of your Toyota Corolla might seem like a basic task—after all, you probably do it during oil changes, inspections, or routine maintenance. But if you’re new to the car, renting one, or helping a friend, it’s easy to get stuck. Maybe the lever feels stiff, or you can’t find the safety latch. Don’t worry—you’re not alone. Even experienced drivers occasionally fumble with hood releases, especially when switching between vehicle brands or models.
The Toyota Corolla, one of the most popular compact sedans worldwide, has a straightforward hood design. However, the exact steps can vary slightly depending on the model year. From the early 2000s models to the latest 2024 Corolla, Toyota has refined the hood mechanism for safety and ease of use. Understanding how to open it properly ensures you can access the engine bay safely and avoid damaging components. Plus, knowing the process builds confidence when performing DIY maintenance or troubleshooting issues like a dead battery or low fluid levels.
In this comprehensive guide, we’ll walk you through every step of opening a Toyota Corolla hood—no matter the year. We’ll cover where to find the release lever, how to operate the safety latch, and what to do if things go wrong. You’ll also get practical tips for maintaining your hood mechanism and avoiding common mistakes. Whether you’re a first-time Corolla owner or just need a refresher, this guide has you covered.
Key Takeaways
- Locate the interior hood release lever: Found under the dashboard on the driver’s side, usually marked with a hood icon.
- Pull the lever firmly: A single, strong pull disengages the primary latch—listen for a click or pop.
- Find the secondary safety latch: Located under the front edge of the hood, requiring you to slide your fingers beneath the hood to release.
- Lift the hood securely: Use the prop rod or hydraulic supports to hold the hood open while working.
- Check for obstructions: Ensure nothing blocks the hood path before lifting, especially in winter or after repairs.
- Maintain the mechanism: Regularly clean and lubricate latches and hinges to prevent sticking or corrosion.
- Know your model year: Older Corollas (pre-2014) often use a manual prop rod, while newer models may have gas struts.
📑 Table of Contents
Understanding the Toyota Corolla Hood System
Before diving into the steps, it helps to understand how the hood system works. The Toyota Corolla uses a dual-latch safety mechanism designed to prevent accidental opening while driving. This system includes an interior release lever and a secondary safety latch under the hood. Both must be disengaged to fully open the hood.
The interior lever is your first point of contact. It’s typically located on the lower left side of the dashboard, near the driver’s door. When you pull it, it releases the primary latch via a cable connected to the front of the hood. You’ll usually hear a distinct “click” or feel a slight resistance release. However, this only unlocks the hood—it doesn’t lift it. That’s where the safety latch comes in.
The safety latch is a small lever or button located just beneath the front edge of the hood, centered or slightly to one side. You must slide your fingers under the hood to feel for it. Once located, you push or slide it to the side (direction varies by model) to fully release the hood. This two-step process is a safety feature mandated in many countries to prevent the hood from flying open at high speeds.
Hood Design Evolution Across Model Years
Toyota has made subtle changes to the Corolla’s hood system over the years. Early models (1990s–early 2000s) often featured a simpler cable-operated release with a basic safety latch. These older Corollas typically use a manual prop rod to hold the hood open—a metal rod that you lift and insert into a designated slot on the underside of the hood.
From the mid-2000s onward, especially with the 10th generation (2007–2013) and 11th generation (2014–2019), Toyota began integrating more refined components. The release lever became more ergonomic, and the safety latch was repositioned for easier access. Some models introduced improved cable routing to reduce friction and prevent sticking.
The 12th generation (2020–present) Corolla brought further enhancements. Many newer models now use gas-charged struts instead of a manual prop rod. These hydraulic supports automatically hold the hood open, making it easier to work under the hood—especially for those with limited upper body strength. The safety latch is also more intuitive, often requiring a simple push to the left or right.
Despite these changes, the core principle remains the same: pull the interior lever, release the safety latch, and lift the hood. Knowing your model year helps you anticipate what to expect, but the steps are largely consistent.
Why the Two-Step Process Matters
You might wonder why Toyota doesn’t just use a single release. The answer lies in safety. A dual-latch system prevents accidental hood opening due to vibration, impact, or improper closure. Imagine driving down the highway and the hood suddenly flips up—your visibility would be instantly blocked, creating a serious hazard.
The interior lever acts as the “intentional” release. Only someone inside the car can activate it, ensuring the driver or passenger consciously decides to open the hood. The safety latch adds a second layer of protection. Even if the primary latch fails or is accidentally triggered, the secondary latch keeps the hood securely closed until manually released.
This design is standard across most modern vehicles, not just Toyotas. It’s a simple but effective way to enhance driver and passenger safety. Understanding this helps you appreciate why the process isn’t as simple as “pull and lift.”
Step-by-Step Guide to Opening the Hood
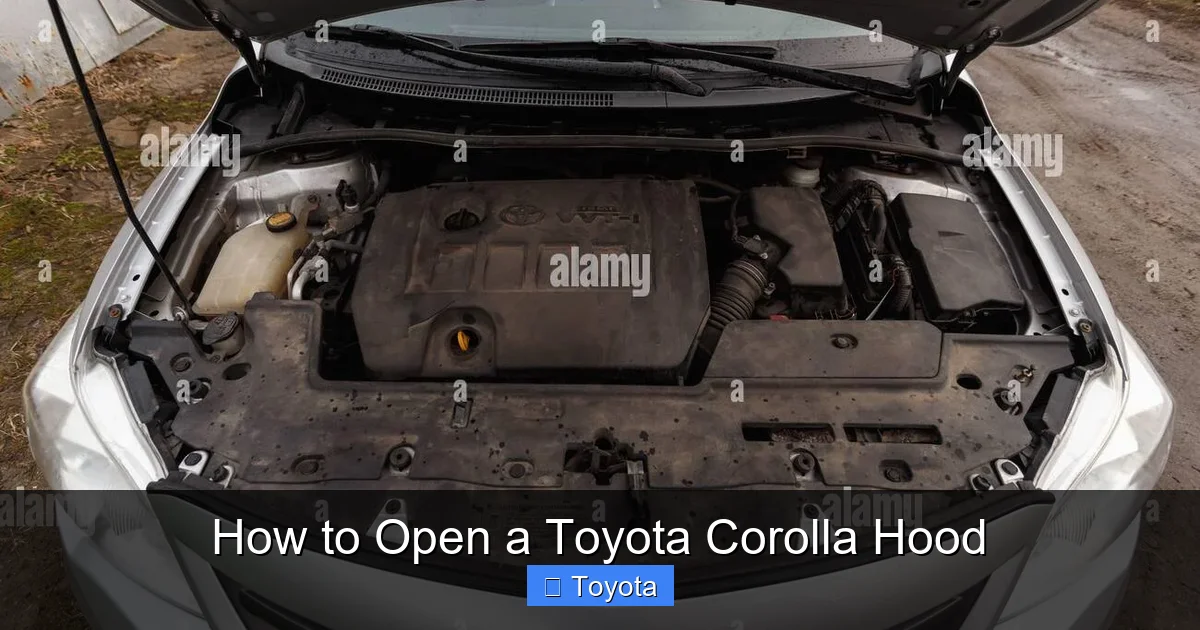
Visual guide about How to Open a Toyota Corolla Hood
Image source: c8.alamy.com
Now that you know how the system works, let’s walk through the actual steps. Follow these instructions carefully to open your Toyota Corolla hood safely and efficiently.
Step 1: Locate the Interior Hood Release Lever
Start by sitting in the driver’s seat. Look down along the left side of the dashboard, near the door panel. You’re searching for a small lever, usually made of plastic, with a hood icon (a simplified drawing of a car hood). On most Corollas, it’s positioned just below the steering column, within easy reach of your left hand.
If you can’t see it immediately, don’t panic. Some models tuck it slightly under the dashboard or behind a small panel. Run your fingers along the edge of the dashboard trim. The lever is typically about 3–4 inches long and pivots upward or outward when pulled.
Pro tip: If your Corolla has a manual transmission, the lever might be closer to the center console. On automatic models, it’s almost always on the far left. Also, newer Corollas (2020+) often have a more streamlined design, so the lever blends in with the dashboard. Look for the icon—it’s your best clue.
Step 2: Pull the Lever Firmly
Once you’ve found the lever, grasp it with your fingers and pull it toward you. You don’t need to yank it—just a firm, steady pull. Most drivers describe the motion as similar to pulling a parking brake lever.
As you pull, listen for a sound. You should hear a distinct “click” or “pop” as the primary latch releases. This sound confirms the hood is partially unlatched. If you don’t hear anything, try pulling again with a bit more force. Sometimes dust or debris can cause the mechanism to stick.
Important: Do not assume the hood is fully open after pulling the lever. The primary latch only disengages the first lock. The hood will lift slightly—maybe a half-inch or so—but it won’t swing open. That’s normal. The safety latch is still engaged.
Step 3: Exit the Vehicle and Approach the Front
After pulling the lever, turn off the engine (if it’s running) and exit the car. Walk to the front of the vehicle and stand directly in front of the hood. Look for the gap between the hood and the grille. You should see a small space—this is where you’ll access the safety latch.
If the hood didn’t lift at all after pulling the lever, don’t force it. Check that the lever was pulled fully. On some models, you need to pull it twice: once to release, and a second time to fully disengage. Refer to your owner’s manual if you’re unsure.
Step 4: Locate and Release the Safety Latch
Now comes the trickiest part for many people: finding the safety latch. Slide your right hand (or left, if you’re more comfortable) under the front edge of the hood, right in the center. You’re feeling for a small lever, button, or sliding mechanism.
On most Corollas, the safety latch is a small plastic tab that you push to the left or right. Some models have a lever that you lift or pull toward you. The direction varies, so don’t assume it’s the same as your last car.
Here’s a helpful tip: On 2014–2023 Corollas, the safety latch is usually centered and requires a push to the left. On older models (pre-2014), it might be slightly off-center or require a pull. If you’re having trouble, try gently lifting the hood with one hand while feeling for the latch with the other. This slight pressure can make it easier to locate.
Once you find it, apply steady pressure in the correct direction. You should feel or hear a second “click” as the safety latch releases. At this point, the hood is fully unlatched and ready to lift.
Step 5: Lift the Hood and Secure It
With both latches disengaged, gently lift the hood upward. Use both hands for balance, especially if it’s your first time. The hood should rise smoothly—don’t jerk it or force it.
Now, check how your Corolla holds the hood open. If you have a manual prop rod (common in models before 2020), look for a metal rod attached to the underside of the hood. Lift it and insert the end into the designated slot on the radiator support. Make sure it’s fully seated to prevent the hood from falling.
If your Corolla has gas struts (2020 and newer), the hood will stay open on its own. These hydraulic supports do the work for you—no prop rod needed. Just ensure the hood is fully raised and stable before leaning in to work.
Safety note: Never rely solely on the struts or prop rod. Always double-check that the hood is secure before placing your hands or tools under it. A falling hood can cause serious injury.
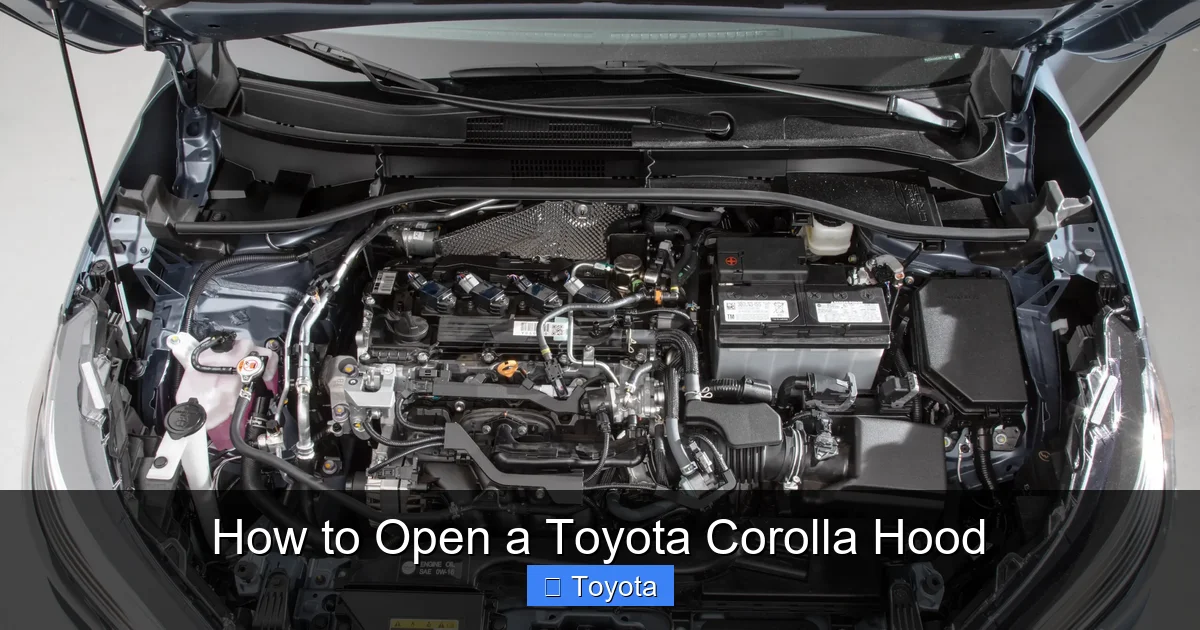
Troubleshooting Common Issues

Visual guide about How to Open a Toyota Corolla Hood
Image source: cache2.pakwheels.com
Even with the right steps, things don’t always go smoothly. Here are some common problems and how to fix them.
The Lever Won’t Pull or Feels Stuck
If the interior lever won’t move, it could be due to a frozen or corroded cable. This is especially common in cold climates or if the car has been sitting for a long time. Try spraying a small amount of silicone-based lubricant (like WD-40 Specialist Silicone Lubricant) into the lever mechanism. Avoid petroleum-based lubricants, as they can attract dirt.
If the lever moves but nothing happens, the cable may be disconnected or broken. This requires professional inspection. Don’t force it—continued pulling can damage the mechanism.
The Hood Lifts but Won’t Open Fully
This usually means the safety latch wasn’t fully released. Go back and check that you pushed or pulled it completely. Sometimes the latch gets stuck due to dirt or ice. Use a flashlight to inspect the area and gently wiggle the latch while applying pressure.
In winter, ice can freeze the latch shut. Never use a knife or screwdriver to pry it open—this can damage the paint or mechanism. Instead, use a hairdryer or de-icer spray to melt the ice.
The Prop Rod Won’t Stay in Place
If your Corolla uses a manual prop rod and it keeps slipping out, the slot may be worn or misaligned. Try adjusting the angle slightly or using a rubber band around the rod for extra grip. If the problem persists, consider replacing the prop rod or upgrading to gas struts (a popular aftermarket modification).
The Hood Feels Heavy or Hard to Lift
Over time, hinges can wear out or become dry. Apply a small amount of white lithium grease to the hinge pins and latch mechanisms. This reduces friction and makes lifting easier. Avoid over-greasing—excess grease can attract dirt and cause buildup.
Maintenance Tips for a Smooth-Running Hood
Visual guide about How to Open a Toyota Corolla Hood
Image source: thedrive.com
Keeping your hood mechanism in good condition ensures it opens easily every time. Here’s how to maintain it:
– **Clean regularly:** Wipe down the latch and hinges with a damp cloth to remove dirt, salt, and debris.
– **Lubricate moving parts:** Use a silicone spray or white lithium grease on the latch, hinges, and cable ends every 6–12 months.
– **Inspect cables:** Check for fraying or kinks in the release cable. Replace if damaged.
– **Check alignment:** If the hood doesn’t close flush, the hinges may be misaligned. Adjust them carefully or consult a mechanic.
– **Avoid forcing the hood:** If it won’t open or close smoothly, investigate the cause instead of using brute force.
Safety Precautions and Best Practices
Always prioritize safety when working under the hood:
– Turn off the engine and remove the key.
– Engage the parking brake to prevent rolling.
– Use wheel chocks if on an incline.
– Never place your head or body under a hood held only by a prop rod—use a hood support stand if needed.
– Keep children and pets away from the work area.
Conclusion
Opening the hood of a Toyota Corolla is a simple but essential skill for any owner. With the right knowledge, you can access your engine bay confidently and safely. Remember: pull the interior lever, release the safety latch, and secure the hood before working. Regular maintenance keeps the mechanism running smoothly, and troubleshooting common issues prevents frustration. Whether you’re checking fluids, replacing a battery, or just curious about your car, mastering this basic task puts you in control.
Frequently Asked Questions
Where is the hood release on a Toyota Corolla?
The hood release lever is located under the dashboard on the driver’s side, usually near the door panel. Look for a small lever with a hood icon.
Why won’t my Corolla hood open after pulling the lever?
The primary latch may have released, but the secondary safety latch under the hood is still engaged. Slide your hand under the front edge to locate and release it.
Can I open the hood without the interior lever?
No, the interior lever is required to disengage the primary latch. Attempting to force the hood open can damage the mechanism.
Do all Toyota Corollas use the same hood release method?
The basic two-step process is consistent, but the location of the safety latch and type of hood support (prop rod vs. gas struts) vary by model year.
How do I keep my hood latch from sticking?
Regularly clean and lubricate the latch and hinges with silicone spray or white lithium grease to prevent corrosion and buildup.
Is it safe to work under the hood with just the prop rod?
Yes, but always ensure the prop rod is fully seated. For added safety, use a hood support stand, especially during extended work.


