
Hooked Battery Up Backwards and Now Car Won’t Start
Contents
- 1 Key Takeaways
- 2 📑 Table of Contents
- 3 Why Hooking the Battery Backwards Is So Dangerous
- 4 Immediate Steps to Take After Reversing the Battery
- 5 Diagnosing the Damage: What to Check First
- 6 Can You Fix It Yourself? When to Call a Pro
- 7 Real-World Examples: What Happens When You Get It Wrong
- 8 How to Prevent Reverse Polarity Forever
- 9 Conclusion: Learn from the Mistake, Not the Damage
- 10 Frequently Asked Questions
Connecting your car battery backwards can cause serious damage and prevent your vehicle from starting. This guide explains why it happens, what parts are at risk, how to assess the damage, and steps to safely restore your car’s electrical system.
So, you were in a hurry. Maybe you were swapping out an old battery, helping a friend jump-start their car, or just trying to get your vehicle running after it sat all winter. You grabbed the cables, connected red to red and black to black—except… wait. That wasn’t red to red. That was red to black. And now your car won’t start. Not even a click. No lights. Nothing. Panic sets in.
You’re not alone. Hooking a battery up backwards—connecting the positive terminal to the negative post and vice versa—is one of the most common (and costly) mistakes DIYers make. It’s easy to do, especially in low light, with corroded terminals, or when you’re distracted. But the consequences can be severe. Modern vehicles are packed with sensitive electronics—engine control units (ECUs), infotainment systems, sensors, and more—that aren’t designed to handle reversed polarity. Even a few seconds of backward connection can fry circuits, blow fuses, or permanently damage components.
The good news? In many cases, the damage is repairable—especially if you catch it early. The bad news? Ignoring it or assuming “it’ll be fine” can lead to expensive repairs down the road. This guide will walk you through exactly what happens when you hook a battery up backwards, how to diagnose the problem, what to check first, and how to prevent it from ever happening again. Whether you’re a weekend wrench-turner or just someone who wants to avoid a tow truck bill, this article has your back.
Key Takeaways
- Reversing battery polarity fries sensitive electronics: Modern cars rely on delicate control modules that can be instantly damaged when the battery is hooked up backwards.
- The fuse box is often the first line of defense: Many vehicles blow main fuses or fusible links to protect deeper systems—check these first.
- Even if the car seems fine, hidden damage may exist: Some components fail gradually after reverse polarity, so a thorough inspection is essential.
- Never assume “it’s just a dead battery”: If you’ve reversed the terminals, treat it as an electrical emergency—not a simple jump-start situation.
- Safety comes first: Always disconnect the negative terminal first when removing a battery and reconnect it last to minimize sparking and risk.
- Prevention beats repair: Use color-coded cables, label terminals, and double-check connections before tightening clamps.
- Professional help may be needed: If your car still won’t start after checking fuses and resetting systems, consult a qualified mechanic or auto electrician.
📑 Table of Contents
- Why Hooking the Battery Backwards Is So Dangerous
- Immediate Steps to Take After Reversing the Battery
- Diagnosing the Damage: What to Check First
- Can You Fix It Yourself? When to Call a Pro
- Real-World Examples: What Happens When You Get It Wrong
- How to Prevent Reverse Polarity Forever
- Conclusion: Learn from the Mistake, Not the Damage
Why Hooking the Battery Backwards Is So Dangerous
At first glance, a car battery seems simple: two terminals, positive and negative, delivering power to start the engine and run accessories. But under the hood lies a complex web of electronics that depend on correct polarity. When you reverse the connections, you’re essentially sending electricity in the wrong direction—like trying to pour water uphill. Most automotive systems are built to handle current flowing one way only. Flip it, and things break.
Think of your car’s electrical system like a city’s power grid. The battery is the power plant, and every module—from the radio to the fuel injectors—is a house receiving electricity. If the power comes in reversed, appliances don’t just stop working; they can burn out instantly. In cars, this means diodes burn, capacitors explode, and microchips fry.
Modern vehicles are especially vulnerable. Older cars from the ’70s and ’80s had simpler wiring and fewer electronics, so reverse polarity might only blow a fuse or two. But today’s cars? They’re rolling computers. The ECU alone can cost over $1,000 to replace. Add in the transmission control module, ABS unit, airbag sensors, and infotainment system, and you’re looking at thousands in potential damage.
Even brief contact can cause harm. You don’t need to leave the battery connected for minutes—sometimes just a second or two is enough to send a surge through the system. That spark you see when connecting cables? If the polarity is wrong, that spark isn’t just harmless—it’s a warning sign of impending damage.
How Reverse Polarity Affects Key Components
Let’s break down what actually gets hit when the battery is hooked up backwards:
– **Fuses and Fusible Links**: These are designed to blow first, acting as sacrificial protectors. The main power fuse (often 80A or 100A) near the battery or in the under-hood fuse box is usually the first to go. Some cars also have fusible links—thick wires that melt under excessive current.
– **Diodes in Alternator and ECUs**: Diodes allow current to flow in one direction only. Reverse polarity forces current backward through them, causing immediate failure. The alternator’s diode trio is especially vulnerable.
– **Engine Control Unit (ECU)**: The brain of your car. It manages fuel injection, ignition timing, emissions, and more. Many ECUs have internal protection, but it’s not foolproof. Reverse voltage can corrupt memory, fry input/output circuits, or disable communication buses like CAN.
– **Sensors and Actuators**: Oxygen sensors, throttle position sensors, cam/crank sensors—all can be damaged. Even if they still “work,” they may send incorrect signals, causing poor performance or check engine lights.
– **Infotainment and Body Control Modules**: Radios, touchscreens, climate controls, and door locks often run on separate modules. These are expensive to replace and may require programming.
– **Relays and Solenoids**: These electromagnetic switches can chatter or weld shut when polarity is reversed, leading to stuck components or continuous power draw.
In short: almost every electronic part in your car is at risk. The severity depends on how long the battery was connected backwards, the vehicle’s design, and whether protective fuses blew in time.
Immediate Steps to Take After Reversing the Battery
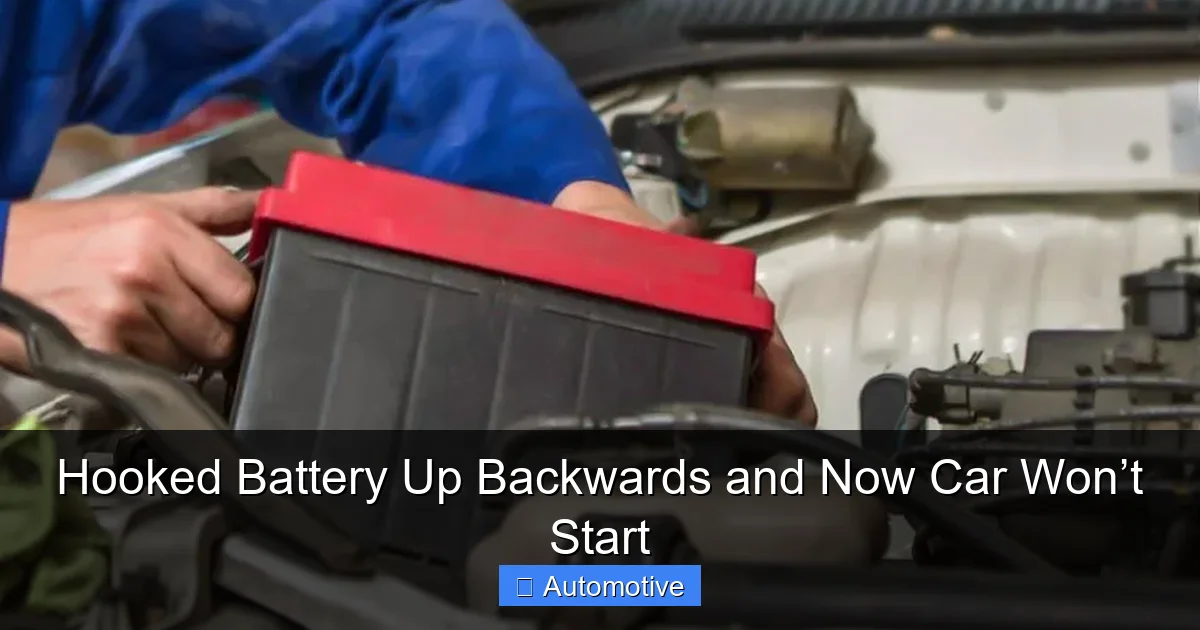
Visual guide about Hooked Battery Up Backwards and Now Car Won’t Start
Image source: autoowa.com
So you’ve realized your mistake. The cables are off, but your car is dead silent. What now? Don’t panic—but act quickly. The faster you respond, the better your chances of minimizing damage.
First, **disconnect the battery completely**. Remove both terminals, starting with the negative (black) cable. This ensures no residual current is flowing and prevents further damage if something is still shorted.
Next, **inspect the battery terminals and cables**. Look for signs of arcing, melting, or burnt insulation. If the cables are damaged, replace them—don’t risk using compromised wiring.
Now, **check the main fuses**. Open the under-hood fuse box and locate the large amperage fuses (usually 60A, 80A, or 100A) near the battery positive terminal. These are often labeled “MAIN,” “ALT,” or “BATT.” Use a test light or multimeter to check for continuity. If a fuse is blown, that’s actually good news—it means it did its job protecting deeper systems.
If you find a blown fuse, **do not replace it yet**. Replacing it without fixing the underlying issue could cause another surge and more damage. Instead, proceed to a full system check.
How to Safely Reconnect the Battery
Once you’ve assessed the damage, it’s time to reconnect—but do it right this time.
1. **Clean the terminals**: Use a wire brush or battery terminal cleaner to remove corrosion. Dirty connections can cause resistance and overheating.
2. **Connect positive first**: Always attach the red (positive) cable to the positive terminal first. This reduces the chance of sparking near the battery, where hydrogen gas can accumulate.
3. **Connect negative last**: Attach the black (negative) cable to the negative terminal. This completes the circuit safely.
4. **Tighten securely**: Use a wrench to ensure clamps are snug, but don’t overtighten—you can strip the terminal.
5. **Wait a moment**: Before turning the key, wait 30–60 seconds. This allows volatile memory in modules to reset.
Then, try starting the car. If it cranks but doesn’t start, or if lights flicker, you may have deeper issues. If nothing happens at all, move to diagnostics.
Diagnosing the Damage: What to Check First
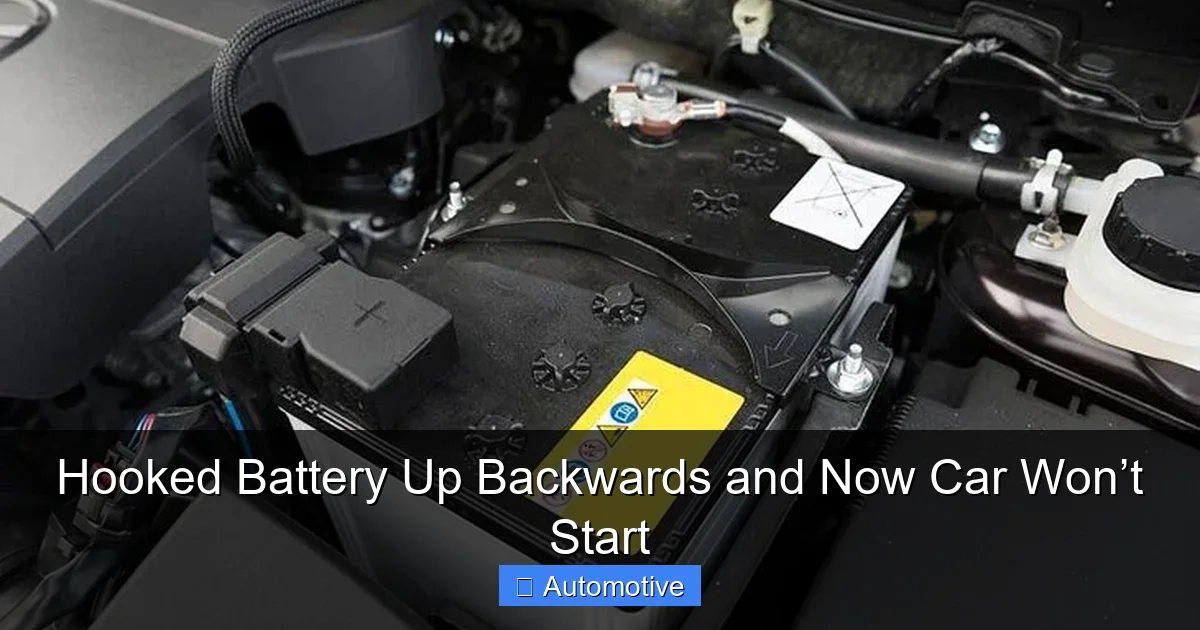
Visual guide about Hooked Battery Up Backwards and Now Car Won’t Start
Image source: bryansgarage.com
Not all reverse polarity incidents result in total failure. Sometimes, only a fuse blows. Other times, multiple systems are affected. Here’s how to methodically check for damage.
Step 1: Check All Fuses
Start with the under-hood fuse box. Look for:
– Main battery fuse
– Alternator fuse
– ECU/PCM fuse
– Ignition fuse
– Fuel pump fuse
Use a fuse puller or needle-nose pliers to remove each one. Inspect visually—most blown fuses have a broken filament or darkened glass. For blade fuses, use a multimeter on continuity mode.
Don’t forget the interior fuse box (usually under the dash or in the glove box). Some critical systems like the instrument cluster or body control module are protected here.
Step 2: Test the Alternator
Even if the car starts, the alternator may be damaged. A common sign is a burning smell or the battery not charging. Use a multimeter to check voltage at the battery:
– With engine off: ~12.6V
– With engine running: ~13.8–14.4V
If voltage is below 13V while running, the alternator may have a blown diode trio or regulator.
Step 3: Scan for Error Codes
Plug in an OBD2 scanner. Even if the check engine light isn’t on, stored codes can reveal communication errors or module failures. Look for:
– U-codes (network communication issues)
– P0600 series (ECU problems)
– B-codes (body control issues)
If multiple modules aren’t communicating, the CAN bus may be damaged.
Step 4: Test Key Components
– **Starter motor**: If it doesn’t crank, test for power at the solenoid. No power? Check ignition switch and starter relay.
– **Fuel pump**: Listen for a humming sound when you turn the key to “ON.” No sound? Check fuel pump relay and fuse.
– **Lights and accessories**: If headlights, radio, or wipers don’t work, suspect a blown fuse or damaged body control module.
Step 5: Inspect for Physical Damage
Look for:
– Burnt or melted wiring near the battery
– Swollen capacitors on circuit boards (if you’re comfortable opening modules)
– Burnt smell from the fuse box or under the dash
If you see any of these, professional repair may be needed.
Can You Fix It Yourself? When to Call a Pro
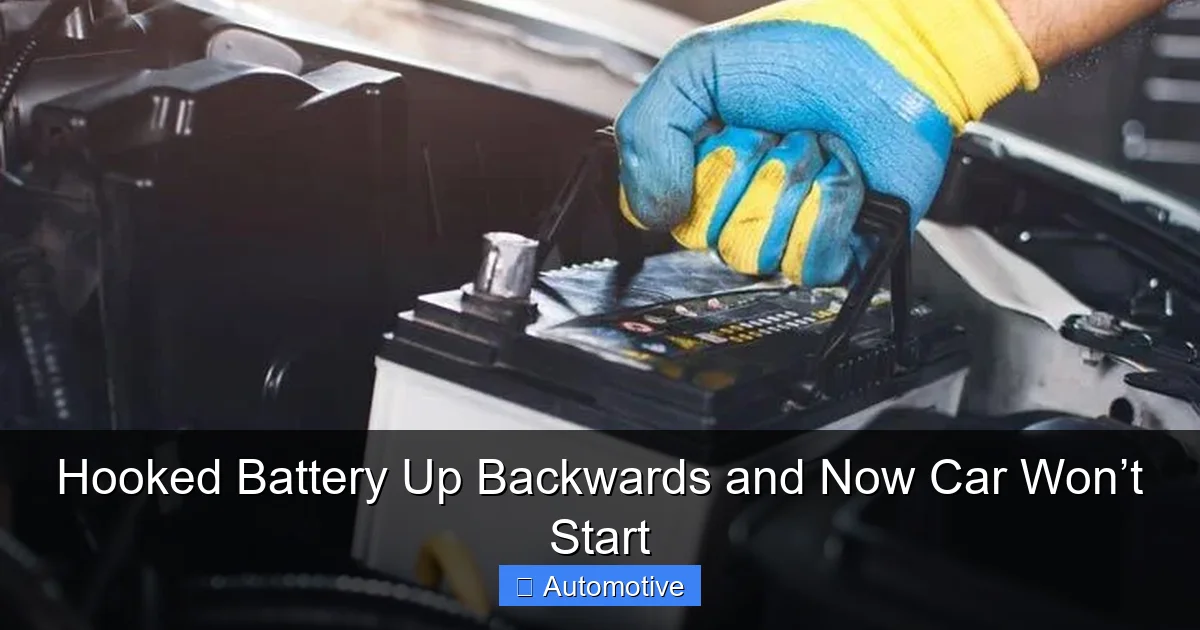
Visual guide about Hooked Battery Up Backwards and Now Car Won’t Start
Image source: bryansgarage.com
The answer depends on the extent of the damage and your skill level.
If only a fuse blew, replacing it may solve the problem. Many cars will start right up after swapping the main fuse. But remember: a blown fuse is a symptom, not the cause. Make sure the system is safe before re-energizing.
If multiple fuses are blown or the car still won’t start, you may be dealing with module failure. Replacing an ECU or alternator is doable for experienced DIYers, but it often requires:
– Specialized tools (e.g., programming equipment)
– Knowledge of wiring diagrams
– Access to OEM software
For most people, this is where a professional mechanic or auto electrician comes in. They have diagnostic tools to test modules, reprogram ECUs, and verify system integrity.
Signs You Need Professional Help
– Car cranks but won’t start, and no codes explain why
– Multiple warning lights on the dash
– Burning smell or visible damage to wiring
– Expensive components (ECU, TCM, BCM) are suspected
– You’re unsure how to safely test or replace parts
Don’t risk further damage. A $100 diagnostic fee can save you $1,000 in parts.
Real-World Examples: What Happens When You Get It Wrong
Let’s look at a few common scenarios to illustrate the range of outcomes.
**Example 1: Quick Connection, Quick Fix**
Mike was replacing his battery in dim light. He connected the cables backward for about 2 seconds before realizing his mistake. He immediately disconnected and reconnected correctly. The car wouldn’t start. He checked the under-hood fuse box and found the 80A main fuse blown. He replaced it, and the car started right up. No further issues.
*Lesson: Fast action and a good fuse saved the day.*
**Example 2: Hidden Damage**
Sarah jumped her friend’s car and accidentally crossed the cables. The car started, but the next day, the radio didn’t work, and the check engine light was on. A scan showed a faulty body control module. It had survived the initial surge but failed days later.
*Lesson: Even if it seems fine, hidden damage can appear later.*
**Example 3: Total Electrical Failure**
Tom left the backward-connected battery on for 30 seconds while troubleshooting. The car never started again. Diagnosis revealed a fried ECU, damaged alternator, and blown fusible link. Repair cost: over $2,500.
*Lesson: Time matters. The longer it’s connected, the worse the damage.*
These stories show that outcomes vary—but prevention is always cheaper than repair.
How to Prevent Reverse Polarity Forever
The best fix is avoiding the problem altogether. Here’s how:
Use Color-Coded Cables
Always use red for positive (+) and black for negative (−). High-quality jumper cables have clear markings and insulated clamps. Avoid cheap, unmarked cables.
Label the Terminals
If you’re working in low light or on a cluttered engine bay, use tape or markers to label “+” and “−” on the battery posts. Some batteries have raised symbols, but corrosion can hide them.
Follow the “Positive First, Negative Last” Rule
When connecting:
1. Positive to positive
2. Negative to negative (or a grounded metal part on the dead car)
When disconnecting:
1. Negative first
2. Positive last
This minimizes sparking and reduces risk.
Double-Check Before Tightening
Before clamping down, pause and verify:
– Red cable on positive terminal?
– Black cable on negative terminal?
– No crossed wires?
A 5-second check can save hours of frustration.
Use a Battery Terminal Protector
Products like dielectric grease or terminal sprays prevent corrosion and make it easier to see the correct terminals.
Consider a Polarity Protection Device
Some aftermarket devices (like battery isolators or reverse polarity relays) can prevent damage by blocking reverse current. These are common in RVs and off-road vehicles but can be installed in any car.
Stay Calm and Take Your Time
Rushing is the #1 cause of mistakes. If you’re tired, stressed, or in a hurry, wait. It’s better to start tomorrow than pay for a new ECU today.
Conclusion: Learn from the Mistake, Not the Damage
Hooking a battery up backwards is a scary moment—but it doesn’t have to be a disaster. By understanding why it’s dangerous, acting quickly, and diagnosing systematically, you can often recover with minimal cost. The key is treating it as an electrical emergency, not just a dead battery.
Remember: fuses are your friends. They’re designed to blow so more expensive parts don’t. Check them first. If your car still won’t start, don’t keep trying—each attempt could worsen the damage. Seek professional help when needed.
Most importantly, use this experience as a learning opportunity. Share what you’ve learned with friends and family. A simple reminder to “check the cables” could save someone else from a costly repair.
Your car is a complex machine, but with the right knowledge and care, you can keep it running smoothly—even after a mistake. Stay safe, stay informed, and always double-check those terminals.
Frequently Asked Questions
Can a car start after the battery was hooked up backwards?
Yes, in some cases. If only a fuse blew and no electronics were damaged, replacing the fuse may allow the car to start normally. However, always inspect the system thoroughly before assuming it’s safe.
How long can a battery be connected backwards before damage occurs?
Damage can happen in less than a second. Even brief contact can fry diodes or blow fuses. The longer it’s connected, the greater the risk of permanent damage to modules and wiring.
Will a blown fuse always protect the car’s electronics?
Not always. While fuses are designed to blow first, some sensitive components may fail before the fuse reacts. Additionally, not all circuits are fused, especially in older vehicles.
Can I jump-start a car if I’m not sure about the battery polarity?
No. Always verify the positive and negative terminals before connecting jumper cables. If you’re unsure, consult the owner’s manual or look for “+” and “−” markings on the battery.
What should I do if my car starts but acts strangely after reversing the battery?
Have it inspected immediately. Strange behavior—like warning lights, poor performance, or electrical glitches—could indicate hidden damage to sensors or control modules.
Is it safe to drive a car after fixing a reverse polarity issue?
Only if a full diagnostic confirms all systems are functioning properly. Driving with damaged electronics can lead to unsafe conditions, such as sudden stalling or brake failure.


