
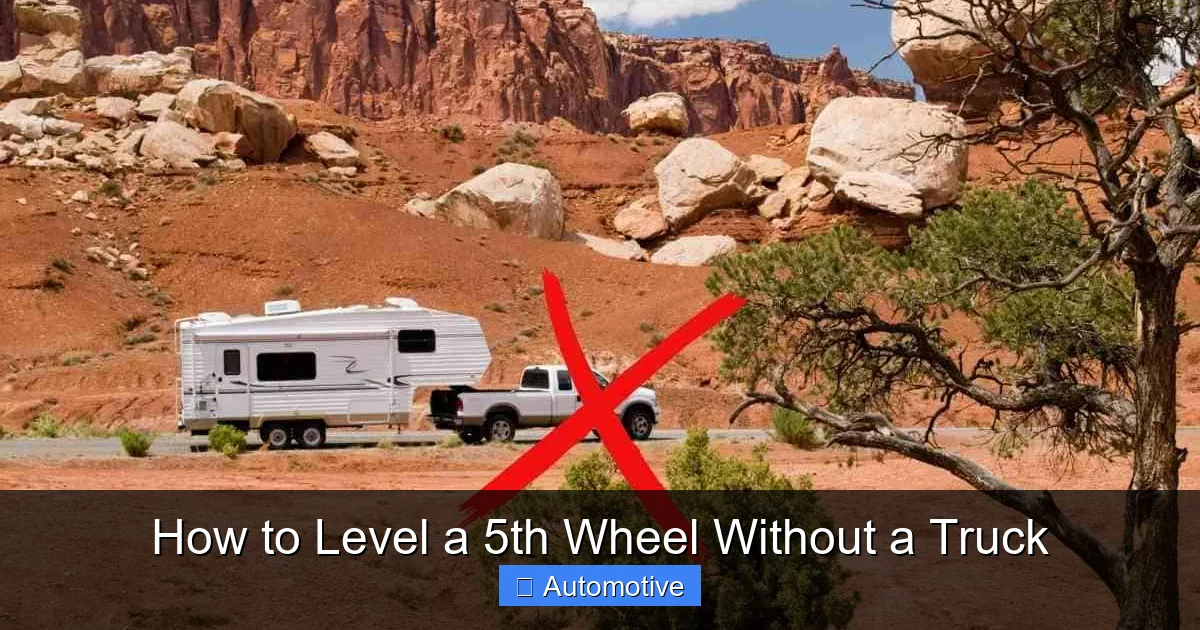
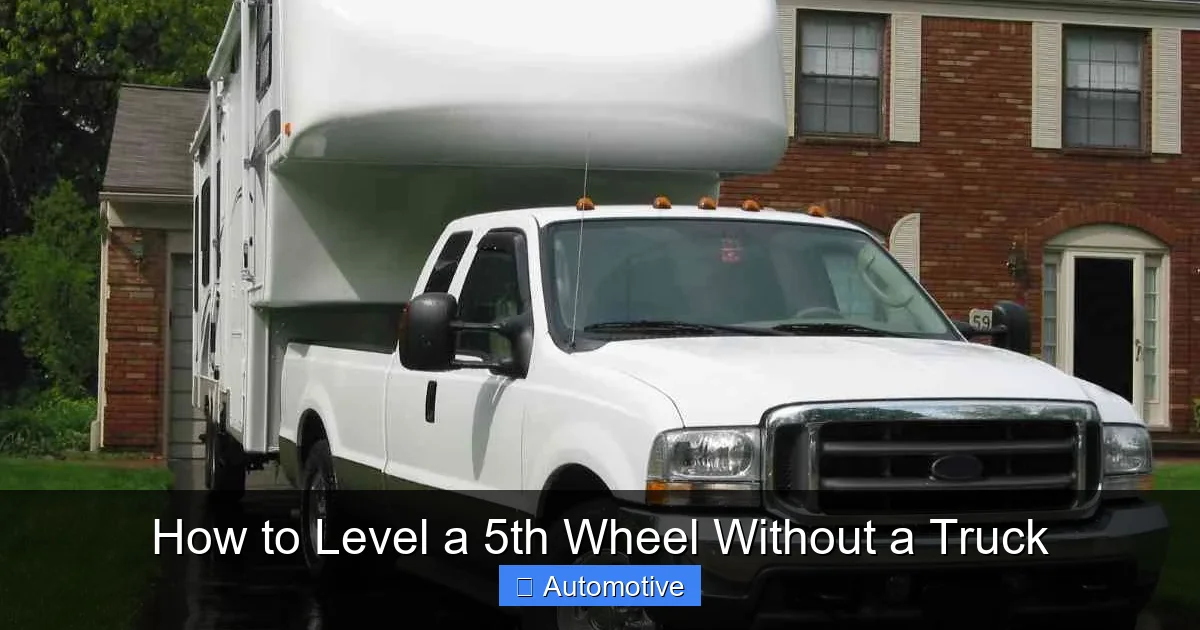
How to Level a 5th Wheel Without a Truck
Contents
- 1 Key Takeaways
- 2 📑 Table of Contents
- 3 Why Leveling Matters—Even Without a Truck
- 4 Essential Tools for Leveling Without a Truck
- 5 Step-by-Step: How to Level Your 5th Wheel Without a Truck
- 6 Advanced Techniques and Pro Tips
- 7 Common Mistakes to Avoid
- 8 When to Call in Help (or Upgrade Your Setup)
- 9 Conclusion
- 10 Frequently Asked Questions
Leveling a 5th wheel without a truck is not only possible—it’s often easier than you think. With the right tools and techniques, you can achieve a stable, comfortable setup using portable leveling systems, stabilizing jacks, and smart positioning. Whether you’re boondocking or parked at a campsite, this guide shows you how to get your rig level and secure, no tow vehicle required.
Key Takeaways
- Use portable leveling blocks or ramps: These allow you to adjust the height of your 5th wheel’s landing gear without needing a truck to lift or reposition the trailer.
- Invest in electric or hydraulic leveling jacks: Many modern 5th wheels come with built-in jacks that operate independently of the tow vehicle, making leveling quick and hands-free.
- Position your trailer wisely before unhitching: Choose a relatively flat spot and use a bubble level or smartphone app to check ground slope before disconnecting from the truck.
- Stabilize after leveling: Even when level, your 5th wheel needs stabilizer jacks or scissor jacks at the corners to reduce sway and improve comfort.
- Carry a reliable leveling tool: A digital level or laser level provides more accuracy than basic bubble levels, especially on uneven terrain.
- Practice makes perfect: The first few times may take longer, but with experience, you’ll be able to level your 5th wheel efficiently—even solo.
- Consider a remote-controlled leveling system: Some advanced setups allow you to adjust jacks from outside the trailer using a handheld remote, eliminating the need to crawl under or climb in repeatedly.
📑 Table of Contents
Why Leveling Matters—Even Without a Truck
Imagine this: You’ve just arrived at a beautiful lakeside campsite after a long drive. The sun is setting, the air is crisp, and all you want is to kick back with a cold drink and enjoy the peace. But when you step inside your 5th wheel, everything feels… off. The fridge isn’t cooling properly, the water drains slowly, and every time you walk across the floor, it feels like you’re on a ship at sea. Sound familiar?
That’s what happens when your 5th wheel isn’t level. And while many RVers assume you need your truck hooked up to adjust the trailer’s position, that’s simply not true. In fact, once you’ve unhitched—whether for storage, parking, or boondocking—you’re often better off leveling without the truck attached. Why? Because the truck can actually interfere with precise adjustments, and it limits your ability to fine-tune the trailer’s stance independently.
Leveling isn’t just about comfort—it’s about safety and functionality. Appliances like refrigerators and water heaters rely on gravity and proper alignment to work efficiently. A tilted fridge might not cool correctly, and a misaligned water heater could fail to ignite. Even your plumbing can suffer; drains may not empty fully, leading to clogs or odors. Plus, an unlevel trailer puts extra stress on your frame, suspension, and landing gear, which can lead to costly repairs down the road.
The good news? You don’t need a heavy-duty truck or complex machinery to get your 5th wheel perfectly level. With a few essential tools and some know-how, you can do it safely and effectively—even if you’re working alone. This guide will walk you through every step, from choosing the right equipment to executing a smooth, stress-free leveling process.
Essential Tools for Leveling Without a Truck

Visual guide about How to Level a 5th Wheel Without a Truck
Image source: mobileabode.net
Before we dive into the actual leveling process, let’s talk about the tools you’ll need. Think of these as your “leveling kit”—the gear that makes the job faster, safer, and more accurate. You don’t need a garage full of equipment, but having the right items on hand will save you time and frustration.
Portable Leveling Blocks or Ramps
These are perhaps the most common and affordable tools for adjusting height under your 5th wheel’s tires or landing gear. Made from durable plastic or composite materials, leveling blocks stack together like LEGO bricks to create custom heights. Some popular brands include Andersen Levelers, Camco FasTen, and Lynx Levelers.
To use them, simply drive or winch your trailer onto the blocks until the desired height is reached. They’re especially useful for correcting low-side issues—when one side of the trailer is lower than the other. For example, if your front left corner is sagging, place stacked blocks under that tire or landing leg until level.
Pro tip: Always chock your wheels after placing leveling blocks to prevent rolling. Even a slight slope can cause movement over time.
Digital or Laser Levels
Forget the old-school bubble level taped to your fridge door. While those work in a pinch, they’re not precise enough for serious leveling. Instead, invest in a digital level (also called an electronic inclinometer) or a laser level. These devices give you real-time readings in degrees or percentages, so you know exactly how much adjustment is needed.
Many digital levels are small enough to fit in your pocket and can be mounted temporarily inside your trailer or placed on the floor. Some even connect to your smartphone via Bluetooth, displaying readings on your screen. Laser levels project a straight line across the interior, making it easy to see if your cabinets, counters, or floors are aligned.
Example: If your digital level shows a 2% slope toward the rear, you’ll know to raise the back by about 1 inch for every 5 feet of length.
Stabilizing Jacks and Scissor Jacks
Once your trailer is level, you’ll need to stabilize it to eliminate unwanted movement. This is where corner jacks come in. Most 5th wheels come with built-in electric or manual stabilizing jacks at each corner. If yours don’t, or if you want extra support, portable scissor jacks are a great addition.
These jacks screw down to the ground and press against the frame, lifting slightly to remove slack and reduce bounce. They won’t lift the trailer significantly—just enough to firm up the structure. Always deploy them after leveling, not before, to avoid warping the frame.
Bonus: Some high-end models feature automatic leveling systems with hydraulic jacks that deploy and adjust with the push of a button. These are game-changers for solo travelers.
Wheel Chocks and Ground Mats
Safety first! Always use wheel chocks on both sides of your tires once the trailer is positioned. This prevents accidental rolling, especially on soft or sloped ground. Pair them with ground mats or plywood pads under your jacks and leveling blocks to distribute weight and prevent sinking into mud or sand.
Step-by-Step: How to Level Your 5th Wheel Without a Truck
Visual guide about How to Level a 5th Wheel Without a Truck
Image source: fourwheeltrends.com
Now that you’ve got your toolkit ready, let’s walk through the actual leveling process. This method assumes you’ve already unhitched your truck and are working independently. Don’t worry—it’s simpler than it sounds.
Step 1: Choose the Right Spot
Before you even think about leveling, pick a campsite that’s as close to level as possible. Use your eyes, a smartphone level app, or a small bubble level to scan the area. Look for natural high points or gently sloping ground that you can work with. Avoid areas with large rocks, roots, or soft soil that could shift under weight.
If you’re boondocking, take a few minutes to walk around and test different spots. Sometimes moving just 10 feet can make a huge difference.
Step 2: Park and Unhitch (If Not Already Done)
Position your 5th wheel so the hitch is clear of the truck bed. Lower the landing gear just enough to take the weight off the hitch—don’t fully extend it yet. Then, disconnect the safety chains, electrical cords, and brake coupler. Lift the hitch handle and slowly back the truck away.
Now your trailer is free-standing and ready for leveling.
Step 3: Check Initial Level
Place your digital level on a flat surface inside the trailer—like the floor near the center or on the kitchen counter. Note the readings for both front-to-back (pitch) and side-to-side (roll). Most digital levels display both axes simultaneously.
Write down the numbers. For example: “Front low by 1.5%, left side low by 0.8%.” This tells you exactly where to make adjustments.
Step 4: Adjust Front-to-Back Level
To correct front-to-back slope, you’ll use the landing gear. Most 5th wheels have manual or electric landing gear that raises and lowers the front end.
– If the front is too low: Raise the landing gear using the crank or motor until the front rises.
– If the front is too high: Lower the landing gear slightly.
Work in small increments—turn the crank a few revolutions at a time, then recheck your level. It’s easy to overshoot, so patience pays off.
Tip: If you’re using leveling blocks under the tires, you can also drive forward or backward slightly to change the front height. But since you’re unhitched, this requires a helper or a winch system.
Step 5: Correct Side-to-Side Imbalance
This is where leveling blocks shine. If one side is lower, place stacked blocks under the low-side tires or landing legs.
For example, if the left side is lower:
– Stop the trailer with the left tires just behind the blocks.
– Slowly lower the landing gear or use a winch to ease the tires onto the blocks.
– Add or remove blocks until the side-to-side level reads zero.
Alternatively, if your trailer has independently adjustable landing legs (some luxury models do), you can raise just the low-side leg using a manual crank or electric motor.
Step 6: Fine-Tune and Stabilize
Once both axes are within 0.2–0.3% of level (ideally as close to zero as possible), it’s time to stabilize.
Deploy your corner jacks or scissor jacks at all four corners. Lower them until they make firm contact with the ground—don’t crank them so hard that they lift the trailer off the leveling blocks, as this can unlevel it again.
Use your level one final time to confirm everything is still aligned. Make micro-adjustments if needed.
Finally, chock all wheels and secure any loose cords or hoses.
Advanced Techniques and Pro Tips
Visual guide about How to Level a 5th Wheel Without a Truck
Image source: fourwheeltrends.com
Once you’ve mastered the basics, there are several advanced strategies that can make leveling even smoother—especially if you’re a frequent traveler or enjoy remote camping.
Use a Remote-Controlled Leveling System
If your 5th wheel is equipped with an automatic leveling system (like those from Lippert or Quadra), you may have a handheld remote that lets you operate the jacks from outside the trailer. This is incredibly convenient because you can watch the trailer move in real time and stop exactly when it’s level.
Some systems even include a “one-touch level” feature that automatically adjusts all jacks based on sensor input. While these systems are more common on high-end RVs, they’re worth the investment if you value convenience and precision.
Create a Leveling Pad with Plywood
For soft or uneven ground, lay down 3/4-inch plywood sheets under your jacks and leveling blocks. This distributes the weight and prevents sinking. Cut the plywood into manageable sizes (2×2 feet works well) and store them in an exterior compartment.
Bonus: Paint the plywood with non-slip coating or add handles for easier handling.
Use a Winch for Precision Positioning
If you’re working alone and need to move the trailer slightly after unhitching, a portable electric winch can be a lifesaver. Anchor it to a tree, rock, or ground stake, and use it to pull the trailer forward or backward by inches. This is especially helpful when fine-tuning tire placement on leveling blocks.
Just remember: Never use a winch to lift the trailer—only to reposition it horizontally.
Monitor Level Over Time
Ground conditions can change. Soil may settle, rain can soften the earth, or temperature shifts can affect your trailer’s frame. Check your level again after 24 hours and periodically during long stays. A quick glance with your digital level can save you from discomfort or appliance issues.
Common Mistakes to Avoid
Even experienced RVers make errors when leveling. Here are some pitfalls to watch out for:
– **Over-tightening stabilizer jacks:** This can lift the trailer off its leveling blocks and cause instability. Only tighten until firm.
– **Ignoring wheel chocks:** Always chock! A rolling trailer can cause serious injury or damage.
– **Using uneven or weak leveling blocks:** Cheap or cracked blocks can collapse under weight. Inspect them before each use.
– **Leveling on soft ground without support:** Without plywood or mats, jacks can sink overnight.
– **Relying solely on bubble levels:** They’re not precise enough for critical adjustments.
– **Trying to level with the truck still attached:** This limits your range of motion and can strain the hitch.
When to Call in Help (or Upgrade Your Setup)
While most people can level a 5th wheel solo, there are times when assistance or upgrades make sense.
If you’re new to RVing, consider asking a friend to help during your first few setups. An extra pair of eyes can catch mistakes and speed up the process.
If you frequently camp on challenging terrain—like steep hills or muddy sites—it may be worth investing in an automatic leveling system or heavy-duty leveling blocks with higher weight ratings.
And if you’re planning extended off-grid stays, a solar-powered electric jack system can save battery life and reduce manual effort.
Remember: The goal isn’t perfection—it’s comfort and safety. A perfectly level trailer is ideal, but being within 0.5% is usually sufficient for most appliances and living functions.
Conclusion
Leveling a 5th wheel without a truck isn’t just doable—it’s a smart, efficient way to set up your RV once you’ve arrived at your destination. With the right tools, a clear process, and a bit of practice, you can achieve a stable, comfortable campsite no matter where your adventures take you.
From portable leveling blocks and digital levels to stabilizer jacks and remote-controlled systems, today’s RVers have more options than ever. The key is preparation: pack your leveling kit, choose your site wisely, and take your time with adjustments.
So the next time you pull into a scenic overlook or a quiet forest clearing, don’t worry about whether your truck is still hooked up. You’ve got this. Level your 5th wheel with confidence, step inside, and enjoy the view—because true RV freedom means being able to camp anywhere, anytime.
Frequently Asked Questions
Can I level a 5th wheel without any tools?
While it’s technically possible to eyeball leveling using basic bubble levels and wooden planks, it’s not recommended. Without proper tools, you risk uneven setup, appliance malfunction, and safety hazards. Investing in a few key items like leveling blocks and a digital level makes the process safer and more accurate.
Do I need to level my 5th wheel if I’m only staying one night?
Yes—even short stays benefit from leveling. Appliances like refrigerators and water heaters can malfunction on slopes, and an unlevel floor affects comfort and sleep quality. A quick 10-minute leveling routine is worth the effort.
What if my campsite is too steep to level?
If the slope exceeds 5–7%, it may be unsafe or impractical to level your 5th wheel. In such cases, consider relocating to a flatter area or using a different campsite. Never force leveling on extreme inclines, as it can damage your trailer or cause tipping.
Can I use regular car ramps to level my 5th wheel?
No. Car ramps are not designed for the weight and tire size of a 5th wheel. They can crack, shift, or fail under load. Always use RV-specific leveling blocks rated for your trailer’s weight.
How often should I check my level after setup?
Check your level immediately after setup, then again after 24 hours (to account for settling), and periodically during long stays—especially after rain or temperature changes. A quick 30-second check can prevent bigger issues.
Is it safe to level on gravel or dirt?
Yes, but always use ground mats or plywood under your jacks and leveling blocks to prevent sinking. Gravel can shift, and dirt may soften, so extra support ensures stability throughout your stay.


