How to Clean Corroded Car Battery Terminals
Contents
- 1 Key Takeaways
- 2 📑 Table of Contents
- 3 Why Corroded Car Battery Terminals Are a Problem
- 4 Signs You Have Corroded Battery Terminals
- 5 Safety Precautions Before You Begin
- 6 Tools and Materials You’ll Need
- 7 Step-by-Step Guide to Cleaning Corroded Battery Terminals
- 8 Preventing Future Corrosion
- 9 When to Call a Professional
- 10 Conclusion
- 11 Frequently Asked Questions
Corroded car battery terminals can cause starting issues, electrical problems, and even battery failure. Cleaning them properly is a quick, inexpensive fix that anyone can do with basic tools and safety precautions.
Key Takeaways
- Safety first: Always wear gloves and safety goggles when handling battery corrosion to protect your skin and eyes from harmful chemicals.
- Disconnect the negative terminal first: This prevents accidental short circuits and reduces the risk of sparks near the battery.
- Use a baking soda and water solution: This natural, non-toxic cleaner neutralizes acid buildup and dissolves corrosion effectively.
- Scrub gently with a wire brush: A dedicated battery terminal brush ensures thorough cleaning without damaging the metal contacts.
- Apply anti-corrosion grease after cleaning: Coating the terminals with dielectric grease or petroleum jelly prevents future buildup and extends battery life.
- Reconnect terminals in the correct order: Attach the positive terminal first, then the negative, to avoid electrical hazards.
- Regular maintenance prevents recurrence: Inspecting your battery every few months helps catch corrosion early and keeps your car running smoothly.
📑 Table of Contents
Why Corroded Car Battery Terminals Are a Problem
If your car has been slow to start, the dashboard lights flicker, or you’ve noticed a strange, powdery substance around the battery terminals, you might be dealing with corrosion. Corroded car battery terminals are more common than you think—and they’re also one of the easiest car maintenance issues to fix. But left unchecked, this white, green, or blueish crust can seriously affect your vehicle’s performance.
Corrosion forms when hydrogen gas escapes from the battery’s electrolyte solution and reacts with the metal terminals. This chemical reaction creates a buildup of lead sulfate and other compounds that look like flaky, chalky residue. Over time, this layer acts as an insulator, blocking the flow of electricity between the battery and the car’s electrical system. The result? Weak cranking, dim headlights, and even a completely dead battery—even if the battery itself is still in good condition.
You might be surprised to learn that a perfectly healthy battery can fail to deliver power simply because the terminals are dirty. Think of it like trying to charge your phone with a frayed cable—the energy is there, but the connection is broken. That’s exactly what happens when corrosion builds up. The good news? Cleaning corroded car battery terminals is a straightforward DIY task that takes less than 30 minutes and costs just a few dollars in supplies.
Signs You Have Corroded Battery Terminals
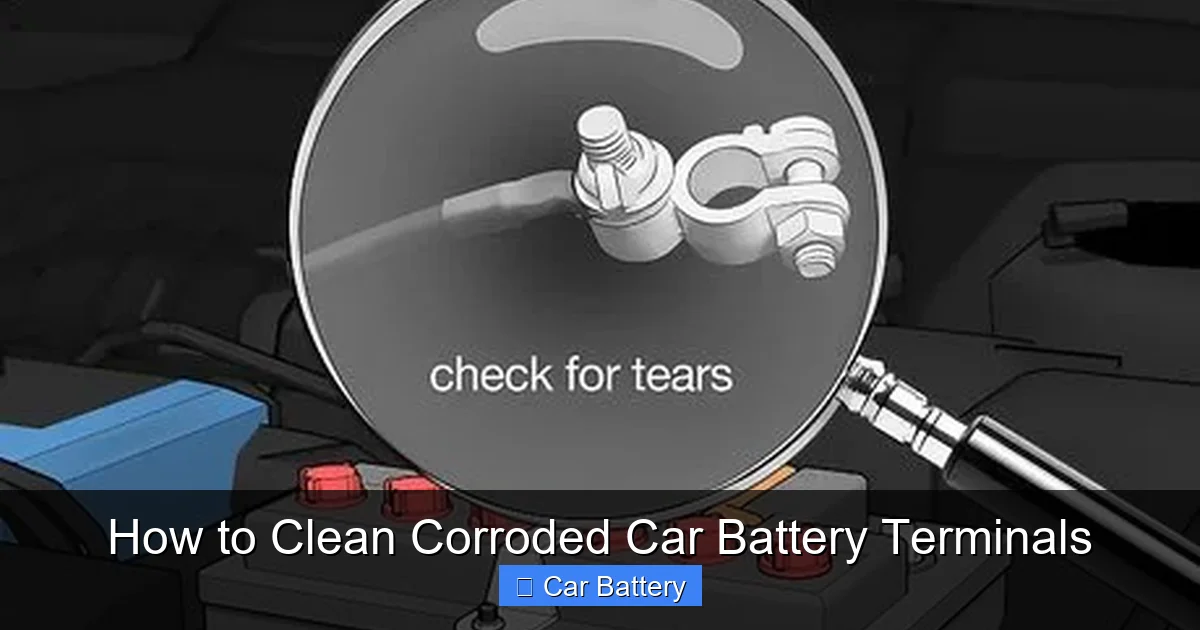
Visual guide about How to Clean Corroded Car Battery Terminals
Image source: wikihow.com
Before you grab your tools, it’s important to confirm that corrosion is actually the issue. While a visual inspection is the most obvious clue, there are several other symptoms that point to dirty or corroded terminals.
One of the most common signs is a slow or hesitant engine start. If your car cranks sluggishly or takes multiple turns of the key to fire up, especially in cold weather, corrosion could be the culprit. Another red flag is flickering interior lights or dim headlights when you turn on the ignition. These electrical irregularities suggest that power isn’t flowing efficiently from the battery to the rest of the vehicle.
You might also notice a strong, sulfur-like smell—similar to rotten eggs—near the battery. This odor comes from escaping hydrogen gas and is a clear indicator of chemical activity around the terminals. In severe cases, you’ll see visible buildup: a white, green, or bluish powder coating the metal clamps and posts. Green corrosion often indicates copper sulfate from the cable connectors, while white or gray residue is typically lead sulfate from the battery itself.
Don’t ignore these signs. Even mild corrosion can worsen over time and lead to bigger problems, like a dead battery or damaged alternator. The sooner you address it, the better your chances of avoiding a roadside breakdown.
Safety Precautions Before You Begin
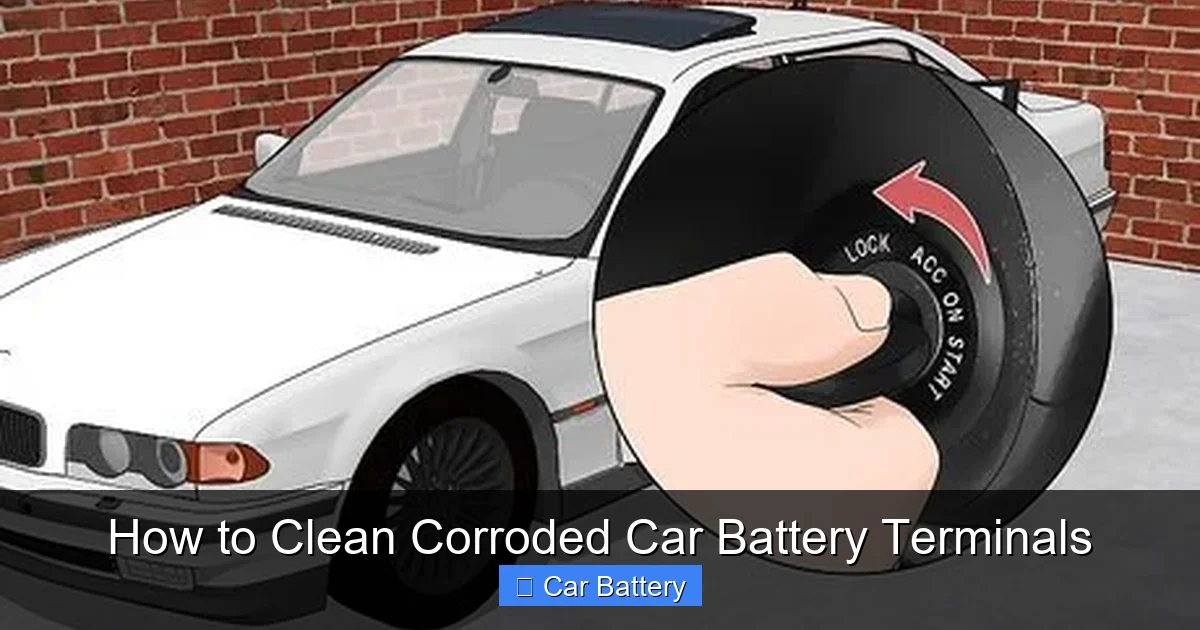
Visual guide about How to Clean Corroded Car Battery Terminals
Image source: wikihow.com
Cleaning corroded car battery terminals isn’t dangerous if you follow the right safety steps—but it can be risky if you don’t. Car batteries contain sulfuric acid and produce flammable hydrogen gas, so taking precautions is essential.
First and foremost, always work in a well-ventilated area. Open your garage door or work outside to ensure proper airflow. This helps disperse any gases and reduces the risk of inhalation. Next, put on protective gear: wear rubber or nitrile gloves to protect your hands from acid and corrosion, and safety goggles to shield your eyes from splashes. Even a small amount of battery acid can cause serious burns or eye damage.
Before touching anything, turn off the engine and remove the keys from the ignition. This prevents accidental sparks or electrical shorts. It’s also a good idea to disconnect any accessories plugged into the car, like phone chargers or dash cams, to avoid power surges.
When handling the battery cables, always disconnect the negative terminal first. The negative cable is usually black and marked with a minus (–) sign. Removing it first breaks the circuit and reduces the chance of a short if your tool accidentally touches both terminals at once. Use a wrench that fits snugly to avoid slipping and sparking.
Keep a fire extinguisher nearby, just in case. While rare, sparks near a battery can ignite hydrogen gas. And never smoke or use open flames around the battery—no exceptions.
Finally, be mindful of where you place your tools. Lay them on a clean, dry surface away from the battery to prevent accidental contact. A simple slip could cause a spark, so take your time and stay focused.
Tools and Materials You’ll Need
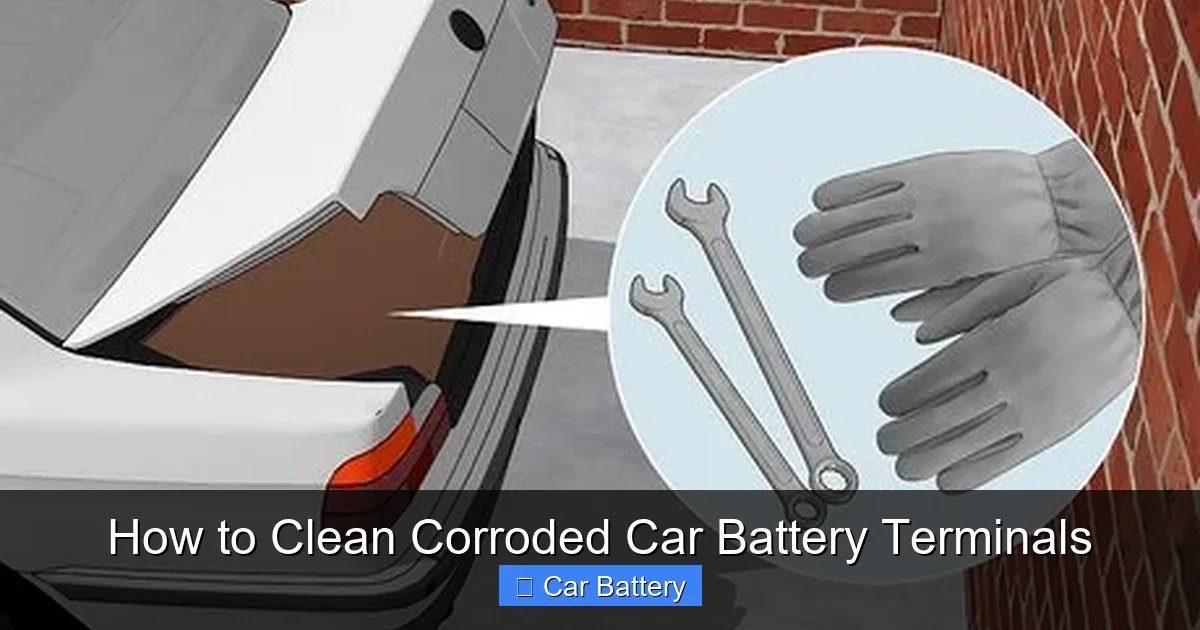
Visual guide about How to Clean Corroded Car Battery Terminals
Image source: wikihow.com
You don’t need a full mechanic’s toolkit to clean corroded car battery terminals. Most of the items are household staples or inexpensive auto supplies you can pick up at any hardware or auto parts store.
Start with safety gear: rubber gloves, safety goggles, and old clothes you don’t mind getting dirty. Next, gather your cleaning supplies. The most effective solution for neutralizing battery acid is a mixture of baking soda and water. Mix about one tablespoon of baking soda with one cup of water to create a paste or sprayable solution. This alkaline mixture counteracts the acidity of the corrosion and makes it easier to scrub away.
You’ll also need a wire brush—preferably one designed specifically for battery terminals. These brushes have stiff bristles and a curved shape that fits snugly around the terminal posts. If you don’t have a battery brush, an old toothbrush or a small wire brush from a hardware store will work in a pinch, but a dedicated tool is more efficient.
For disconnecting the cables, use a wrench or socket set that fits your terminal nuts. Most cars use 10mm or 13mm nuts, but check your owner’s manual if you’re unsure. A pair of pliers can help loosen stubborn clamps, but avoid using excessive force, which could damage the cables.
After cleaning, you’ll want to apply a protective coating to prevent future corrosion. Dielectric grease is ideal—it’s non-conductive and repels moisture. If you don’t have that on hand, regular petroleum jelly (like Vaseline) works well too. Just avoid using WD-40 or other lubricants not designed for electrical connections.
Optional but helpful items include a spray bottle for the baking soda solution, a clean rag or paper towels, and a small container to mix your cleaning paste. Some people also use a battery terminal protector spray, which creates a long-lasting barrier against moisture and acid.
Step-by-Step Guide to Cleaning Corroded Battery Terminals
Now that you’re prepared, it’s time to get your hands dirty—safely and effectively. Follow these steps to clean corroded car battery terminals like a pro.
Step 1: Locate and Inspect the Battery
Pop the hood and find your car’s battery. It’s usually a rectangular box with two thick cables attached to the top—one red (positive) and one black (negative). Some batteries are under a plastic cover, which you can gently lift or unscrew. Once exposed, inspect the terminals for signs of corrosion: white, green, or blue powder, crusty buildup, or flaking metal.
Take a moment to assess the severity. Light corrosion looks like a thin film, while heavy buildup may completely cover the terminal and cable clamp. The more severe the corrosion, the more thorough your cleaning will need to be.
Step 2: Disconnect the Battery Cables
Start by loosening the nut on the negative terminal (black cable) using your wrench. Turn it counterclockwise until the clamp comes free. Carefully lift the cable off the terminal and tuck it aside, making sure it doesn’t touch any metal parts of the car. Repeat the process for the positive terminal (red cable), but do this second to minimize the risk of short circuits.
If the cables are stuck, gently wiggle the clamp back and forth while pulling upward. Avoid prying with a screwdriver, as this can damage the terminal. If the nut is rusted or seized, spray a little penetrating oil (like PB Blaster) and wait a few minutes before trying again.
Step 3: Apply the Cleaning Solution
Now it’s time to tackle the corrosion. Dip your wire brush into the baking soda and water solution, or spray it directly onto the terminals and cable clamps. You’ll notice it start to fizz—that’s the baking soda neutralizing the acid. Let it sit for a minute or two to break down the buildup.
For heavy corrosion, you can make a thicker paste by mixing baking soda with a little water until it resembles toothpaste. Apply it directly to the affected areas and let it sit for 5–10 minutes. This gives the solution more time to penetrate and dissolve the crust.
Step 4: Scrub the Terminals and Clamps
Using your wire brush, scrub the terminals and the inside of the cable clamps thoroughly. Focus on removing all visible residue, especially around the edges where corrosion tends to hide. Rotate the brush and apply firm pressure, but avoid scratching the metal too deeply.
For tight spots or stubborn buildup, use an old toothbrush or a small detail brush. Pay special attention to the area where the clamp meets the terminal—this is where poor connections often start.
Once the terminals look clean and shiny, wipe them down with a damp rag to remove any leftover paste or debris. Then dry everything completely with a clean towel. Moisture left on the terminals can lead to new corrosion, so make sure they’re bone dry before reassembly.
Step 5: Rinse and Dry (Optional)
If you used a lot of baking soda paste or if there’s residue in the battery tray, you can rinse the area with a small amount of clean water. Use a spray bottle or a damp cloth—don’t pour water directly onto the battery. After rinsing, dry everything thoroughly with a towel.
Note: Only rinse if necessary. Most mechanics recommend avoiding water altogether, as it can dilute the electrolyte inside the battery if it seeps through the vents. If you do rinse, be extra careful and dry everything completely.
Step 6: Apply Anti-Corrosion Protection
This step is crucial for preventing future corrosion. Once the terminals are clean and dry, apply a thin layer of dielectric grease or petroleum jelly to both the battery posts and the inside of the cable clamps. Use a small brush or your gloved finger to spread it evenly.
The grease creates a moisture-resistant barrier that stops acid fumes from reaching the metal. It also makes future cleanings easier, as corrosion won’t stick as strongly. Don’t skip this step—it’s one of the best ways to extend the life of your battery and cables.
Step 7: Reconnect the Cables
Now it’s time to put everything back together. Start with the positive terminal (red cable). Slide the clamp over the post and tighten the nut securely with your wrench. Make sure it’s snug but don’t over-tighten, as this can strip the threads.
Next, reconnect the negative terminal (black cable) in the same way. Double-check that both cables are firmly attached and won’t move around.
Step 8: Test the Connection
Close the hood and start your car. If the engine cranks smoothly and the lights come on brightly, you’ve successfully cleaned the terminals. If the car still struggles to start, there may be another issue—like a weak battery or alternator problem—that requires further diagnosis.
Preventing Future Corrosion
Cleaning corroded car battery terminals is a great first step, but the real win comes from preventing it from happening again. With a few simple habits, you can keep your battery terminals clean and your car running reliably for years.
One of the best prevention methods is regular inspection. Make it a habit to check your battery every three to six months, especially before winter or summer—extreme temperatures accelerate corrosion. Look for early signs of buildup and clean it immediately before it becomes a problem.
Applying a protective coating after cleaning is another key step. As mentioned earlier, dielectric grease or petroleum jelly creates a barrier against moisture and acid fumes. Reapply it every time you clean the terminals or if you notice it starting to wear off.
You can also use commercial battery terminal protectors, which come in spray or felt pad form. These products are designed to fit over the terminals and absorb any escaping gases. They’re especially useful in humid climates or if you live near the ocean, where salt air increases corrosion risk.
Another tip: keep the battery tray clean and dry. Dirt, oil, and moisture can trap acid fumes and speed up corrosion. Wipe down the area around the battery during oil changes or routine maintenance.
If your car sits unused for long periods—like a classic car or seasonal vehicle—consider using a battery maintainer or trickle charger. These devices keep the battery at full charge without overcharging, which reduces gas buildup and slows corrosion.
Finally, make sure your battery is securely mounted. Vibration can loosen terminals and create gaps where moisture and acid can accumulate. Check the hold-down clamp periodically and tighten it if needed.
When to Call a Professional
While cleaning corroded car battery terminals is a DIY-friendly task, there are times when it’s best to call in a mechanic.
If the corrosion is extremely severe—so bad that the terminals are pitted, cracked, or crumbling—the battery or cables may need replacement. In such cases, cleaning alone won’t fix the problem. A professional can test the battery’s voltage and overall health to determine if it’s still usable.
You should also seek help if you’re uncomfortable working with car batteries or don’t have the right tools. Safety is paramount, and if you’re unsure about any step, it’s better to get expert assistance.
Additionally, if cleaning the terminals doesn’t resolve starting or electrical issues, there may be a deeper problem. Faulty alternators, bad starters, or wiring issues can mimic battery problems. A mechanic can run a full diagnostic to pinpoint the real cause.
Lastly, if you notice leaks, swelling, or a strong sulfur smell that doesn’t go away after cleaning, stop using the battery immediately. These are signs of a damaged or failing battery that could be dangerous. Dispose of it properly and replace it as soon as possible.
Conclusion
Cleaning corroded car battery terminals is one of the simplest and most effective ways to maintain your vehicle’s electrical system. It takes just a few minutes, costs almost nothing, and can save you from unexpected breakdowns and expensive repairs. By following the steps outlined in this guide—safely disconnecting the cables, using a baking soda solution, scrubbing thoroughly, and applying protective grease—you’ll restore power and extend the life of your battery.
Remember, prevention is just as important as cleanup. Regular inspections, protective coatings, and proper storage habits go a long way in keeping corrosion at bay. And if you ever feel unsure or encounter serious damage, don’t hesitate to consult a professional.
Your car’s battery is the heart of its electrical system—treat it with care, and it will keep you moving mile after mile.
Frequently Asked Questions
Can I clean battery terminals without disconnecting the cables?
It’s not recommended. Disconnecting the cables ensures safety and allows for a thorough cleaning. Leaving them connected increases the risk of short circuits and makes it harder to scrub the terminals properly.
Is it safe to use vinegar to clean battery corrosion?
Vinegar is acidic and can worsen corrosion over time. Baking soda is a better choice because it neutralizes the battery’s acid and safely dissolves buildup without damaging the metal.
How often should I clean my car battery terminals?
Inspect your battery every 3–6 months. Clean the terminals as soon as you notice any corrosion. In humid or salty environments, more frequent checks may be needed.
Can corroded terminals cause a dead battery?
Yes. Corrosion blocks electrical flow, preventing the battery from delivering power—even if the battery itself is fully charged. This can lead to slow starts or a completely dead engine.
What’s the white powder on my battery terminals?
The white, powdery substance is usually lead sulfate, a byproduct of the chemical reaction between battery acid and the metal terminals. It’s a sign of corrosion and should be cleaned promptly.
Can I drive with corroded battery terminals?
It’s not advisable. While the car may still run, corrosion can worsen quickly and lead to electrical failures. Cleaning the terminals is a quick fix that prevents bigger problems down the road.