

How to Remove Paint Protection Film from a Car
Contents
- 1 Key Takeaways
- 2 📑 Table of Contents
- 3 Introduction: Why Remove Paint Protection Film?
- 4 When Should You Remove Paint Protection Film?
- 5 Tools and Materials You’ll Need
- 6 Step-by-Step Guide to Removing Paint Protection Film
- 7 Common Mistakes to Avoid
- 8 When to Call a Professional
- 9 Conclusion: Restore Your Car’s Shine Safely
- 10 Frequently Asked Questions


Removing paint protection film from a car doesn’t have to be stressful—if you do it right. With the proper tools, techniques, and patience, you can peel off old or damaged film without harming your vehicle’s paint. This guide walks you through every step, from preparation to cleanup, so you can restore your car’s finish like a pro.
Key Takeaways
- Use heat to loosen the adhesive: A heat gun or hair dryer softens the glue, making the film easier to peel off without tearing.
- Work in small sections: Tackle one area at a time to maintain control and prevent the film from re-adhering.
- Never pull too hard: Forcing the film can damage the paint or leave behind stubborn residue.
- Use a plastic razor blade for residue: Safely scrape off leftover adhesive without scratching the clear coat.
- Clean and polish after removal: Restore shine and protect the paint with a thorough wash, clay bar, and wax or sealant.
- Avoid harsh chemicals: Stick to automotive-safe adhesive removers to protect your car’s finish.
- Consider professional help for large jobs: If the film is old, brittle, or covers large areas, a detailer may save you time and risk.
📑 Table of Contents
Introduction: Why Remove Paint Protection Film?
Paint protection film (PPF), also known as clear bra, has become a popular choice for car owners who want to shield their vehicle’s paint from rock chips, bug splatter, UV rays, and minor scratches. Applied to high-impact areas like the front bumper, hood, fenders, and mirrors, PPF acts like an invisible shield—transparent, durable, and long-lasting. But like any protective layer, it doesn’t last forever. Over time, the film can yellow, crack, peel at the edges, or simply lose its effectiveness. When that happens, it’s time to remove it.
You might be wondering: “Can I remove paint protection film myself, or should I leave it to the pros?” The good news is that, in most cases, DIY removal is not only possible but also straightforward—if you follow the right steps. Whether your PPF is old and deteriorating, you’re prepping your car for a new wrap, or you just want a fresh look, knowing how to remove paint protection film from a car safely is a valuable skill. This guide will walk you through the entire process, from gathering the right tools to finishing with a polished shine.
When Should You Remove Paint Protection Film?
Visual guide about How to Remove Paint Protection Film from a Car
Image source: lirp.cdn-website.com
Not all PPF needs to be removed immediately. High-quality films can last 5 to 10 years, depending on the brand, climate, and how well they’re maintained. But there are clear signs that it’s time to take it off. One of the most obvious is yellowing. Over time, exposure to sunlight and environmental pollutants can cause the film to discolor, giving your car a dull, aged appearance—especially on white or light-colored vehicles. If you notice brownish or amber tints, especially along the edges, it’s a strong indicator that the film has degraded.
Another red flag is peeling or lifting at the edges. This often happens due to poor installation, wear and tear, or exposure to extreme temperatures. When the film starts to curl or bubble, it not only looks unsightly but can also trap moisture and dirt underneath, potentially leading to paint damage. Cracking or brittleness is another sign—older films may become stiff and start to fracture, especially in cold weather. If you see fine lines or chunks missing, it’s time to act.
You might also want to remove PPF if you’re planning to sell your car. A fresh, clean paint surface can significantly boost resale value. Buyers often prefer original, unprotected paint because it shows the true condition of the vehicle. Additionally, if you’re applying a new wrap, ceramic coating, or even a new layer of PPF, the old film must be completely removed first. Any residue or uneven surface can compromise the adhesion and finish of the new application.
Finally, some people simply want a change. Maybe you’ve had the same film for years and want to refresh your car’s look. Or perhaps you’re switching from a glossy to a matte finish. Whatever your reason, knowing when and how to remove paint protection film ensures you do it safely and effectively.
Tools and Materials You’ll Need

Visual guide about How to Remove Paint Protection Film from a Car
Image source: exclusivepaintprotection.com
Before you start peeling, it’s essential to gather the right tools. Using the wrong equipment can lead to scratches, paint damage, or a frustrating, time-consuming process. The good news is that most of these items are affordable and easy to find at auto parts stores or online.
First and foremost, you’ll need a heat source. A heat gun is ideal because it provides consistent, adjustable heat, but a hair dryer on its highest setting can work in a pinch—especially for smaller areas. Heat softens the adhesive, making the film easier to lift and peel without tearing. Avoid open flames or torches, as they can easily damage the paint or melt the film into a sticky mess.
Next, you’ll need a set of plastic razor blades or a dedicated PPF removal tool. Metal scrapers are a big no-no—they can scratch the clear coat, especially if there’s any debris underneath. Plastic blades are gentle yet effective at lifting the film and scraping off residue. Look for ones with replaceable blades so you can keep them sharp and clean.
Adhesive remover is another key item. Products like Goo Gone Automotive, 3M Adhesive Remover, or isopropyl alcohol (70% or higher) can dissolve leftover glue without harming the paint. Always test any chemical on a small, inconspicuous area first to ensure it doesn’t cause discoloration or damage. Avoid harsh solvents like acetone or nail polish remover—they can strip wax, damage clear coats, or even etch the paint.
You’ll also want a microfiber towel or two for wiping down surfaces and cleaning up residue. A clean, lint-free cloth is essential for applying adhesive remover and buffing the surface afterward. Don’t forget gloves—nitrile or latex gloves protect your hands from chemicals and sticky residue.
For the final cleanup, have a bucket of soapy water, a wash mitt, and a clay bar kit on hand. After removing the film, your car’s surface may feel rough or contaminated. Washing removes surface dirt, while a clay bar lifts embedded contaminants, leaving the paint smooth and ready for wax or sealant. Finally, a good-quality car wax or paint sealant will restore shine and provide a protective layer.
Optional but helpful tools include a spray bottle filled with soapy water (to help loosen stubborn edges), a soft-bristle brush for tight areas, and a detailing spray for quick touch-ups. If you’re working on a large vehicle or a full front-end wrap, consider using a friend to help hold the film as you peel—it makes the process much easier.
Step-by-Step Guide to Removing Paint Protection Film
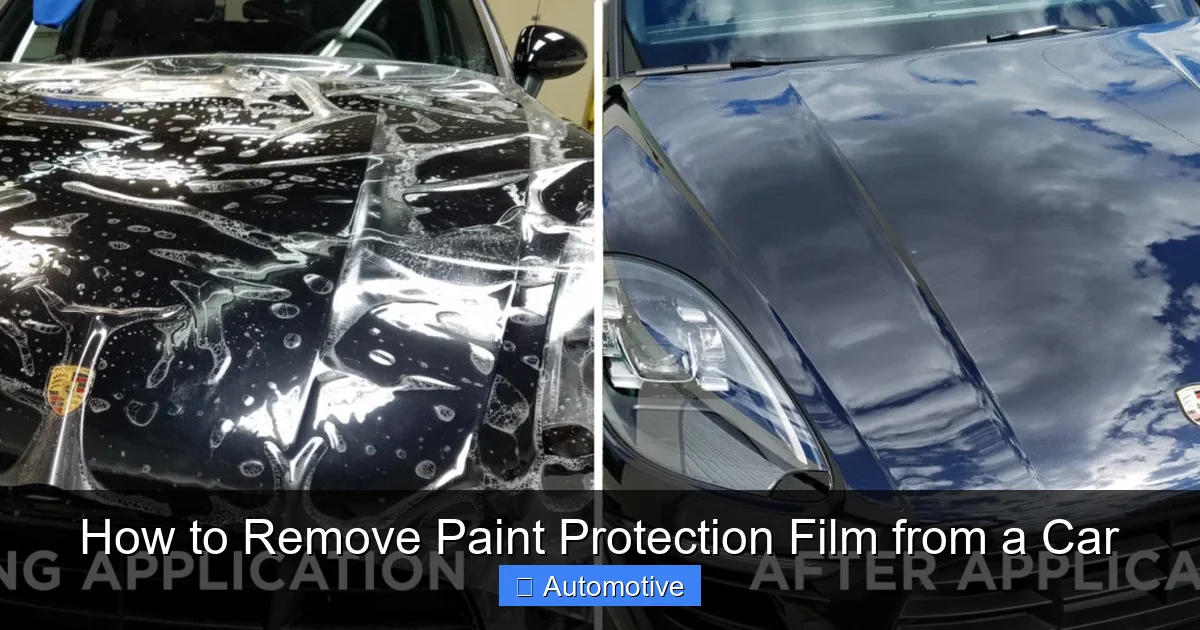
Visual guide about How to Remove Paint Protection Film from a Car
Image source: exclusivepaintprotection.com
Now that you’re equipped with the right tools, it’s time to get started. The key to successful PPF removal is patience and precision. Rushing can lead to mistakes, so take your time and work methodically.
Step 1: Prepare the Work Area
Choose a clean, shaded location to work—direct sunlight can cause the adhesive remover to evaporate too quickly, reducing its effectiveness. A garage or carport is ideal. Make sure the car is cool to the touch; hot surfaces can make the film brittle and harder to remove. Wash the vehicle thoroughly to remove dirt, dust, and grime. Any debris left on the surface can scratch the paint during removal.
Step 2: Heat the Film
Start by heating a small section of the film—about 6 to 12 inches—using your heat gun or hair dryer. Hold the heat source about 6 to 8 inches away and move it slowly back and forth. You’ll notice the film begin to soften and slightly lift at the edges. Be careful not to overheat—too much heat can damage the paint or cause the film to bubble excessively. The goal is to warm the adhesive, not melt the film.
Step 3: Lift and Peel
Once the film is warm and pliable, use your fingernail or a plastic razor blade to lift a corner. Gently pull the film back at a 45-degree angle, keeping it taut but not tight. If it starts to tear, stop and apply more heat to that section. Continue peeling slowly, working your way across the panel. For larger sections, you can use a friend to help hold the film as you pull.
Step 4: Remove Residual Adhesive
After the bulk of the film is off, you’ll likely have a sticky residue left behind. Apply a small amount of adhesive remover to a microfiber towel and gently rub the area. Let it sit for 30 to 60 seconds to break down the glue, then wipe it away. For stubborn spots, use a plastic razor blade at a shallow angle to scrape off the residue—never dig or force it. Repeat until the surface is clean.
Step 5: Clean and Polish the Surface
Once all the film and residue are gone, wash the area again to remove any chemical traces. Use a clay bar to remove any remaining contaminants, then dry the surface thoroughly. Apply a coat of wax or sealant to restore protection and shine. This step is crucial—without it, the exposed paint is vulnerable to UV damage and oxidation.
Common Mistakes to Avoid
Even with the best intentions, mistakes can happen. One of the most common errors is pulling the film too quickly or at the wrong angle. This can cause it to tear, leaving behind chunks that are harder to remove. Always peel slowly and at a consistent angle, and don’t hesitate to reheat if needed.
Another mistake is using metal tools. While they might seem more effective, they can easily scratch the paint, especially if there’s sand or dirt trapped underneath. Stick to plastic blades and soft cloths to protect your car’s finish.
Skipping the cleanup step is also a big no-no. Residual adhesive can attract dirt and make the paint look dull. Always follow up with a thorough wash, clay bar, and wax to restore the surface.
Finally, don’t rush the process. Removing PPF takes time, especially on larger vehicles. Trying to speed through it increases the risk of damage. Set aside a few hours, stay patient, and focus on quality over speed.
When to Call a Professional
While DIY removal is possible for most cars, there are situations where it’s better to leave it to the experts. If the film is extremely old, brittle, or covers large areas like the entire hood or bumper, professional removal may be safer. Detailers have specialized tools, experience, and access to stronger (but paint-safe) solvents that can make the job faster and more effective.
Additionally, if you’re unsure about the condition of your paint—especially if it’s been repainted or has existing damage—consult a professional. They can assess the risk and use techniques that minimize the chance of harm.
Conclusion: Restore Your Car’s Shine Safely
Removing paint protection film from a car might seem intimidating at first, but with the right approach, it’s a manageable task that can breathe new life into your vehicle. By using heat, gentle tools, and safe cleaning products, you can strip away old, worn film without harming the paint underneath. The key is to work slowly, stay patient, and finish with a proper cleanup and protection routine.
Whether you’re prepping for a new wrap, selling your car, or just want a fresh look, knowing how to remove paint protection film gives you control over your vehicle’s appearance. And with the tips and techniques in this guide, you’ll be able to do it confidently and effectively. So grab your tools, find a shady spot, and get ready to reveal the true beauty of your car’s paint.
Frequently Asked Questions
Can I remove paint protection film myself?
Yes, most car owners can safely remove PPF at home with the right tools and techniques. Just be patient, use heat to loosen the adhesive, and avoid metal scrapers to prevent paint damage.
Will removing PPF damage my car’s paint?
If done correctly, no—removing PPF should not damage the paint. However, using excessive force, metal tools, or harsh chemicals can scratch or strip the clear coat. Always test products first and work gently.
How long does it take to remove PPF from a car?
The time varies based on the size of the area. A small section like a bumper might take 30–60 minutes, while a full front-end wrap could take 2–4 hours. Rushing increases the risk of mistakes.
What should I do if the film tears during removal?
Stop pulling and apply more heat to the torn section. Once it’s soft, gently lift the edge with a plastic blade and continue peeling slowly. Don’t force it—patience is key.
Can I reuse the old PPF after removal?
No, paint protection film is designed for one-time use. Once removed, it loses its adhesive properties and clarity, making it unsuitable for reapplication.
Do I need to wax my car after removing PPF?
Yes, waxing or sealing the paint after removal is highly recommended. It restores shine, fills minor imperfections, and protects the exposed paint from UV rays and environmental damage.


