How to Remove Oil Stains from Car Upholstery

Let’s be honest—oil stains on car upholstery are one of those frustrating surprises that ruin an otherwise good day. Whether it’s a greasy snack, a spilled engine oil bottle, or your kid dropping a burger on the backseat, these dark blotches can feel permanent.
But here’s the truth: you don’t need to panic. You don’t need to pay a fortune for professional detailing either. With a bit of patience and some household items, you can remove oil stains from car upholstery like a pro. I’ve dealt with my fair share of car messes—sometimes from road trips, sometimes from working on the car—and I’ll share what really works.
In this guide, I’ll walk you through practical, easy-to-understand steps to get your car seats looking clean again. We’ll talk about materials, methods, mistakes to avoid, and even a few surprising hacks. Ready? Let’s roll up our sleeves and dive in.
Why Oil Stains Are So Tough to Clean

Oil molecules bond tightly with upholstery threads. That’s why you often see the stain reappear even after it “looks” gone. It’s sneaky like that. And if you don’t treat it quickly, it can set in forever, especially under heat or sunlight.
But don’t worry—if you act fast, and follow the right process, it’s totally fixable.
Things You Should Know Before You Start Cleaning
Before we start scrubbing away at that greasy mess, let’s cover a few basics. Cleaning oil stains isn’t rocket science, but there are rules.
Here’s what you should always remember:
-
Blot, don’t rub. Rubbing pushes oil deeper.
-
Test cleaners first. Try on a hidden area.
-
Act quickly. The longer it sits, the worse it gets.
-
Know your fabric. Leather, suede, and cloth all need different care.
If you’re unsure of your car’s upholstery material, check the owner’s manual or look under the seat tags.
Tools and Items You’ll Need
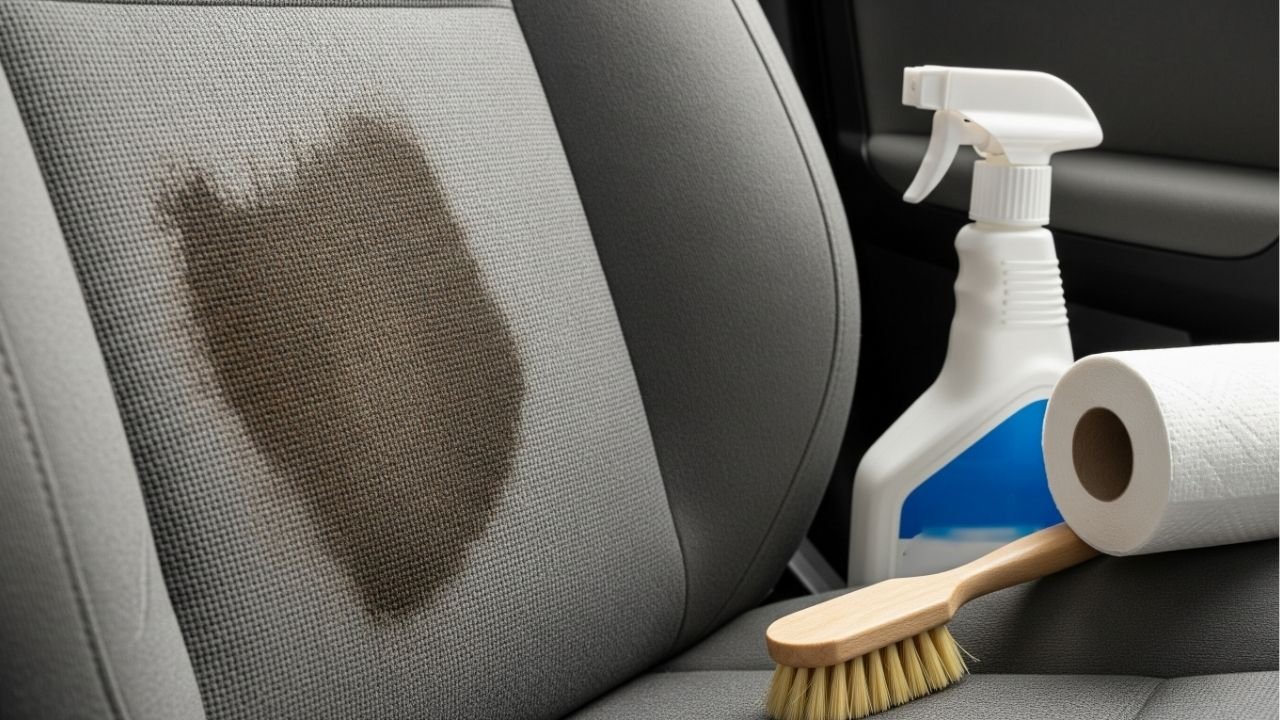
You probably already have most of these things at home. If not, they’re cheap and easy to find. Here’s a simple table to guide you:
| Item | Why You Need It |
|---|---|
| Paper towels / napkins | To blot excess oil |
| Baking soda / cornstarch | Absorbs oil before deep cleaning |
| Dishwashing liquid | Cuts through grease |
| Soft-bristled brush | Helps lift dirt and oil particles |
| Microfiber cloth | Gentle on upholstery, reusable |
| Warm water | Activates cleaning solutions |
| Vacuum (optional) | Removes dry powder or crumbs before and after cleaning |
You can also use white vinegar, club soda, or rubbing alcohol—we’ll explain when and how in a bit.
Step-by-Step Process: How to Remove Oil Stains from Car Upholstery
This is where the magic happens. Follow these steps and your seats will thank you.
Step 1: Blot Immediately
When you first notice the stain, don’t rub! Take a paper towel or dry napkin and press gently on the oil. This helps lift excess grease without pushing it in deeper. If it’s a fresh spill, you might catch most of it here.
Take your time. Blot from the outside of the stain inward to avoid spreading it.
Step 2: Apply an Absorbent Powder
Next, sprinkle baking soda or cornstarch directly on the stained area. These powders are oil magnets. Let it sit for 15–30 minutes. The powder will start pulling out oil trapped in the fibers.
Once done, vacuum or brush it off gently. You’ll likely see a faded mark already.
Step 3: Mix a Simple Degreasing Solution
Now we need to break down what’s left. Mix a few drops of dishwashing liquid (preferably something like Dawn) in a cup of warm water. Dish soap is great at cutting grease—it’s what it’s made for.
Dip your microfiber cloth into the solution and wring it out. Then dab it on the stain, gently working it into the fabric. Don’t soak it—just moisten it.
Let it sit for about 5 minutes.
Step 4: Lightly Scrub
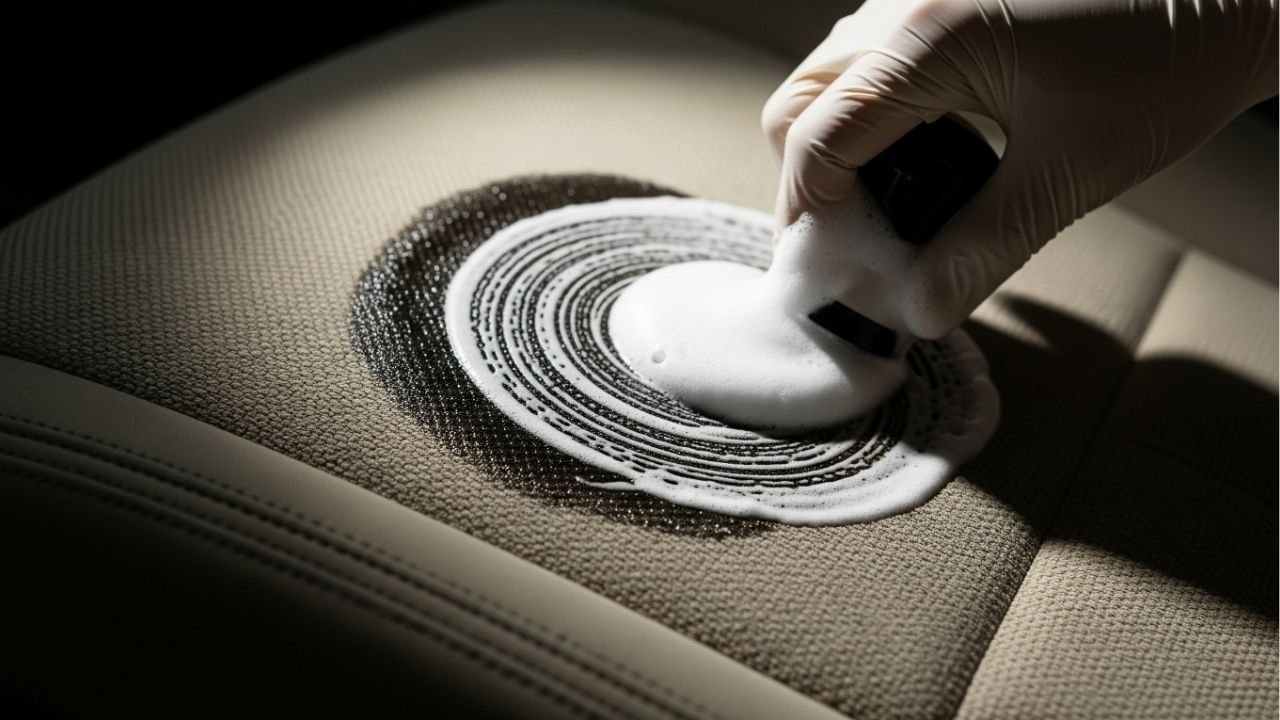
Take a soft brush or an old toothbrush and gently scrub the stained area in small circles. You’ll see suds forming. This friction helps loosen what’s clinging deep in the fabric.
Be careful here—if your fabric is delicate or already worn out, don’t be too aggressive.
Step 5: Rinse and Dry
Use another cloth dipped in clean warm water to blot and remove any soapy residue. You might have to do this 2–3 times until it feels clean.
Now, blot dry with a towel. Leave the window open or turn on your car’s fan to air it out. Never let wet upholstery sit in a closed car—it can grow mildew.
Alternative Hacks That Actually Work
Sometimes, the basic method isn’t enough. If the stain is old or stubborn, here are some surprising tricks that have worked wonders for me.
-
Rubbing alcohol: Works great on synthetic fabrics. Dab it on with cotton and blot.
-
WD-40: I know, sounds crazy. But it breaks down oil! Use with caution and test first.
-
Vinegar spray: Equal parts vinegar and water can deodorize and loosen old grease.
-
Club soda: It fizzes and lifts stains. Works especially well with baking soda.
Not every method works on every fabric—so always do a small patch test first.
Common Mistakes to Avoid
It’s easy to get carried away when you’re dealing with a stain. But these missteps can make things worse:
-
Over-saturating the fabric – This can cause mold or water rings.
-
Using bleach or harsh chemicals – They damage the material and color.
-
Skipping the drying step – A damp car seat smells awful fast.
-
Not vacuuming the powder – Leftover baking soda can cause discoloration or texture issues.
I once scrubbed so hard with vinegar that I damaged my car’s seat stitching. Trust me—it’s not worth rushing. Gentle and slow always wins.
Quick Reference Summary: Do’s and Don’ts
Here’s a quick bullet list to sum things up:
Do:
-
Blot first
-
Use baking soda/cornstarch
-
Apply gentle dish soap
-
Work in small circular motions
-
Test every new cleaner
-
Dry completely
Don’t:
-
Rub harshly
-
Soak the fabric
-
Use strong chemicals
-
Ignore fabric type
-
Leave stain untreated for long
How to Prevent Oil Stains in Car Upholstery
Let’s be honest, even if you clean your car like a champ, prevention is always better. Keeping your car interior free from oil stains saves time, effort, and money. Here are some smart and easy ways to stop stains before they start.
Use Protective Covers
Seat covers are lifesavers. I use washable fabric ones in my car and remove them once a month to clean. They’re especially helpful if you have pets, kids, or do a lot of takeout food runs.
You can also add rubber or plastic mats for added protection, especially under baby seats or mechanic tool bags.
Be Prepared with Emergency Cleaning Supplies
Keep a small cleaning kit in the trunk. Include:
-
Microfiber cloths
-
Travel-sized dish soap
-
A small bottle of vinegar
-
Baking soda in a sealed bag
-
A soft brush
It might seem extra, but I’ve saved my car from many messy disasters thanks to this emergency stash.
Avoid Eating Greasy Foods in the Car
We all do it. Late-night fries or roadside burgers just taste better in the car. But food spills are the number one reason for oil stains. If you have to eat on the go, keep napkins and wet wipes handy. Try to eat over a tray or container to catch drips.
When Should You Call a Professional?
Sometimes, no matter how much scrubbing or blotting you do, the stain won’t budge. Maybe it’s a months-old stain, or the oil has soaked into foam layers beneath the fabric.
Here are signs that you might need help:
-
A deep, set-in stain that keeps reappearing
-
Upholstery has a strong odor
-
Stains affecting multiple seats or leather interiors
-
Previous DIY efforts made it worse
Professional detailers use steam cleaners, industrial solvents, and extraction tools that reach deep layers without damaging your seats. If your car is new or high-end, calling a pro might be the safer choice.
FAQs: Common Questions About Removing Oil Stains from Car Upholstery
1. Can I use regular laundry detergent instead of dish soap?
You can, but dish soap is better at cutting grease. Laundry detergents may foam too much or leave residue. Use them only if they’re labeled as safe for delicate fabrics.
2. Will vinegar discolor my seats?
Vinegar is generally safe in diluted form (equal parts water and vinegar). But always test a small hidden area first, especially if your seats are made of dyed fabric.
3. How long does it take for a stain to set?
Surprisingly, it can start setting in within an hour. The longer it sits, the harder it is to remove. That’s why fast action is key.
4. Can I use baby powder instead of baking soda?
Yes! Baby powder and cornstarch both absorb oil. They work well in a pinch, especially if you’re on the road or don’t have baking soda handy.
5. Does heat help remove oil stains?
Actually, no. Heat can set oil stains permanently. Avoid using hot water or drying in the sun until the stain is completely gone.
6. Is leather easier to clean than fabric?
Leather can be easier to wipe clean, but oil can seep into the pores of unsealed or untreated leather. Use a leather cleaner and conditioner after cleaning to protect the surface.
7. What’s the best natural cleaner for oil stains?
A mixture of baking soda, vinegar, and warm water is a powerful and non-toxic option. It’s safe, cheap, and effective.
8. Why does the stain reappear after I clean it?
This often happens when oil soaks deep into the padding underneath. Surface cleaning removes the top layer, but the oil resurfaces over time. Multiple cleaning cycles may be needed.
Bonus: Natural vs. Chemical Cleaners – Which Works Best?
Here’s a quick comparison to help you choose:
| Cleaner Type | Pros | Cons |
|---|---|---|
| Natural | Safe, eco-friendly, no harsh fumes | May take longer, less aggressive |
| Chemical | Fast-acting, strong stain-lifting power | Can damage fabric, risky if misused |
If kids or pets use your car often, stick to natural options. But if the stain is severe, you might need to go chemical—just use carefully.
Real-Life Story: That Time I Spilled Fry Oil in the Passenger Seat
Let me tell you a quick story. A few years ago, during a trip to Cox’s Bazar, I picked up some fried snacks from a street vendor and stupidly placed the oily paper bag on the seat. Big mistake. I didn’t notice the stain until we reached the hotel. The seat had a massive dark patch. I panicked.
Luckily, I had baking soda and some detergent in my travel bag. I followed the exact method I’ve shared with you. It wasn’t perfect at first, but after repeating the process twice, the stain disappeared. That moment made me realize: being prepared and calm makes all the difference.
Final Thoughts: Keep Calm and Clean On
Oil stains are annoying, yes. But they’re not the end of the world. With the right tools, some quick action, and a little bit of elbow grease, you can remove oil stains from car upholstery easily—even if you’re not a professional detailer.
The key is to act fast, stay gentle, and follow the right steps. Keep a few cleaning supplies in the car. Avoid greasy food spills. And remember: a little stain doesn’t define your car. Clean it up and keep moving.
So next time someone says, “Oops, I spilled something,” you’ll smile and say, “No problem—I’ve got this.”


