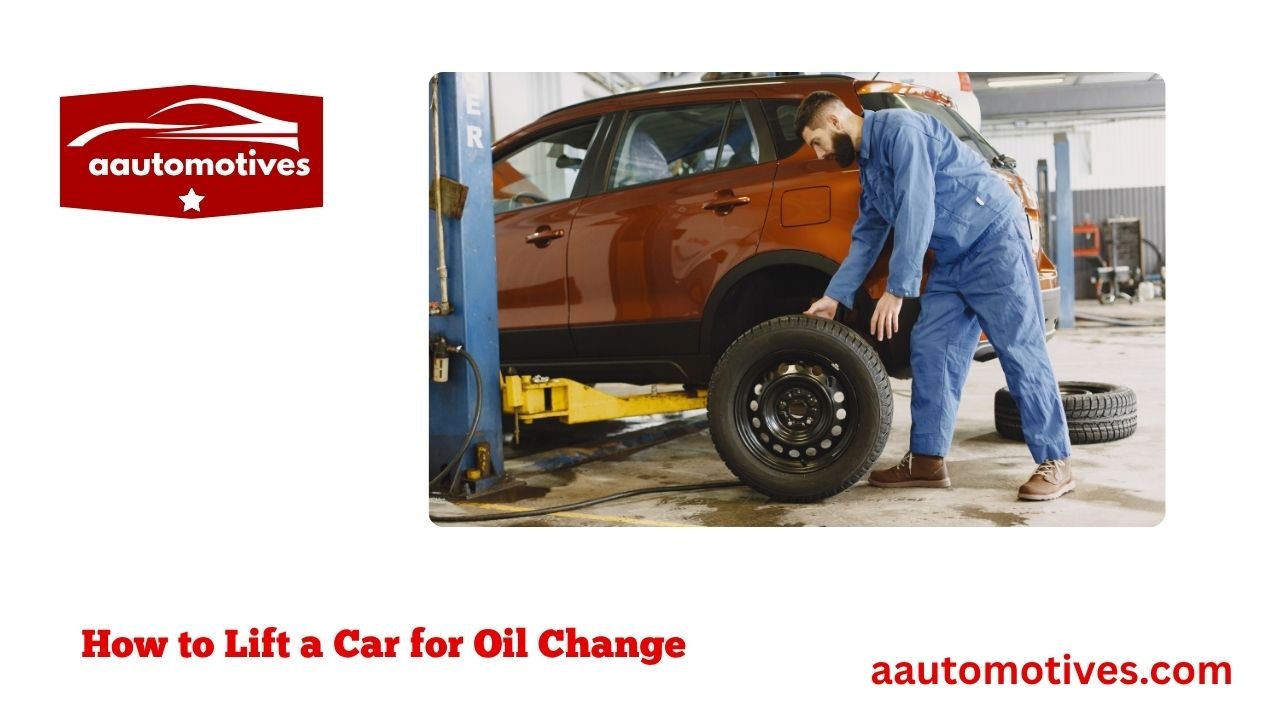
How to Lift a Car for Oil Change

Changing your car’s oil at home feels like a small victory. It’s a moment where you’re not just saving money—you’re connecting with your car in a real, hands-on way. But before you can enjoy that satisfying oil change, you have to tackle one important (and often intimidating) step: how to lift a car for oil change safely.
Now, if this sounds a bit scary—don’t worry. I’ve been there. The first time I slid under my car, I was nervous, too. But with the right tools and a few key tips, lifting your car becomes second nature. This guide will walk you through the entire process in a simple, relatable way—like a friend showing you how it’s done.
Why Lifting Your Car the Right Way Matters

Doing it right ensures:
-
Your safety while under the car
-
Better access to the oil drain plug and filter
-
Clean and efficient oil removal
-
Avoiding damage to your vehicle’s frame
Lifting your car incorrectly can bend parts, break panels, or worse—lead to dangerous accidents. A proper lift, on the other hand, gives you control and peace of mind. It’s like setting the stage before the real performance begins.
Tools You’ll Need Before You Begin
Let’s talk gear. You don’t need a garage full of tools to lift your car, but a few must-haves make the job smoother. Here’s a basic checklist:
-
Hydraulic floor jack (2-ton or higher)
-
Jack stands (Always use a pair—never just one)
-
Wheel chocks (for safety)
-
Creeper (optional but helps you slide under)
-
Gloves and goggles (safety first)
-
Owner’s manual (don’t skip this—it shows jack points)
You’ll want to have these on hand before attempting any lift. Trust me—nothing kills the momentum like scrambling to find your jack stands halfway through.
Find the Right Spot: Choosing a Safe Location
Before lifting, you need to park your car in a spot that’s flat and solid. Sloped driveways or loose gravel? Big no-no. Think of your driveway as your mini garage. It should be:
-
Flat (level ground is key)
-
Concrete or paved (not grass or dirt)
-
Spacious (so you have room to move and place stands)
I always toss a few old towels or mats on the ground too. Keeps your back happy and your clothes clean. This step may seem small, but setting the stage right makes everything else easier.
Identifying Your Vehicle’s Jack Points
Every car has specific areas built to handle the pressure of a jack. These are called jack points, and they’re not just suggestions—they’re crucial. If you miss these, you risk cracking the frame or damaging important parts like fuel lines.
Check your car’s owner’s manual. You’ll usually find jack points:
-
Just behind the front wheels
-
In front of the rear wheels
-
Sometimes on the vehicle’s subframe
Look for small metal ridges or reinforced steel areas. If your car has side skirts or trim panels, gently feel under them until you find that solid point. If it feels flimsy, don’t risk it—double-check.
Step-by-Step: How to Lift a Car for Oil Change
Alright, now we get to the heart of the matter—how to lift a car for oil change step-by-step. Here’s the process I follow every time, and it’s served me well.
Step 1: Engage the Parking Brake and Use Wheel Chocks
Safety first. Always.
-
Pull the parking brake up firmly
-
Place wheel chocks behind the rear tires (if you’re lifting the front) or in front (if lifting the back)
This prevents the car from rolling—an absolute must when you’re working underneath.
Step 2: Position the Jack Under the Jack Point
Slide your floor jack under the car. Make sure:
-
The saddle is directly under the jack point
-
The handle is at a comfortable angle
-
You’re lifting slowly and steadily
Start pumping. As the car rises, keep an eye on its alignment. If it’s tilting or leaning, lower it back down and adjust.
Step 3: Set the Jack Stands in Place
Once the car is high enough to work underneath, slide your jack stands under the same side’s jack points. Make sure they’re positioned evenly.
Gently lower the car until the weight rests fully on the stands. You should hear a slight “clunk” when it settles.
Never work under a car supported only by a jack. Jack stands are your best friend here.
Step 4: Double-Check Stability
Give the car a gentle shake from the side. If it wobbles or creaks, something’s wrong. It should sit solid and firm. Only then should you crawl underneath.
Common Mistakes to Avoid When Lifting Your Car
We’ve all had those “oops” moments. But when it comes to lifting a car, mistakes can be dangerous. Here are some I’ve learned to avoid over time:
-
Using a jack without stands: This is the #1 no-go.
-
Lifting on a slope: Even a small incline is risky.
-
Placing stands on plastic trim: You’ll damage your car—and it won’t be stable.
-
Ignoring the manual: Each car is different. Trust your manual like a mechanic’s cheat sheet.
-
Skipping wheel chocks: Always secure the opposite wheels.
Take a deep breath, double-check your steps, and take your time. This isn’t a race—it’s about doing it right.
Quick Lifting Safety Checklist
| Step | Action | Why It Matters |
|---|---|---|
| 1 | Use flat, solid ground | Prevents car from sliding |
| 2 | Engage parking brake | Locks car in place |
| 3 | Use wheel chocks | Adds extra safety |
| 4 | Identify correct jack points | Avoids damage |
| 5 | Raise with hydraulic jack | Controlled lift |
| 6 | Place jack stands | Ensures stability |
| 7 | Test car’s balance | Confirms it’s safe to work underneath |
How to Lower the Car After Oil Change
Once the oil’s changed and you’re ready to get back on the road, lowering the car is just the reverse process—but still demands care.
-
Use your jack to lift the car slightly off the stands
-
Remove the jack stands carefully
-
Lower the car slowly and evenly
-
Double-check that the car is resting fully on its tires before removing the jack
I always stand to the side when lowering, just in case. And I take a moment to admire the work—because doing this yourself really does feel empowering.
Personal Story: The First Time I Lifted My Car
I still remember my first DIY oil change. My car was an old Honda Civic—nothing fancy, but it had personality. I bought a secondhand jack from a garage sale and thought, “How hard could this be?”
Well, I skipped the wheel chocks. Rookie mistake.
As I slid under the car, it shifted just a little. That tiny wobble made my heart race. I scrambled out and realized I hadn’t even set the jack stands properly. That was the day I promised myself to never cut corners again when learning how to lift a car for oil change.
It’s not about being overly cautious—it’s about being smart. If you’ve ever had that “uh-oh” moment, you know what I mean.
Understanding the Difference Between Lifting the Front vs Rear
Here’s where many DIYers get a little confused—should you lift the front or the rear of the car?
It depends on where your oil pan and filter are located.
-
Front-wheel-drive cars: You’ll likely lift the front. The oil pan is under the engine, right behind the front bumper.
-
Rear-wheel-drive or some trucks: You might need to lift the rear or even one side.
Check your manual or peek under the car first. Always lift the side that gives you clear access to the drain plug and oil filter. If unsure, start with the front.
And always remember, lift both sides evenly if you’re lifting the front or back. A tilted car can be dangerous to work under.
Safety Checks Before You Start Draining Oil
Okay, your car is up. Jack stands are in place. Time to pop that drain plug? Not so fast—let’s double-check a few things.
Here’s my go-to list before I slide under:
-
Are both jack stands solid and level?
-
Did I set wheel chocks on the opposite tires?
-
Is the jack released and not bearing any load?
-
Do I have goggles and gloves on?
It takes less than 60 seconds to confirm these—but it can save you from injury or a costly mistake. These small habits make you not just a DIYer, but a smart one.
Bonus Tips for First-Timers
There are always things I wish someone had told me sooner when I was learning how to lift a car for oil change. Here are a few gems:
-
Warm the engine slightly before starting. Warm oil flows out easier, but don’t make it too hot or you’ll burn your hands.
-
Keep a towel or cardboard under you to stay clean.
-
Label your tools and organize them before lifting. You don’t want to get stuck under the car needing a wrench you forgot.
-
Use a headlamp—it helps when you’re under there and can’t hold a flashlight.
Doing your own oil change can be more than just maintenance. It’s a way to connect with your machine and feel confident in your skills.
When Not to Do It Yourself
Look, I love getting my hands dirty—but sometimes, it’s best to leave it to the pros. If you don’t feel 100% confident or notice any of the following, skip the lift and head to a shop:
-
Rusty jack points
-
No solid surface to work on
-
A leaking or broken hydraulic jack
-
Back problems or mobility issues
There’s no shame in choosing safety. Lifting a car isn’t about ego—it’s about respect for the machine and for yourself.
FAQs About How to Lift a Car for Oil Change
1. Can I lift my car with just the scissor jack from the trunk?
No. Scissor jacks are for emergency tire changes only. They’re unstable for oil changes. Always use a hydraulic jack and jack stands.
2. Do I need to lift both sides of the car?
Not always. You usually only need to lift the front or one side depending on oil plug location. Check your car’s layout first.
3. How high should I lift the car for an oil change?
Just high enough to comfortably reach the drain plug and slide a pan underneath—typically 12–18 inches is enough.
4. Is it safe to leave the car on jack stands overnight?
Yes, if the stands are placed correctly on solid ground. But always double-check before getting under the car again.
5. Can I use ramps instead of a jack?
Yes, ramps are a safe and beginner-friendly option for front-end lifting—just make sure they don’t slip and are on even ground.
6. What happens if I place the jack on the wrong spot?
You might bend metal, crack panels, or even puncture the undercarriage. Always check the manual for proper jack points.
7. Do electric cars require different lifting procedures?
Sometimes. EVs often have specific jack points to avoid damaging the battery. Always consult your EV’s manual.
8. Is lifting the car even necessary for all oil changes?
On some SUVs or trucks with high clearance, you might not need to lift at all. But for most cars, it’s essential.
Final Thoughts: Be Confident, Not Careless
Learning how to lift a car for oil change might seem like a small task, but it builds real confidence. Every time you do it, you get a little better. A little smarter. A little more capable.
There’s pride in popping your hood, hearing the engine hum, and knowing you’ve taken care of it yourself.
Just remember: respect the process. Take your time. Use the right tools. And don’t skip steps—especially when it comes to lifting.
So the next time you plan a weekend garage session, don’t just wing it. Think back to this guide, take a breath, and do it right.
You—and your car—deserve nothing less.


