How to Change Your Own Car Oil: A Simple Guide

Changing your own car oil might seem like a job best left to the pros, but trust me—it’s not rocket science. In fact, once you do it yourself, you’ll wonder why you ever paid someone else to do it. I remember my first oil change like it was yesterday. My hands were shaking, and I kept second-guessing every step. But by the end of it, I felt like I’d just won a small, greasy battle. If you’re ready to take charge and save some cash, this guide is for you.
Learning how to change your Own Car Oil not only saves money, but also helps you understand your car better. It’s like cooking your own meal instead of eating out—more satisfying, more affordable, and sometimes even quicker.
In this guide, we’ll walk through the process in easy steps, with tips I wish someone had told me earlier. We’ll also cover what tools you need, safety tips, and how often you should change your oil. Let’s roll up our sleeves and get under that hood!
In This Article
- 1 Why Learn to Change Your Own Oil?
- 2 Tools and Materials You’ll Need
- 3 Prepare Your Car: Safety First
- 4 Draining the Old Oil
- 5 Removing and Replacing the Oil Filter
- 6 Pouring in the New Oil
- 7 Benefits of Doing It Yourself
- 8 Cleaning Up Like a Pro
- 9 How Often Should You Change Your Oil?
- 10 Common Mistakes and How to Avoid Them
- 11 The Personal Satisfaction of DIY Maintenance
- 12 Recap: Your Oil Change Checklist
- 13 Conclusion: You’ve Got This
Why Learn to Change Your Own Oil?

Changing your oil keeps your engine healthy. It’s like giving your car a fresh breath. Old oil turns into a thick sludge, losing its ability to lubricate your engine properly. If you’ve ever ignored an oil change too long, you know the nasty knocking sound your engine starts making. That sound? It’s your car crying for help.
Doing it yourself means you control the quality. You pick the oil, the filter, and know exactly what goes into your engine. Plus, it’s a moment of peace—just you, your car, and a little elbow grease.
Tools and Materials You’ll Need
Let’s start with the basics. You don’t need a fancy garage or a full mechanic’s toolset. In fact, here’s a simple table that lists what you’ll need:
| Tool/Material | Why You Need It |
| Wrench/Socket Set | To loosen the drain plug |
| Oil Filter Wrench | Helps unscrew the old filter without damage |
| New Oil Filter | Always replace this with fresh oil |
| Fresh Motor Oil | Your engine’s lifeblood |
| Oil Drain Pan | Catches the old oil as it drains out |
| Car Jack and Stands | Keeps your car lifted safely off the ground |
| Funnel | Prevents spills when pouring new oil |
| Rubber Gloves | Keeps your hands clean and safe |
| Rags or Paper Towels | For cleaning up any spills |
Having all your tools ready makes the job smoother. There’s nothing more annoying than crawling under your car, realizing you forgot the oil filter wrench, and having to climb back out.
Prepare Your Car: Safety First
Before you dive in, let’s talk safety. This isn’t a dangerous job, but a few small steps make it much safer.
Park your car on a level surface. Use the handbrake, and if you’re on a slope, put blocks behind the wheels. Let the engine run for about 5 minutes first—this warms the oil, making it easier to drain. But don’t overdo it. You don’t want the oil to be hot enough to burn your skin.
Once it’s warm, turn off the engine and wait a few minutes for it to cool slightly. Then jack up the car. Always use jack stands. Never rely on just the jack. Think of it like trusting a wobbly ladder—one wrong move and it’s game over.
I like to spread out an old cardboard box under the car. It catches drips and keeps my driveway clean. A little prep now saves a lot of mess later.
Draining the Old Oil
This is where the real work begins. Slide your oil drain pan under the oil pan—the lowest metal part of the engine. Find the drain plug; it looks like a bolt at the bottom. Use your wrench to loosen it.
Here’s a tip: press the plug in as you unscrew it. It keeps oil from gushing out until you’re ready to pull it away quickly. When the oil starts flowing, it comes fast and hot, so make sure the pan’s in the right place. Let it drain completely—this usually takes about 5 to 10 minutes.
Watching the dirty oil drip out is oddly satisfying. It’s like your car is detoxing. You can even smell the difference—old oil has this burnt, bitter smell that tells you it’s done its job and needs to go.
Once the oil slows to a drip, you’re ready for the next step.
Removing and Replacing the Oil Filter
Your oil filter catches the gunk and grit that builds up in your engine. Changing it is crucial. You’ll usually find the filter near the engine block. Some are easy to reach; others are tucked in awkward spots that make you question your life choices.
Use your oil filter wrench to twist it counterclockwise. Don’t be surprised if more oil comes out—keep that pan underneath. When it’s off, compare it with the new one to make sure they match.
Here’s a pro tip: Dip your finger in the new oil and rub a bit around the gasket of the new filter. This helps it seal better and makes it easier to remove next time.
Screw the new filter on by hand. No tools needed. Just get it snug—don’t over-tighten it, or you’ll have a bear of a time removing it later. Think firm, not forceful.
Pouring in the New Oil
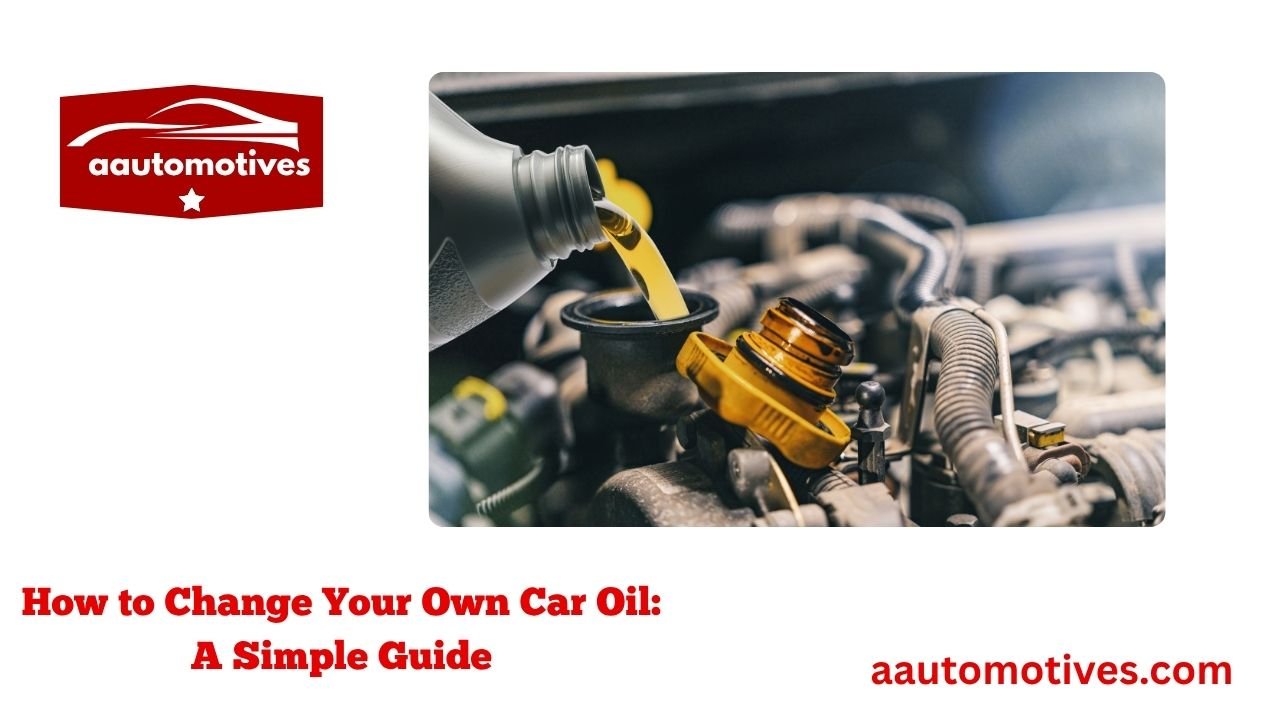
This is the moment of truth. With the drain plug back in and the new filter on, it’s time to pour in the new oil. Open the hood and remove the oil cap—it usually has an oil can symbol on it. Place your funnel in the opening and slowly pour in the correct amount of oil.
Check your owner’s manual for the right oil type and quantity. Usually, it’s around 4 to 5 quarts, but it varies. Don’t guess—your engine’s life depends on this.
Once all the oil’s in, replace the cap. Start the engine and let it run for about a minute. This circulates the oil and helps you check for leaks. If you see any drips under the car, double-check the filter and plug.
Turn the car off, wait a couple minutes, then use the dipstick to check the oil level. Pull it out, wipe it clean, dip it back in, and check the mark. If it’s low, add a little more. But don’t overfill it.
Benefits of Doing It Yourself
Changing your own oil isn’t just practical—it’s empowering. You get to know your car in a deeper way. You start to notice the little things—how your engine sounds after a fresh oil change, how the dipstick feels, how clean oil looks compared to dirty oil.
It also builds confidence. That first time I did it, I felt like a total boss. I’d saved money, avoided a trip to the mechanic, and learned a new skill. That feeling sticks with you.
Let’s not forget the environmental aspect. By doing it yourself, you can recycle your oil properly, rather than trusting a shop that may not be so careful. Auto parts stores often take used oil for free. Just pour it back into the old containers and drop them off.
Here’s a quick summary of the benefits:
- Save money—oil changes cost $40–$70 at shops
- Build mechanical confidence
- Control the quality of oil and filters
- Feel more connected to your car
- Reduce environmental waste
Cleaning Up Like a Pro
After the oil change, it’s tempting to just close the hood and drive off—but the job isn’t done yet. Cleanup is part of the process, and doing it right means you’ll be ready for the next change, without a mess or leftover smells.
Start by wiping any spilled oil off your tools, the engine, or the floor. Use old rags or paper towels to mop up drips. I keep a box of cheap shop towels handy just for this.
Next, pour the old oil from the drain pan into a seal-tight container—the bottles your new oil came in work perfectly. Label it “used oil” and store it in a cool, dry place until you can take it to a recycling center or auto parts store. Many places offer free disposal services, and doing this keeps toxic waste out of our environment.
Don’t forget the oil filter, too. Place it in a sealed plastic bag or take it in with the used oil. Some states even have laws about proper disposal, so check your local guidelines.
Cleaning up properly is like doing the dishes after a great meal. Not glamorous, but absolutely necessary.
How Often Should You Change Your Oil?
The golden question: how often should you actually do this?
Years ago, the common advice was every 3,000 miles. But with modern cars and synthetic oils, that’s often overkill. Most newer vehicles can go 5,000 to 7,500 miles, and some even longer with full synthetic oil.
The best answer is in your owner’s manual. Trust it like you’d trust a family recipe—it’s built for your car.
Also, consider your driving habits. If you do a lot of short trips, city driving, or towing, your engine works harder and your oil wears out faster. On the other hand, highway cruising is easy on your engine and oil lasts longer.
Watch out for oil change reminders on your dashboard. But don’t rely on them blindly. Always check your oil level every few weeks. It’s a simple habit that can save your engine.
Common Mistakes and How to Avoid Them
We’ve all had learning moments. Here are some of the most common oil change mistakes, and how you can avoid them:
- Forgetting the drain plug: I once got distracted, poured in new oil, and watched it drain right through. Double-check that the plug is back in before adding oil.
- Using the wrong oil: Each car needs a specific viscosity and type. Always read the label and check your manual.
- Overtightening the oil filter: This can damage the gasket or make it nearly impossible to remove next time. Hand-tighten only!
- Not replacing the filter: Fresh oil with a dirty filter is like pouring clean water into a moldy glass.
- Underfilling or overfilling: Both can harm your engine. Use the dipstick to get it just right.
- Spilling oil: Use a funnel and take your time. Clean up right away if there’s a mess.
Mistakes happen. What matters is learning from them. Trust me, even seasoned DIYers still mess up now and then.
The Personal Satisfaction of DIY Maintenance
There’s something primal and deeply satisfying about getting your hands dirty for a good reason. When you learn how to change your Own Car Oil, you’re not just maintaining a machine—you’re building confidence, saving money, and gaining a skill that lasts a lifetime.
I remember teaching my younger sister how to do it. She was hesitant, unsure, and honestly annoyed at first. But when we finished and she started her car, she couldn’t stop smiling. She kept saying, “I can’t believe I just did that myself.” That pride? That’s what it’s all about.
Whether you’re doing this to save cash, avoid the mechanic, or just learn something new, take a moment to appreciate what you’ve done. You didn’t just change oil. You took care of your own ride with your own hands.
Recap: Your Oil Change Checklist
Before we close the hood on this guide, let’s do a quick recap with a bullet-point checklist to make your next oil change smooth as butter:
- Warm up the engine for 5 minutes
- Jack up the car and secure with stands
- Drain the old oil completely
- Remove and replace the oil filter
- Reinstall the drain plug
- Pour in the correct amount and type of oil
- Start engine, let it run briefly, and check for leaks
- Verify oil level with dipstick
- Dispose of old oil and filter properly
- Log the date and mileage for next change
Keep this list handy or tape it to the inside of your garage cabinet—it’s a great little helper.
Conclusion: You’ve Got This
You’ve just learned how to change your Own Car Oil in a way that’s simple, doable, and even a little bit fun. What started as a chore may now feel like a badge of honor. It’s not about being a mechanic; it’s about being in tune with your car and your capabilities.
In a world where we often outsource everything, doing something with your own two hands feels like a small act of rebellion. It’s empowering. It’s grounding. And it’s totally worth it.
So the next time that little oil light flicks on, you won’t panic. You’ll nod, grab your tools, and say, “I’ve got this.”
Drive safe. Wrench smart. And never underestimate what you can do yourself.


