Car Glass Repair Guide
Contents
- 1 Key Takeaways
- 2 📑 Table of Contents
- 3 Why Car Glass Repair Matters More Than You Think
- 4 Understanding Car Glass: Types and Functions
- 5 Identifying Damage: What to Look For
- 6 DIY Car Glass Repair: When and How to Do It
- 7 Professional Car Glass Repair: What to Expect
- 8 Insurance and Cost Considerations
- 9 Prevention Tips: How to Avoid Future Damage
- 10 Conclusion: Stay Safe, Save Money, See Clearly
- 11 Frequently Asked Questions
Don’t let a cracked windshield ruin your day—or your safety. This car glass repair guide walks you through everything from spotting damage early to choosing between DIY fixes and professional help. With clear steps and expert tips, you’ll know exactly what to do to keep your ride safe and your view clear.
Key Takeaways
- Act fast on chips and cracks: Small damage can spread quickly due to temperature changes, road vibrations, and moisture. Repairing it early prevents costly replacements.
- Not all damage is repairable: Cracks longer than 6 inches, those in the driver’s line of sight, or deep fractures that reach both layers of glass usually require full replacement.
- DIY kits work for minor damage: Resin-based repair kits are effective for small chips (like bullseyes or star breaks) if done correctly and promptly.
- Professional repair is safer and more reliable: Certified technicians use high-quality materials and proper techniques, often with warranties and insurance coverage.
- Your windshield is structural: It supports the roof in rollovers and helps airbags deploy correctly—never ignore damage that compromises integrity.
- Insurance may cover repairs: Many policies include glass coverage with no deductible, making professional repair nearly free.
- Prevention matters: Maintain safe following distances, avoid potholes, and park in shaded or covered areas to reduce risk.
📑 Table of Contents
- Why Car Glass Repair Matters More Than You Think
- Understanding Car Glass: Types and Functions
- Identifying Damage: What to Look For
- DIY Car Glass Repair: When and How to Do It
- Professional Car Glass Repair: What to Expect
- Insurance and Cost Considerations
- Prevention Tips: How to Avoid Future Damage
- Conclusion: Stay Safe, Save Money, See Clearly
Why Car Glass Repair Matters More Than You Think
You’re driving down the highway, enjoying the breeze, when suddenly—*ping!*—a tiny rock hits your windshield. At first, it’s just a small chip. But over time, that little imperfection can grow into a crack that spans the entire glass. And before you know it, you’re facing a costly replacement.
But here’s the good news: many types of car glass damage can be repaired quickly, safely, and affordably—if you act fast. Whether it’s a chip from a flying pebble or a hairline crack from a sudden temperature shift, understanding your options empowers you to make smart decisions. This car glass repair guide will walk you through every step, from identifying damage to choosing the best repair method.
Your car’s windshield isn’t just a piece of glass—it’s a critical safety component. It helps maintain the structural integrity of your vehicle during a crash, supports the roof in a rollover, and ensures your passenger-side airbag deploys correctly. That’s why even minor damage shouldn’t be ignored. A compromised windshield can fail when you need it most.
Understanding Car Glass: Types and Functions
Before diving into repairs, it helps to know what kind of glass you’re dealing with. Most modern vehicles use laminated safety glass for windshields and tempered glass for side and rear windows.
Laminated Windshield Glass
Your windshield is made of two layers of glass with a thin layer of polyvinyl butyral (PVB) sandwiched between them. This design keeps the glass from shattering into sharp pieces during an impact. Instead, it holds together like a spiderweb, maintaining visibility and protecting occupants. Because of this layered structure, small chips and cracks in windshields can often be filled and restored without replacing the entire unit.
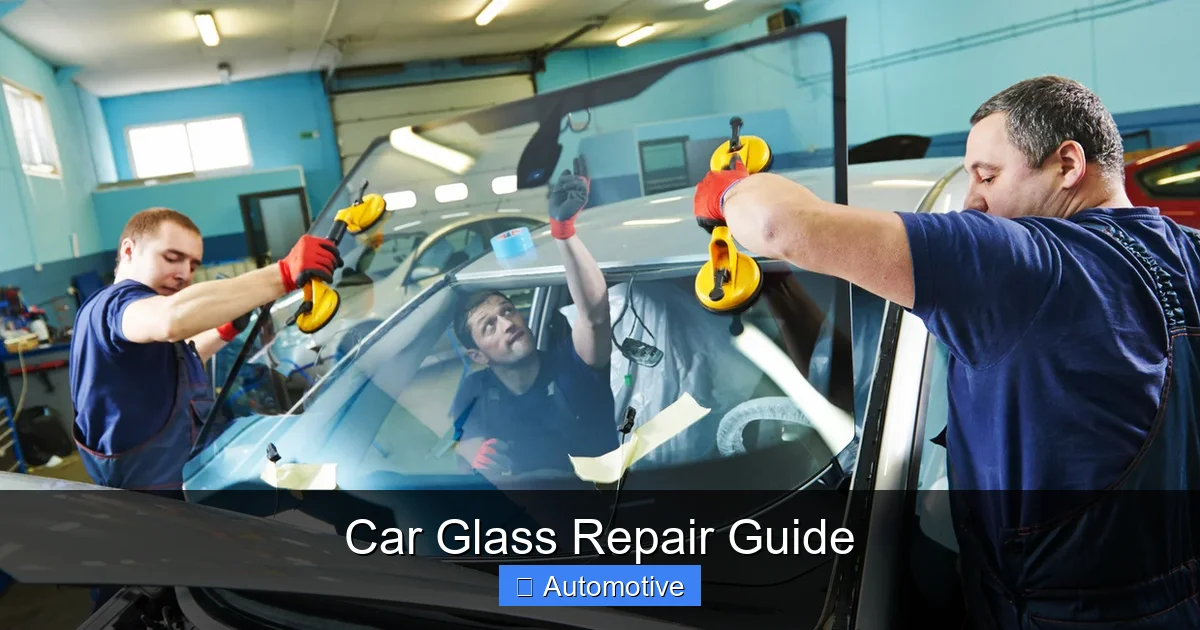
Visual guide about Car Glass Repair Guide
Image source: gimsvirtualpressday.ch
Tempered Side and Rear Glass
Side and rear windows are typically made of tempered glass, which is heat-treated to be stronger than regular glass. When broken, it shatters into small, dull cubes instead of dangerous shards. However, tempered glass cannot be repaired—only replaced. So if you have a crack in your side window, your only option is a full replacement.
Advanced Features in Modern Glass
Today’s cars often come with windshields that include built-in sensors, cameras, and heating elements. These support features like lane departure warnings, automatic wipers, and defrosting. Repairing or replacing such glass requires recalibration of these systems, which is why professional service is often recommended for high-tech vehicles.
Identifying Damage: What to Look For
Not all glass damage is created equal. Some issues are easy to spot, while others hide in plain sight. Knowing how to identify different types of damage helps you decide whether to repair or replace.
Types of Windshield Damage
- Bullseye: A circular chip with a dark center and concentric rings around it, usually caused by a direct impact from a rock.
- Star break: A chip with short cracks radiating outward from the impact point, resembling a star.
- Combination break: A mix of bullseye and star break patterns, often more complex and harder to repair.
- Crack: A linear fracture that can be short or long, straight or jagged. Cracks longer than 6 inches are generally not repairable.
- Edge crack: A crack that starts within 2 inches of the windshield’s edge. These are more likely to spread and often require replacement.
- Surface pit: A tiny, shallow chip that doesn’t penetrate deeply. These are cosmetic but can weaken the glass over time.
When to Repair vs. Replace
Repair is usually possible if the damage is:
- Smaller than a quarter (about 1 inch in diameter)
- Not in the driver’s direct line of sight (typically the area swept by wipers)
- Not deeper than the outer layer of glass
- Not on the edge of the windshield
Replacement is needed when:
- The crack is longer than 6 inches
- The damage is in the driver’s field of vision
- The chip is deep and exposes the inner layer
- There are multiple cracks or large areas of damage
- The glass has been previously repaired and the damage has returned
Signs Damage Is Spreading
Even if a chip seems minor, it can grow due to temperature changes, road vibrations, or moisture seeping in. Watch for:
- Cracks extending from the original chip
- Hazy or cloudy areas around the damage
- Bubbles or discoloration in the resin (if previously repaired)
- Increased sensitivity to temperature shifts (e.g., cracking after using defroster)
If you notice any of these signs, seek professional assessment immediately.
DIY Car Glass Repair: When and How to Do It
For small chips and cracks, a DIY repair kit can be a quick and cost-effective solution. These kits are widely available at auto parts stores and online, typically costing between $10 and $30. While they won’t make the damage disappear completely, they can stop cracks from spreading and restore structural strength.
When DIY Repair Makes Sense
DIY repair is best for:
- Fresh chips (less than 48 hours old)
- Damage smaller than a quarter
- Non-structural areas (not in the driver’s line of sight)
- Single, simple damage (not multiple cracks or deep fractures)
It’s not recommended for edge cracks, long cracks, or damage on sensors/cameras.
Step-by-Step DIY Repair Process
Follow these steps carefully for the best results:
1. Clean the Area
Use glass cleaner and a lint-free cloth to remove dirt, wax, and debris. Let it dry completely. Any moisture or oil can prevent the resin from bonding properly.
2. Apply the Repair Kit
Most kits include a suction cup applicator, resin, and curing strips. Place the applicator over the chip and inject the resin using the provided syringe. Follow the instructions precisely—overfilling can cause bubbles or cloudiness.
3. Remove Air Bubbles
Gently press down on the applicator to push out trapped air. Some kits include a plunger tool for this step.
4. Cure the Resin
Use the UV curing light (if included) or let it sit in direct sunlight for 10–15 minutes. The resin hardens when exposed to UV light.
5. Scrape Off Excess Resin
Once cured, use a razor blade to carefully remove any leftover resin from the surface. Polish the area with a clean cloth.
Tips for Success
- Work in a shaded, dry area to prevent dust and moisture from interfering.
- Don’t rush—take your time with each step.
- Use gloves to avoid getting resin on your skin.
- If the chip doesn’t fill completely, repeat the process once.
- Don’t drive the car for at least an hour after repair to let the resin fully cure.
Limitations of DIY Repairs
While DIY kits can be effective, they have limitations:
- They may leave a slight haze or distortion, especially in the driver’s line of sight.
- They don’t restore the glass to 100% original strength.
- Improper application can worsen the damage.
- They don’t come with warranties or insurance coverage.
For peace of mind and long-term safety, professional repair is often the better choice.
Professional Car Glass Repair: What to Expect
When damage is more severe or you want the best possible result, professional repair is the way to go. Certified technicians use industrial-grade tools and high-quality resin to restore your windshield safely and effectively.
How Professionals Do It Differently
Unlike DIY kits, professional repair uses vacuum and pressure systems to fully extract air and moisture from the damaged area before injecting resin. This creates a stronger, clearer bond. Technicians also inspect the surrounding glass for hidden stress points and ensure the repair doesn’t interfere with sensors or cameras.
The Repair Process
A typical professional repair takes 20–30 minutes and includes:
- Thorough cleaning and drying of the damaged area
- Use of a bridge tool to apply precise pressure
- Injection of high-viscosity resin under controlled conditions
- UV curing with professional-grade lights
- Polishing and final inspection
Many shops offer mobile services, coming to your home or office to perform the repair on-site.
Benefits of Professional Repair
- Higher success rate and clearer results
- Warranty on workmanship (often 6 months to 1 year)
- Insurance coverage often applies with no deductible
- Preservation of original glass and factory seals
- No risk of further damage from improper technique
Choosing a Reputable Service
Look for technicians certified by the Auto Glass Safety Council (AGSC) or similar organizations. Check online reviews, ask about warranties, and confirm they use OEM or OEM-equivalent materials. Avoid shops that pressure you into unnecessary replacements.
Insurance and Cost Considerations
One of the biggest advantages of professional car glass repair is that it’s often covered by insurance—sometimes at no cost to you.
How Insurance Covers Glass Repair
Many comprehensive auto insurance policies include glass coverage. In states like Florida, Kentucky, and South Carolina, insurers are required to cover windshield repair without a deductible. Even in other states, many companies offer zero-deductible glass repair as a standard benefit.
To file a claim:
- Contact your insurer or use their app to report the damage
- They’ll direct you to an approved repair shop
- The shop bills the insurer directly—no out-of-pocket cost
Even if you have a deductible, repair is usually cheaper than replacement, so it’s often worth paying the deductible to avoid a full windshield swap.
Average Costs
- DIY kit: $10–$30
- Professional repair: $50–$150 (often covered by insurance)
- Windshield replacement: $200–$1,000+ (depending on vehicle and features)
Replacements are significantly more expensive due to labor, calibration, and the cost of advanced glass with sensors and heating elements.
When Replacement Is Inevitable
If your windshield must be replaced, choose a shop that:
- Uses OEM or high-quality aftermarket glass
- Re-calibrates ADAS systems (like lane assist and auto-braking)
- Offers a warranty on both parts and labor
- Follows AGSC safety standards
Never compromise on quality—your safety depends on it.
Prevention Tips: How to Avoid Future Damage
The best repair is the one you never need. While you can’t control every rock on the road, you can reduce your risk with smart habits.
Drive Defensively
Maintain a safe following distance—especially behind large trucks that kick up debris. If you must follow closely, stay slightly offset to avoid the direct path of flying rocks.
Watch the Road Ahead
Scan for potholes, gravel, and construction zones. Slow down when approaching rough surfaces to minimize impact force.
Park Smart
Whenever possible, park in garages, under carports, or in shaded areas. Extreme heat can weaken glass, making it more prone to cracking from minor impacts.
Maintain Your Windshield
Keep wiper blades in good condition—worn blades can scratch the glass and trap debris. Use high-quality washer fluid and avoid abrasive cleaners.
Address Chips Immediately
Even small chips should be repaired within 48 hours. The longer you wait, the more likely moisture and dirt will seep in, making repair difficult or impossible.
Conclusion: Stay Safe, Save Money, See Clearly
A damaged windshield isn’t just an eyesore—it’s a safety hazard. But with the right knowledge, you can respond quickly and effectively. Whether you choose a DIY fix for a minor chip or opt for professional repair for more serious damage, acting fast is key.
This car glass repair guide has shown you how to identify damage, understand your options, and make informed decisions. Remember: your windshield is more than glass—it’s a vital part of your vehicle’s safety system. Don’t ignore cracks or chips. Repair them promptly, use quality materials, and trust certified professionals when needed.
And don’t forget to check your insurance policy—many cover repairs at no cost. With a little care and attention, you can keep your view clear, your ride safe, and your wallet happy.
Frequently Asked Questions
Can all windshield chips be repaired?
No, not all chips can be repaired. Damage longer than 6 inches, located in the driver’s line of sight, or on the edge of the windshield usually requires replacement. Deep fractures that reach both layers of glass are also not repairable.
How long does a windshield repair take?
A professional repair typically takes 20–30 minutes. DIY kits may take slightly longer, especially if you’re doing it for the first time. Allow at least an hour before driving to ensure the resin is fully cured.
Will insurance cover my windshield repair?
Many comprehensive insurance policies include glass coverage with no deductible, especially in certain states. Contact your insurer to confirm coverage and find an approved repair shop.
Can I drive immediately after a repair?
It’s best to wait at least 30–60 minutes before driving to allow the resin to fully cure. Avoid high-speed driving or sudden temperature changes for the first 24 hours.
Does DIY repair leave a visible mark?
Yes, DIY repairs may leave a slight haze or distortion, especially if not done perfectly. Professional repairs typically yield clearer results, though some minor visibility may remain depending on the damage.
Is it safe to repair a cracked windshield?
Small cracks (under 6 inches) can often be safely repaired if they’re not in the driver’s line of sight or on the edge. However, long or structural cracks usually require full replacement for safety.