
Car Side Mirror Glass Replacement Guide
Contents
- 1 Key Takeaways
- 2 📑 Table of Contents
- 3 Why Replace Your Car Side Mirror Glass?
- 4 Understanding Your Side Mirror Types
- 5 Tools and Materials You’ll Need
- 6 Step-by-Step Replacement Process
- 7 Troubleshooting Common Issues
- 8 When to Call a Professional
- 9 Maintaining Your New Side Mirror Glass
- 10 Final Thoughts
- 11 Frequently Asked Questions
Replacing your car side mirror glass is easier than you think—and it can save you hundreds at the mechanic. With the right tools and a little patience, most drivers can complete this repair at home in under 30 minutes.
Key Takeaways
- DIY saves money: Professional replacement can cost $150–$400; doing it yourself costs under $50.
- Know your mirror type: Manual, power, heated, or auto-dimming mirrors require different removal techniques.
- Use proper tools: A trim removal tool, socket wrench, and gloves prevent damage and injury.
- Match the glass shape and size: Even small differences can affect fit and visibility.
- Test before reassembly: Ensure heating elements or turn signals work before snapping everything back in place.
- Handle glass carefully: Broken shards can cause cuts—always wear safety gloves and eye protection.
- Check local laws: Some states require both side mirrors to be intact and functional for road legality.
📑 Table of Contents
Why Replace Your Car Side Mirror Glass?
Your side mirrors are more than just accessories—they’re essential safety features. A cracked, chipped, or shattered mirror glass doesn’t just look bad; it seriously limits your field of vision and increases your risk of accidents. Whether you’ve been sideswiped in a parking lot, hit by flying road debris, or simply noticed a growing crack over time, replacing the glass quickly is crucial.
Many drivers assume that a damaged side mirror means replacing the entire housing unit—which can cost hundreds of dollars at a dealership or body shop. But here’s the good news: in most cases, you only need to replace the glass itself. This simple fix can restore full visibility, improve your vehicle’s appearance, and keep you compliant with traffic laws—all for a fraction of the cost. Plus, with today’s aftermarket options, you can often find high-quality replacement glass that matches or exceeds OEM standards.
Understanding Your Side Mirror Types
Before you start tearing things apart, it’s important to understand what kind of side mirror you’re working with. Not all car side mirrors are created equal, and the replacement process varies depending on the features built into your mirror assembly.
Manual vs. Power Mirrors
Manual mirrors are the simplest type—you adjust them by hand from inside the car. These usually have a basic glass panel held in place by clips or adhesive. Power (or electric) mirrors, on the other hand, include small motors that let you adjust the angle using a switch inside the cabin. If your car has power mirrors, you’ll need to disconnect electrical connectors during replacement, so be extra careful not to damage wiring.
Heated and Auto-Dimming Mirrors
Many modern vehicles come equipped with heated side mirrors to prevent fogging and ice buildup in cold weather. These mirrors have thin heating elements embedded in the glass. Similarly, auto-dimming mirrors (often found on higher-end models) use electrochromic technology to reduce glare from headlights behind you. Both types require special handling because they’re connected to your car’s electrical system. Always disconnect the battery before working on these to avoid short circuits.
Mirrors with Turn Signal Indicators
Some cars integrate LED turn signals directly into the side mirror housing. If your mirror has blinking lights along the edge, you’ll need to ensure your replacement glass accommodates this feature—or purchase a compatible assembly. In some cases, the signal light is part of the glass itself, while in others, it’s mounted separately behind the glass.
Tools and Materials You’ll Need
You don’t need a full garage workshop to replace side mirror glass, but having the right tools makes the job safer, faster, and less frustrating. Here’s a checklist of essentials:
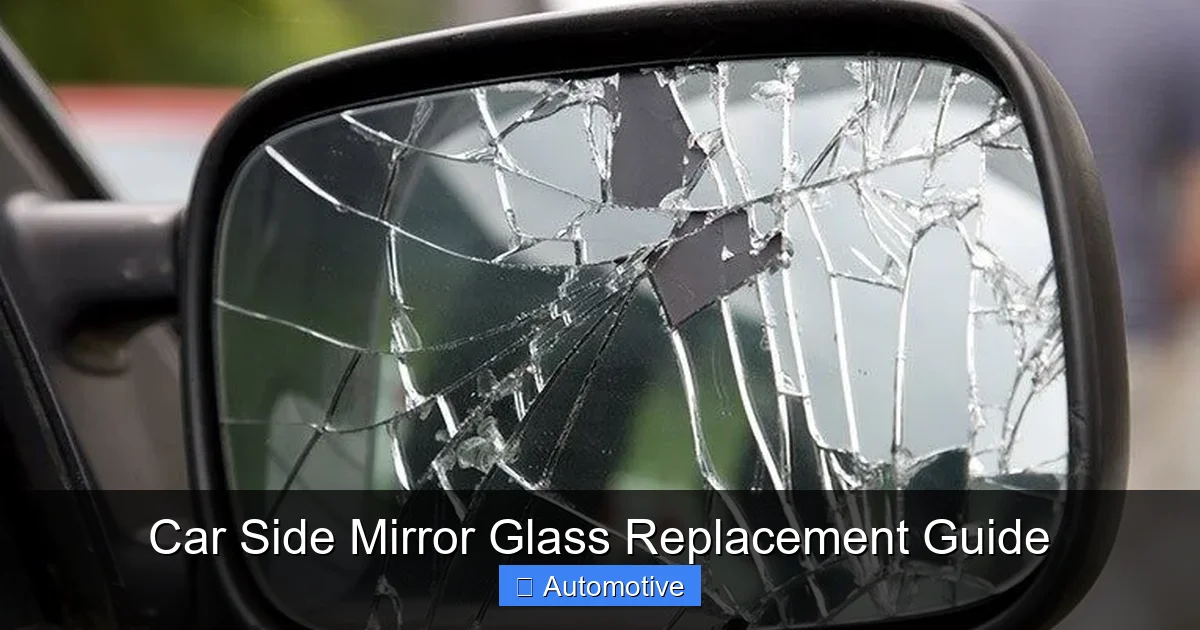
Visual guide about Car Side Mirror Glass Replacement Guide
Image source: carsidemirrors.com.au
- Replacement glass: Make sure it matches your vehicle’s make, model, year, and mirror type (left or right).
- Trim removal tool or plastic pry bar: Prevents scratching paint or breaking clips.
- Socket wrench set (usually 8mm or 10mm): For removing mounting bolts if needed.
- Screwdrivers (flathead and Phillips): Useful for accessing hidden screws.
- Needle-nose pliers: Helps disconnect small electrical connectors.
- Safety gloves and goggles: Protects against sharp glass edges.
- Clean microfiber cloth: For cleaning the mirror housing before installing new glass.
- Electrical tape (optional): To secure loose wires temporarily.
Pro tip: Buy your replacement glass from reputable auto parts stores or online retailers like Amazon, AutoZone, or RockAuto. Look for products labeled “OEM-style” or “direct fit” to ensure compatibility. Avoid ultra-cheap options—they may warp, distort, or fail prematurely.
Step-by-Step Replacement Process
Now that you’re prepared, let’s walk through the actual replacement. The exact steps may vary slightly depending on your vehicle, but this general guide works for most cars made in the last 20 years.
Step 1: Prepare Your Workspace
Park your car on a flat surface, turn off the engine, and engage the parking brake. If you’re working on a power or heated mirror, disconnect the negative terminal of your car battery to prevent electrical shocks or shorts. Wear your safety gloves and goggles—even if the glass isn’t fully broken, old adhesive or loose shards can be hazardous.
Step 2: Remove the Mirror Glass
For manual mirrors: Gently push the glass from the back (inside the car) toward the outside until it pops loose. It’s usually held by three or four spring-loaded clips. Use your fingers or a trim tool to carefully release each clip.
For power mirrors: First, remove the triangular interior door panel (if applicable) to access the mirror’s mounting bolts. Unscrew them using a socket wrench. Then, locate the electrical connector near the base of the mirror arm and unplug it using needle-nose pliers or your fingers. Once disconnected, gently wiggle the glass outward to release it from the motor assembly.
Caution: Never force the glass. If it won’t budge, double-check for hidden screws or clips. Forcing it can crack the housing or damage internal components.
Step 3: Clean the Mirror Housing
With the old glass removed, take a moment to clean out any debris, dirt, or leftover adhesive from the mirror housing. Use a dry cloth first, then wipe with a slightly damp microfiber cloth if needed. Let it dry completely before installing the new glass—moisture can interfere with adhesion or cause fogging.
Step 4: Install the New Glass
Align the new glass with the mounting points or motor assembly. For clip-style mirrors, press firmly and evenly until you hear or feel the clips snap into place. For power mirrors, reconnect the electrical connector first, then slide the glass onto the motor pins. Make sure it sits flush and moves smoothly when adjusted.
If your replacement glass uses adhesive (common on older models), apply a thin bead of automotive-grade silicone or double-sided tape to the back of the glass before pressing it into place. Hold it firmly for 30–60 seconds to ensure a strong bond.
Step 5: Test Functionality
Reconnect your car battery (if disconnected) and test all functions:
- Adjust the mirror using the power switch (if applicable).
- Turn on the defroster to check heating elements.
- Activate your turn signal to verify indicator lights (if equipped).
If everything works, reattach any interior panels or covers you removed. Give the mirror a gentle tug to confirm it’s secure—then hit the road with confidence!
Troubleshooting Common Issues
Even with careful installation, you might run into a few hiccups. Here’s how to handle the most common problems:
Glass Won’t Stay in Place
If your new glass keeps popping out, the clips may be worn or misaligned. Try bending the clips slightly with pliers to increase tension, or use a small dab of epoxy as a temporary fix. In rare cases, the entire mirror assembly may need replacement.
Fogging or Condensation Behind Glass
This usually happens if moisture gets trapped during installation. Remove the glass, dry everything thoroughly, and reinstall with better ventilation. For heated mirrors, ensure the heating element is properly connected—faulty wiring can also cause fogging.
Mirror Vibrates or Feels Loose
A wobbly mirror often indicates loose mounting bolts or a damaged motor. Tighten all hardware and check for cracks in the housing. If the motor is faulty, you may need a professional repair.
Electrical Features Don’t Work
Double-check that all connectors are fully seated and undamaged. Use a multimeter to test for continuity if you’re comfortable with basic electronics. Sometimes, the issue isn’t the glass—it’s a blown fuse or faulty switch inside the car.
When to Call a Professional
While most side mirror glass replacements are DIY-friendly, there are situations where it’s smarter (and safer) to seek expert help:
- Your mirror is part of a complex blind-spot monitoring or lane-assist system.
- The entire housing is cracked or bent.
- You’re uncomfortable handling electrical components.
- Your vehicle is under warranty—DIY repairs might void coverage.
- You’ve attempted replacement twice and the problem persists.
Dealerships and certified auto body shops have specialized tools and training to handle advanced mirror systems. They can also calibrate sensors and ensure everything meets factory specifications.
Maintaining Your New Side Mirror Glass
Once your new glass is installed, a little maintenance goes a long way:
- Clean mirrors weekly with glass cleaner and a soft cloth to maintain clarity.
- Avoid using abrasive pads or harsh chemicals that can scratch the surface.
- In winter, use a plastic scraper—not hot water—to remove ice.
- Park in covered areas when possible to reduce exposure to UV rays and debris.
- Inspect clips and mounts every few months for wear or looseness.
Remember: clear mirrors mean clearer judgment on the road. Don’t wait until visibility is compromised to take action.
Final Thoughts
Replacing car side mirror glass might seem intimidating at first, but it’s one of the most rewarding DIY automotive repairs you can tackle. Not only does it save you money, but it also gives you peace of mind knowing your vehicle is safe and road-ready. With the right preparation, tools, and a bit of patience, you’ll have your mirrors looking—and working—like new in no time.
So next time you spot a crack or hear that telltale rattle, don’t panic. Grab your toolkit, follow this guide, and take control of your car’s safety. Your wallet—and your driving experience—will thank you.
Frequently Asked Questions
Can I drive with cracked side mirror glass?
It’s not recommended. Cracked glass distorts your view and may be illegal in your state. Replace it as soon as possible to ensure safety and compliance.
How much does it cost to replace side mirror glass?
Replacement glass typically costs $20–$50 for most vehicles. Professional installation adds $100–$300, making DIY a smart cost-saving option.
Do I need special tools to replace mirror glass?
Basic tools like a trim removal tool, socket wrench, and screwdrivers are usually sufficient. No specialized equipment is required for most models.
Will replacing the glass affect my car’s warranty?
Generally, no—unless you damage other components during installation. Check your warranty terms, especially for newer vehicles with advanced mirror systems.
Can I replace just the glass on a heated mirror?
Yes, but you must carefully disconnect the electrical connector and ensure the new glass has a compatible heating element. Handle wiring gently to avoid shorts.
How do I know if my replacement glass will fit?
Match your vehicle’s year, make, model, and mirror side (driver or passenger). Reputable sellers provide fitment guides to help you choose correctly.


