How to Winterize Tankless Water Heater
Contents
- 1 Key Takeaways
- 2 📑 Table of Contents
- 3 Why Winterizing Your Tankless Water Heater Matters
- 4 When Should You Winterize a Tankless Water Heater?
- 5 Step-by-Step Guide to Winterizing Your Tankless Water Heater
- 6 Understanding Freeze Protection Features
- 7 Special Considerations for Outdoor Units
- 8 Restoring Your Tankless Water Heater in Spring
- 9 Common Mistakes to Avoid
- 10 When to Call a Professional
- 11 Final Thoughts: Protect Your Investment
- 12 Frequently Asked Questions
Winterizing your tankless water heater is essential if you live in a cold climate or plan to leave your home unoccupied during winter. Proper preparation prevents freezing, protects internal components, and ensures reliable hot water when you return. This guide walks you through every step—from draining the system to using antifreeze—so your unit stays safe and ready for spring.
Key Takeaways
- Turn off power and water supply first: Always shut off electricity (at the breaker) and close the main water valve before starting any winterization process to ensure safety.
- Drain all water from the unit: Use the built-in drain plugs or a pump to remove standing water from the heat exchanger and pipes to prevent ice expansion and cracking.
- Use RV/marine antifreeze for extra protection: In extreme cold, non-toxic antifreeze can be circulated through the system to safeguard against residual moisture freezing.
- Insulate exposed pipes and the unit: Wrap outdoor units and vulnerable plumbing with foam insulation or heat tape to reduce heat loss and freezing risk.
- Check manufacturer guidelines: Always consult your owner’s manual—some brands have specific winterization steps or void warranties if procedures aren’t followed.
- Test the system in spring: Before regular use, flush the unit, check for leaks, and restore power and water to confirm everything works properly.
- Consider a professional if unsure: If you’re uncomfortable with electrical or plumbing tasks, hire a licensed technician to winterize your tankless water heater safely.
📑 Table of Contents
- Why Winterizing Your Tankless Water Heater Matters
- When Should You Winterize a Tankless Water Heater?
- Step-by-Step Guide to Winterizing Your Tankless Water Heater
- Understanding Freeze Protection Features
- Special Considerations for Outdoor Units
- Restoring Your Tankless Water Heater in Spring
- Common Mistakes to Avoid
- When to Call a Professional
- Final Thoughts: Protect Your Investment
Why Winterizing Your Tankless Water Heater Matters
If you’ve invested in a tankless water heater, you already know the perks: endless hot water, energy efficiency, and a compact design. But here’s something many homeowners overlook—these units are just as vulnerable to winter’s icy grip as traditional tanks. In fact, because tankless systems rely on precise internal components and continuous water flow, freezing temperatures can cause serious, often irreversible damage.
Imagine returning from a winter vacation to find your tankless water heater cracked, leaking, or completely nonfunctional. That’s not just an inconvenience—it’s a costly repair or replacement bill. Water expands when it freezes, and even a small amount of trapped moisture inside the heat exchanger or inlet/outlet pipes can cause cracks. Once that happens, your unit may lose efficiency, leak, or stop working altogether.
That’s why winterizing your tankless water heater isn’t optional if you live in a region where temperatures drop below freezing—or if you’ll be away from home during cold months. Whether you’re storing a vacation cabin, closing up a rental property, or simply preparing for a harsh winter, taking the time to properly winterize your system can save you hundreds, even thousands, in repair costs.
When Should You Winterize a Tankless Water Heater?
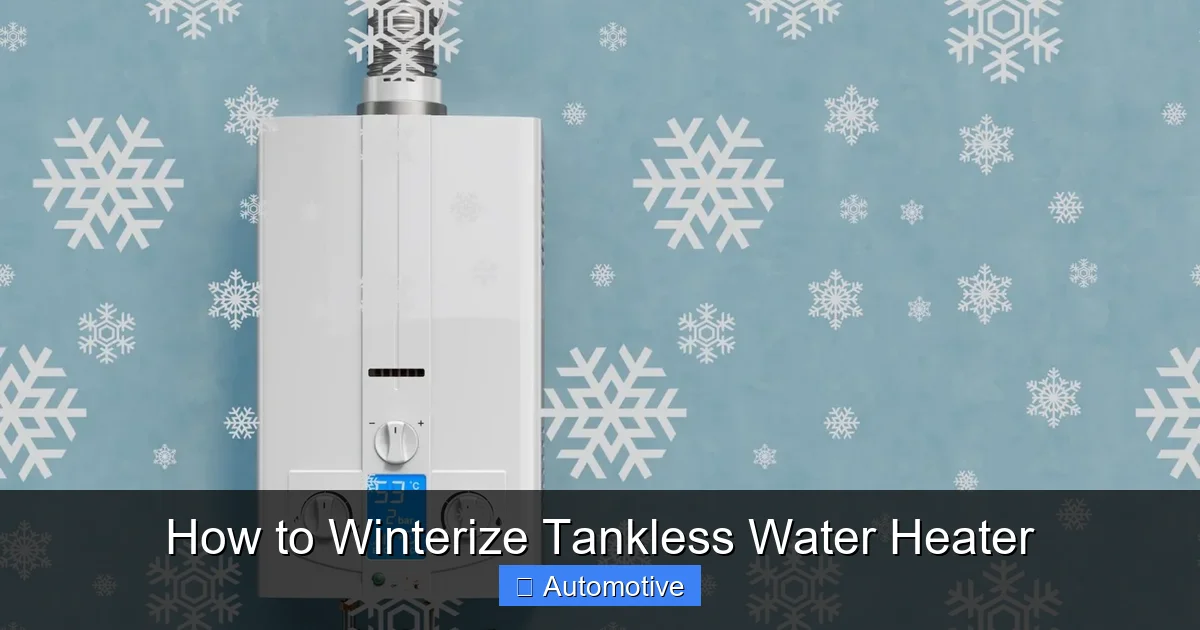
Visual guide about How to Winterize Tankless Water Heater
Image source: homewatertech.com
Timing is everything when it comes to winterization. You don’t need to do it every time the weather gets chilly, but there are specific situations where it’s absolutely necessary.
First, consider your climate. If you live in an area where winter temperatures regularly dip below 32°F (0°C), especially for extended periods, winterizing is a smart precaution—even if your home is occupied. Outdoor units are particularly at risk, but indoor units in unheated spaces (like garages, basements, or crawl spaces) can also freeze if insulation is poor.
Second, think about occupancy. If you’re planning to be away from your home for more than a few days during winter—say, a ski trip, holiday travel, or a seasonal move—winterizing is a must. Most tankless water heaters aren’t designed to sit idle in freezing conditions. Even with freeze protection features (more on that later), prolonged exposure to cold can overwhelm built-in safeguards.
Finally, consider the age and condition of your unit. Older models may not have advanced freeze protection, making them more vulnerable. If your system has had issues in the past—like slow heating or error codes—it’s better to err on the side of caution and winterize it before winter hits.
Signs Your Unit Needs Winterization
- Your home will be unoccupied for more than 48 hours during winter
- Your tankless water heater is installed outdoors or in an unheated area
- Winter temperatures in your area frequently fall below freezing
- You’ve experienced freezing issues in previous winters
- Your unit lacks built-in freeze protection or the feature has failed
Step-by-Step Guide to Winterizing Your Tankless Water Heater
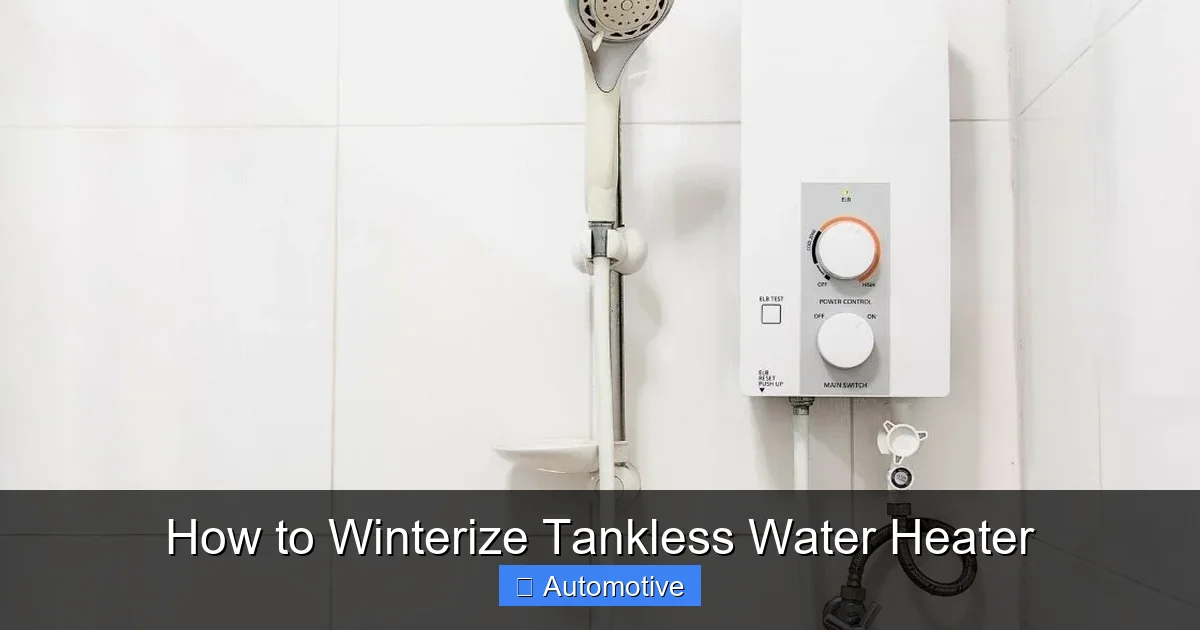
Visual guide about How to Winterize Tankless Water Heater
Image source: homewatertech.com
Winterizing a tankless water heater might sound complicated, but with the right tools and a little patience, it’s a manageable DIY project. Follow these steps carefully to ensure your unit stays safe and functional through the cold months.
Step 1: Turn Off Power and Water Supply
Safety first! Before you touch anything, shut off the power to your tankless water heater. Locate the circuit breaker in your electrical panel and flip the switch labeled for the water heater. If you’re unsure which one it is, turn off the main breaker to be safe.
Next, close the main water supply valve that feeds into the unit. This is usually a lever or knob located on the cold water inlet line. Turning it off prevents new water from entering the system while you’re draining it.
Pro tip: Label the breaker and water valve so you (or someone else) can easily identify them when it’s time to restart the system in spring.
Step 2: Allow the Unit to Cool
If your water heater has been running recently, give it at least 30–60 minutes to cool down. Hot components can cause burns, and draining a hot system too quickly can damage internal parts.
While you wait, gather your tools: a garden hose, a submersible pump (optional but helpful), a bucket, and non-toxic RV or marine antifreeze (if needed). You’ll also need a screwdriver or wrench to remove drain plugs.
Step 3: Drain the Water from the System
Now it’s time to remove all standing water. Most tankless water heaters have built-in drain plugs located at the bottom of the unit. Here’s how to do it:
1. Attach a garden hose to the drain valve (usually labeled “cold” or “inlet”).
2. Run the other end of the hose into a bucket or outside, away from your home’s foundation.
3. Open the drain valve and let the water flow out.
4. Repeat for the hot water outlet valve if your model has one.
Some units also have a “service valve” system with isolation valves. If yours does, open both the cold and hot service valves to allow air into the system, which helps water drain more completely.
For extra thoroughness, use a submersible pump. Place it in the drain port and pump out any remaining water. This is especially useful if your unit is installed in a tight space or has hard-to-reach components.
Step 4: Blow Out Remaining Water (Optional but Recommended)
Even after draining, small amounts of water can remain trapped in the heat exchanger or internal passages. To remove this, you can use compressed air.
Attach an air compressor with a low-pressure setting (under 50 PSI) to the cold water inlet. Open the drain valves and gently blow air through the system for 30–60 seconds. You’ll hear water sputtering out—that’s a good sign.
Caution: Don’t use high-pressure air, as it can damage seals or internal components. If you’re not comfortable doing this, skip it or hire a professional.
Step 5: Add Antifreeze (For Extreme Cold or Long Absences)
In areas with severe winters or if you’ll be away for weeks, adding antifreeze provides an extra layer of protection. Use only non-toxic, RV or marine-grade antifreeze—never automotive antifreeze, which is toxic and not safe for potable water systems.
To circulate antifreeze:
1. Close the drain valves after draining.
2. Pour antifreeze into a bucket and submerge the inlet of a small pump.
3. Connect the pump’s outlet to the cold water inlet of the tankless unit.
4. Run the pump until antifreeze flows out of the hot water outlet.
5. Turn off the pump and close all valves.
This ensures that any residual moisture is displaced by antifreeze, which won’t freeze even in sub-zero temperatures.
Step 6: Insulate the Unit and Pipes
Even with water removed, insulation helps protect against extreme cold and reduces the risk of condensation forming inside the unit. Wrap the tankless water heater and any exposed pipes with foam pipe insulation or heat tape.
For outdoor units, consider building a temporary insulated cover or using a pre-made heater blanket. Make sure vents and air intakes remain unobstructed—never seal the unit completely, as this can cause moisture buildup.
Understanding Freeze Protection Features
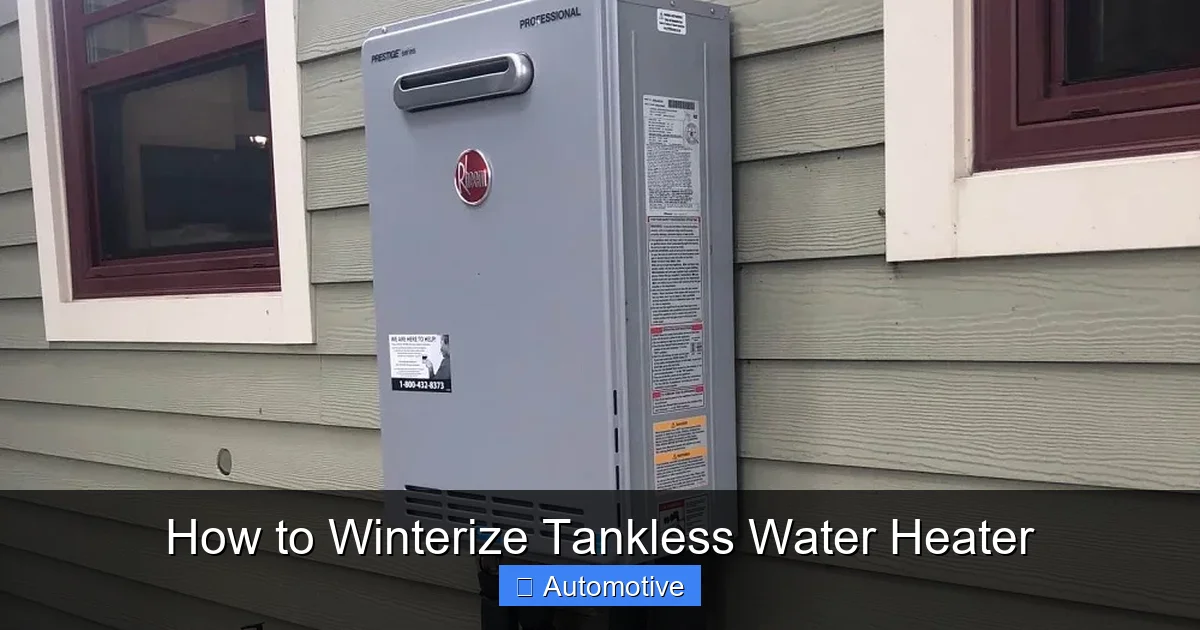
Visual guide about How to Winterize Tankless Water Heater
Image source: homewatertech.com
Many modern tankless water heaters come with built-in freeze protection. These systems use small electric heaters or recirculation pumps to keep internal components above freezing when temperatures drop.
While this feature is helpful, it’s not foolproof. Freeze protection only works if the unit has power. If there’s a winter storm that knocks out electricity, the system can’t protect itself. That’s why winterizing is still important—even if your unit has this feature.
Additionally, freeze protection may not be strong enough in extremely cold climates. If temperatures regularly fall below 10°F (-12°C), relying solely on built-in protection is risky.
How to Test Freeze Protection
To check if your unit’s freeze protection is working:
1. Turn off the power and water.
2. Wait 24 hours in cold weather (below 32°F).
3. Restore power and check if the unit shows any error codes or fails to start.
If it works normally, the freeze protection is likely functional. But again, don’t depend on it during long absences or severe cold.
Special Considerations for Outdoor Units
Outdoor tankless water heaters are convenient—no need for venting through walls or roofs—but they’re also more exposed to the elements. If you have an outdoor unit, winterizing is even more critical.
Location Matters
Ideally, outdoor units should be installed in a sheltered location—like under an eave or on a south-facing wall—to reduce exposure to wind and snow. If yours is in an open area, consider adding a weatherproof enclosure or windbreak.
Drainage and Venting
Make sure the unit’s drain pan and vents are clear of snow, ice, and debris. Blocked vents can cause operational issues or safety hazards. After a heavy snowfall, gently clear snow away from the unit—but never use sharp tools that could damage the casing.
Winterizing Outdoor Units: Extra Steps
In addition to the standard winterization steps, outdoor units may need:
– A protective cover (check manufacturer approval first)
– Extra insulation around inlet and outlet pipes
– A check of the combustion air intake for ice blockage
Never cover the unit while it’s running, and always ensure proper ventilation.
Restoring Your Tankless Water Heater in Spring
When warmer weather returns, it’s time to bring your tankless water heater back online. Rushing this process can lead to leaks, airlocks, or damage, so take it slow.
Step 1: Remove Antifreeze (If Used)
If you added antifreeze, you must flush it out completely before using the unit for drinking or bathing water.
1. Open the cold water supply valve.
2. Attach a hose to the drain valve and run it to a safe drainage area.
3. Turn on a hot water faucet inside the house.
4. Let water flow for 10–15 minutes, or until the water runs clear and smells fresh (no chemical odor).
5. Close the drain valve and turn off the faucet.
You may need to flush multiple times to remove all traces of antifreeze.
Step 2: Restore Power and Water
Turn the water supply back on and check for leaks around connections. Then, restore power at the breaker.
Wait a few minutes for the unit to pressurize. You may hear gurgling or see air bubbles—this is normal as air escapes the system.
Step 3: Test the System
Turn on a hot water faucet and let it run for 2–3 minutes. Check that water heats up properly and there are no error codes on the display.
If the unit doesn’t heat or shows an error, consult your manual or call a technician. Common post-winter issues include airlocks, clogged filters, or sensor problems.
Step 4: Schedule Maintenance
Spring is a great time for annual maintenance. Have a professional inspect the heat exchanger, clean the inlet filter, and check gas or electrical connections. Regular upkeep extends the life of your unit and ensures peak performance.
Common Mistakes to Avoid
Even experienced DIYers can make errors when winterizing. Here are some common pitfalls and how to avoid them:
– **Skipping the power shutoff:** Working on a live electrical system is dangerous. Always turn off the breaker.
– **Using the wrong antifreeze:** Automotive antifreeze is toxic. Only use RV/marine-grade, non-toxic antifreeze.
– **Not draining completely:** Residual water can freeze and crack the heat exchanger. Use a pump or compressed air for thorough drainage.
– **Over-tightening drain plugs:** This can strip threads or crack fittings. Hand-tighten, then give a gentle quarter-turn with a wrench.
– **Ignoring manufacturer instructions:** Every model is different. Always check your owner’s manual for specific winterization steps.
– **Forgetting to flush antifreeze:** Never use the unit for potable water until all antifreeze is removed.
When to Call a Professional
While winterizing a tankless water heater is doable for many homeowners, some situations call for expert help. Consider hiring a licensed plumber or HVAC technician if:
– You’re uncomfortable working with electricity or gas lines
– Your unit is hard to access (e.g., installed in a tight crawl space)
– You’re unsure about the correct antifreeze type or procedure
– The unit has a complex service valve system
– You’ve never winterized it before and want peace of mind
A professional can also perform a full system inspection, ensuring your unit is in top shape before winter. The cost is usually $100–$200, but it’s a small price to pay compared to a cracked heat exchanger.
Final Thoughts: Protect Your Investment
Your tankless water heater is a long-term investment in comfort and efficiency. Taking the time to winterize it properly is one of the best ways to protect that investment. It’s not just about avoiding repairs—it’s about ensuring your home has reliable hot water when you need it most.
By following this guide, you’ll prevent freezing, extend the life of your unit, and avoid costly surprises. Whether you’re a seasoned DIYer or prefer to call in a pro, the key is to act before the first freeze. Don’t wait until it’s too late—start your winterization process early, and enjoy peace of mind all season long.
Frequently Asked Questions
Can I winterize a tankless water heater myself?
Yes, most homeowners can winterize a tankless water heater with basic tools and careful attention to safety. Just make sure to turn off power and water, drain thoroughly, and follow your manufacturer’s guidelines.
Do I need antifreeze to winterize my tankless water heater?
Antifreeze is recommended only in extreme cold or if you’ll be away for weeks. For mild winters or short absences, draining the unit thoroughly may be enough.
How long does it take to winterize a tankless water heater?
The process typically takes 30–60 minutes, depending on your unit and whether you use antifreeze or compressed air. Rushing can lead to mistakes, so take your time.
Will winterizing void my warranty?
No, as long as you follow the manufacturer’s instructions. In fact, failing to winterize in cold climates may void your warranty if damage occurs.
Can I use my tankless water heater after winterizing?
No—winterizing makes the unit unsafe for regular use until it’s properly restored in spring. Using it with antifreeze or without water can cause serious damage.
What if my tankless water heater freezes?
If you suspect freezing, turn off power and water immediately. Do not attempt to restart the unit. Thaw it slowly with a space heater or warm air, then inspect for cracks or leaks. Call a professional if damage is suspected.