
How to Remove Screen from Sliding Window
Contents
- 1 Key Takeaways
- 2 📑 Table of Contents
- 3 Why You Might Need to Remove a Sliding Window Screen
- 4 Understanding Your Sliding Window Screen Type
- 5 Tools and Safety Precautions
- 6 Step-by-Step Guide to Removing the Screen
- 7 What to Do After Removing the Screen
- 8 How to Reinstall the Screen Properly
- 9 Troubleshooting Common Issues
- 10 Final Thoughts
- 11 Frequently Asked Questions
Removing a screen from a sliding window might seem tricky, but with the right tools and steps, it’s a simple DIY task. This guide walks you through everything you need—from identifying your screen type to reinstalling it properly—so you can clean, repair, or replace your window screen without damage.
Key Takeaways
- Identify your screen type first: Sliding windows often use tension-mounted or track-mounted screens; knowing the difference ensures correct removal.
- Gather basic tools: You’ll typically need a flathead screwdriver, pliers, and gloves—no special equipment required.
- Lift and tilt carefully: Most screens are removed by lifting the bottom edge and tilting it outward to clear the track.
- Label parts if disassembling: If your screen has removable frames or spline, label components to simplify reassembly.
- Inspect for damage during removal: Use this opportunity to check for bent frames, torn mesh, or worn spline that may need replacement.
- Clean while it’s out: Take advantage of the removed screen to clean both the screen and window track thoroughly.
- Reinstall securely: Ensure the screen sits flush in the track and snaps or locks back into place to prevent drafts or pests.
📑 Table of Contents
Why You Might Need to Remove a Sliding Window Screen
Sliding windows are a popular choice in modern homes and vehicles—especially RVs, campers, and some caravans—because they’re space-efficient and easy to operate. But like any component, their screens require maintenance, cleaning, or replacement over time. Whether you’re dealing with a torn mesh, stubborn dirt buildup, or preparing for seasonal storage, knowing how to remove screen from sliding window is an essential skill.
You might also need to remove the screen to access the window pane for repairs, painting, or insulation upgrades. In automotive applications—like motorhomes or trailers—removing the screen allows for better airflow during travel or makes it easier to install bug nets or privacy shades. Whatever your reason, the process is generally straightforward, but it pays to understand your specific window system first. Rushing in without knowing the mechanism can lead to bent frames, broken clips, or damaged tracks—issues that are far more time-consuming (and costly) to fix than the original problem.
Understanding Your Sliding Window Screen Type
Before you grab your tools, take a moment to identify what kind of screen your sliding window uses. Not all screens are created equal, and the removal method depends heavily on the design. Most sliding window screens fall into one of two categories: tension-mounted or track-mounted.
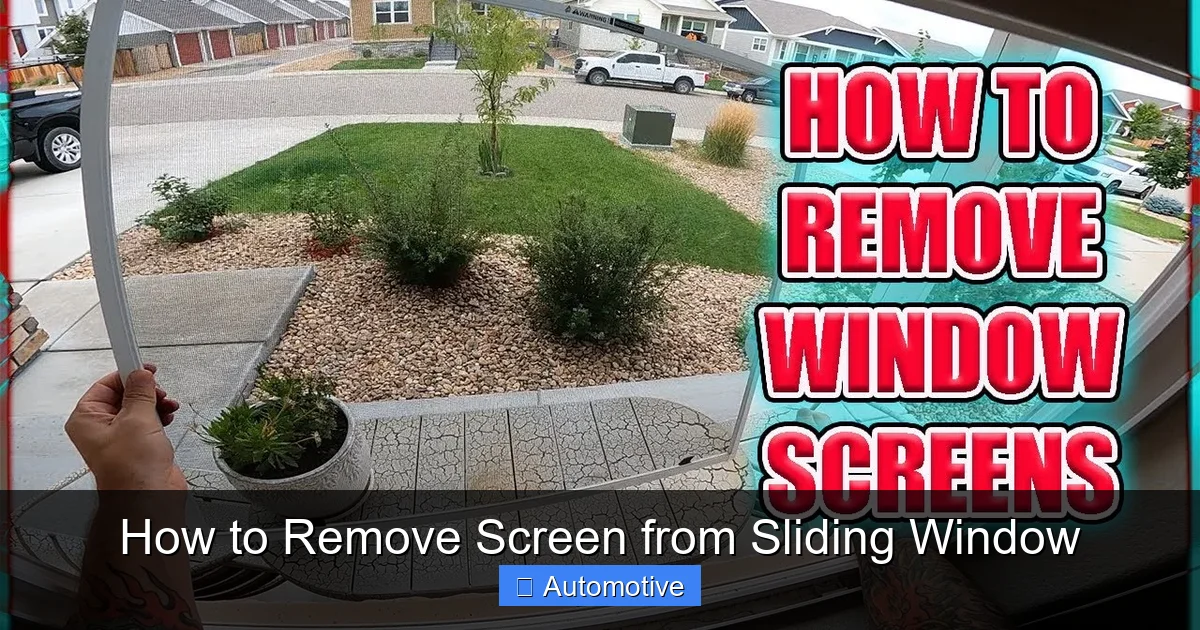
Visual guide about How to Remove Screen from Sliding Window
Image source: i.ytimg.com
Tension-Mounted Screens
These screens rely on spring-loaded tension to stay in place. They’re common in older homes and some budget-friendly window models. The frame is slightly larger than the opening, so when you push it into place, the springs compress and hold it snugly. To remove a tension-mounted screen, you usually need to lift the bottom edge high enough to clear the sill, then tilt the top outward. Because there are no fixed tracks or clips, these screens can sometimes pop out unexpectedly—so always support the screen with both hands.
Track-Mounted Screens
More modern sliding windows use track-mounted screens that slide horizontally within a dedicated channel, just like the window sash itself. These are typical in double-hung or horizontal-sliding windows found in RVs, trailers, and newer residential builds. The screen sits in a lower track and may have a small handle or lip for gripping. Removal usually involves lifting the screen slightly to disengage it from the upper track, then pulling the bottom toward you while tilting the top out. Some models include retention clips or latches that must be released first—look for small plastic tabs near the corners.
Pro tip: If you’re unsure which type you have, try gently wiggling the screen side to side. A tension-mounted screen will feel looser, while a track-mounted one will move smoothly along its path but resist vertical lifting unless angled correctly.
Tools and Safety Precautions
One of the best things about removing a sliding window screen is that you don’t need a toolbox full of specialty gear. However, having the right basics on hand makes the job safer and more efficient.
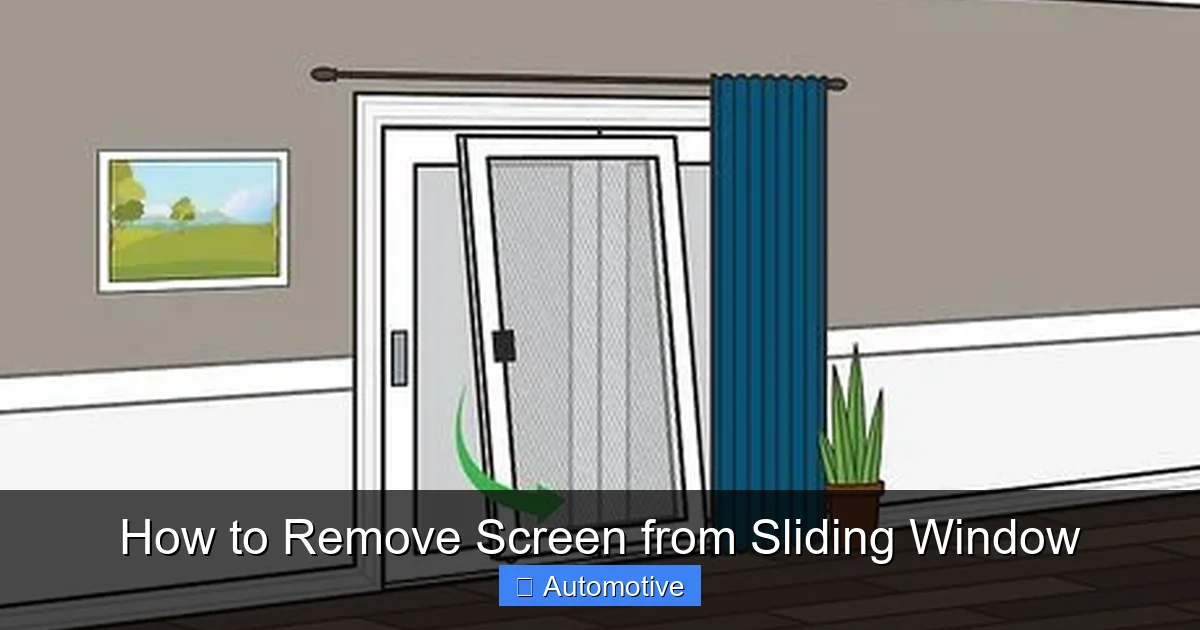
Visual guide about How to Remove Screen from Sliding Window
Image source: wikihow.com
Essential Tools
- Flathead screwdriver: Useful for prying up stubborn screens or releasing hidden clips.
- Needle-nose pliers: Helpful if you need to grip a small latch or pull out a damaged spline.
- Work gloves: Protect your hands from sharp frame edges or broken mesh.
- Soft cloth or towel: Place under the screen as you remove it to prevent scratches on floors or countertops.
Safety First
Even though this seems like a low-risk task, safety matters—especially in automotive settings where windows may be higher off the ground or located in tight spaces. Always work on a stable surface. If you’re removing a screen from an RV or trailer, ensure the vehicle is parked on level ground and the window is fully closed before starting. Never lean out of an open window while handling the screen, and avoid using excessive force, which can crack glass or bend aluminum frames.
Also, be mindful of weather conditions. Windy days can turn a lightweight screen into a projectile, so consider removing screens indoors or during calm weather if possible. And if your screen has been exposed to moisture or mildew, wear a dust mask to avoid inhaling spores during handling.
Step-by-Step Guide to Removing the Screen
Now that you’ve identified your screen type and gathered your tools, it’s time to get hands-on. Follow these steps carefully to remove your sliding window screen without damage.
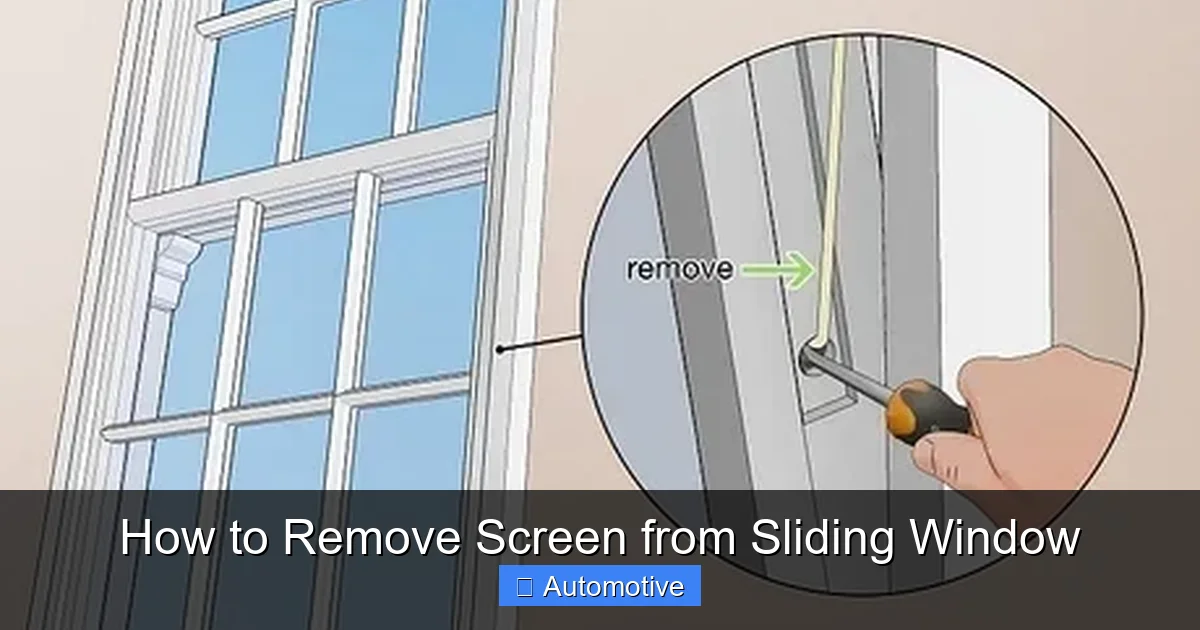
Visual guide about How to Remove Screen from Sliding Window
Image source: i2.wp.com
Step 1: Open the Window Slightly
Start by opening the main sliding window just enough to access the screen—usually 2 to 4 inches is sufficient. This gives you room to maneuver the screen out without interference from the window sash. In some cases, you may need to slide the window completely to one side, especially if the screen is on the opposite track.
Step 2: Locate the Screen Release Mechanism
Look along the bottom edge of the screen frame. Many modern screens have a small lip, handle, or recessed area designed for gripping. If your screen has retention clips (common in RV windows), check the sides or top corners for plastic tabs that need to be pressed or lifted. Some screens also use a simple friction fit with no visible mechanism—in those cases, proceed to the next step.
Step 3: Lift and Tilt the Screen
With both hands, grip the bottom corners of the screen firmly. Lift the bottom edge upward about 1–2 inches to disengage it from the lower track. Once it’s free, slowly tilt the top of the screen toward you while keeping the bottom elevated. As you tilt, the top edge should clear the upper track or frame. Continue tilting until the entire screen is angled outward and can be lifted free.
Example: Imagine holding a picture frame upright in a narrow doorway. To get it through, you lift the bottom and tilt the top forward—same concept!
Step 4: Remove and Store Safely
Once the screen is free, carefully carry it to a clean, flat surface. Lay it screen-side down on a soft towel to avoid scratching the mesh or frame. If you plan to reinstall it soon, keep it nearby. For long-term storage, label it (e.g., “Living Room – Left Window”) and store it vertically in a dry place to prevent warping.
⚠️ Common Mistake Alert: Don’t try to pull the screen straight out without lifting first. This can bend the frame or damage the track. Always lift before tilting!
What to Do After Removing the Screen
Congratulations—you’ve successfully removed your screen! But don’t stop here. This is the perfect opportunity to tackle other maintenance tasks that are difficult (or impossible) with the screen in place.
Clean the Window Track
Over time, dirt, pollen, and debris accumulate in the window track, causing the window to stick or the screen to jam. Use a vacuum with a brush attachment to remove loose grime, then wipe the track with a damp cloth and mild detergent. For stubborn buildup, a toothbrush works wonders in tight corners. Dry thoroughly to prevent rust or mold—especially important in humid climates or marine environments.
Inspect the Screen for Damage
While the screen is out, give it a thorough inspection. Look for tears in the mesh, bent corners, loose corners, or a worn-out spline (the rubber cord that holds the mesh in the frame). Minor tears can often be patched with screen repair tape, but large holes or warped frames usually require full replacement. If the spline is cracked or brittle, it’s easy to replace with a spline roller tool and new vinyl cord.
Check Weatherstripping and Seals
The area around the window and screen frame often has weatherstripping that degrades over time. Cracked or missing seals let in drafts, moisture, and insects. Replace any damaged strips with self-adhesive foam or vinyl weatherstripping available at hardware stores. This small upgrade can improve energy efficiency and comfort—particularly in RVs where temperature control is critical.
Consider Upgrading Your Screen
If your current screen is old or low-quality, now’s the time to upgrade. Options include:
- Pet-resistant screens: Made from stronger materials like vinyl-coated polyester to withstand claws.
- Solar screens: Reduce heat gain and UV exposure while still allowing airflow.
- Magnetic screens: Easy to remove and reinstall, ideal for frequent access.
- No-see-um mesh: Finer weave that keeps out tiny insects common in tropical or lakeside areas.
Upgrading not only improves functionality but can also enhance your vehicle’s or home’s value.
How to Reinstall the Screen Properly
Reinstalling your screen is essentially the reverse of removal—but don’t rush it. A poorly seated screen can fall out, let bugs in, or make the window harder to slide.
Align the Top Edge First
Hold the screen at a slight angle and insert the top edge into the upper track or frame groove. Make sure it’s fully seated before moving to the next step. If it doesn’t slide in smoothly, double-check that the track is clean and unobstructed.
Lower and Secure the Bottom
Gently lower the bottom edge into the lower track. You should feel it settle into place with a soft click or snug fit. For tension-mounted screens, press firmly until the springs engage and hold it securely. For track-mounted screens, slide the screen left or right to ensure it moves freely without binding.
Test the Fit
Open and close the main window to confirm the screen doesn’t interfere. Slide the screen itself (if applicable) to verify smooth operation. Check all four corners to ensure the screen sits flush with the frame—no gaps mean better pest protection and a cleaner look.
💡 Pro Tip: If the screen feels too tight or too loose, adjust the tension by slightly bending the frame (for metal screens) or adding shims (for plastic frames). But avoid over-bending, which can weaken the structure.
Troubleshooting Common Issues
Even with careful handling, things don’t always go perfectly. Here’s how to fix the most common problems you might encounter.
Screen Won’t Come Out
If the screen seems stuck, don’t force it. Check for hidden clips, screws, or locking mechanisms. Some RV windows have a small screw near the bottom corner that secures the screen—remove it with a screwdriver before attempting removal. Also, ensure the main window isn’t blocking access; sometimes the sash needs to be positioned just right.
Screen Falls Out After Reinstallation
This usually means the screen isn’t fully seated in the track or the tension is too weak. Remove it again and reinsert more carefully, ensuring both top and bottom edges are properly engaged. For tension screens, you may need to compress the springs further during installation.
Mesh Is Loose or Sagging
A loose mesh often indicates a damaged or missing spline. Remove the old spline with pliers, clean the channel, and install a new one using a spline roller. Stretch the mesh slightly as you work to ensure a tight, wrinkle-free fit.
Frame Is Bent or Warped
Minor bends can sometimes be corrected by gently flexing the frame back into shape. For severe damage, replacement is the safest option—especially in automotive applications where structural integrity matters for safety.
Final Thoughts
Learning how to remove screen from sliding window is a practical skill that pays off in comfort, cleanliness, and cost savings. Whether you’re maintaining your home, prepping your RV for summer travel, or simply letting in a cool breeze without inviting mosquitoes, knowing the right technique makes all the difference. With a little patience and the steps outlined above, you’ll handle screen removal like a pro—no handyman required.
Remember: take your time, respect the mechanics of your window system, and use this opportunity to give both your screen and window track some TLC. A well-maintained screen doesn’t just keep bugs out—it enhances airflow, protects your interior, and extends the life of your windows. So next time you notice a tear or feel a draft, don’t ignore it. Grab your screwdriver, follow this guide, and enjoy the fresh air with peace of mind.
Frequently Asked Questions
Can I remove a sliding window screen without tools?
Yes, in most cases! Many sliding window screens are designed for tool-free removal using just your hands. However, a flathead screwdriver or pliers can help if clips are stuck or the screen is tight.
How often should I remove and clean my window screen?
It’s a good idea to remove and clean your screen at least twice a year—once in spring and once in fall. If you live in a dusty or buggy area, or use your RV frequently, consider cleaning it quarterly.
Will removing the screen damage my window track?
Not if done correctly. Always lift before tilting, and avoid prying with excessive force. Clean tracks regularly to prevent buildup that can scratch or warp during screen removal.
Can I replace just the mesh, or do I need a whole new screen?
You can usually replace just the mesh if the frame is intact. Purchase replacement screen material and spline, then use a spline roller to secure the new mesh into the existing frame.
Are sliding window screens universal?
No—screens vary by manufacturer, window size, and mounting style. Always measure your opening and check compatibility before buying a replacement. Custom screens are available for odd sizes.
What if my RV window screen has a lock or latch?
Some RV screens include a small latch or lock for security. Look for a button, slider, or keyhole near the frame. Release the latch before attempting to lift or tilt the screen out.


