How to Change Rear Tire on Bike
Contents
- 1 Key Takeaways
- 2 📑 Table of Contents
- 3 Why Learning to Change a Rear Tire Matters
- 4 Tools and Supplies You’ll Need
- 5 Step-by-Step Guide to Removing the Rear Wheel
- 6 How to Remove and Replace the Tire and Tube
- 7 Reinstalling the Rear Wheel Safely
- 8 Common Mistakes and How to Avoid Them
- 9 Tips for Faster and Easier Tire Changes
- 10 When to Replace the Tire Instead of Just the Tube
- 11 Conclusion
- 12 Frequently Asked Questions
Changing a rear tire on a bike might seem tricky at first, but with the right tools and a little patience, it’s totally doable. Whether you’re fixing a flat on the trail or replacing a worn-out tire, this guide walks you through every step—from removing the wheel to getting back on the road safely.
So, you’re out on a peaceful ride, enjoying the breeze and the rhythm of your pedals—when suddenly, *pssst*. That dreaded hiss means one thing: a flat tire. And if it’s the rear tire, you might be thinking, “Great, now what?” Don’t panic. Learning how to change rear tire on bike is one of the most valuable skills any cyclist can master. Whether you’re a weekend warrior, a daily commuter, or a long-distance tourer, flats happen to everyone. The good news? With a little know-how and the right approach, you can fix it quickly and get back on the road.
The rear tire is a bit trickier than the front because of the chain, gears, and brakes. But once you understand the mechanics, it becomes second nature. This guide will walk you through every step—from identifying the problem to reassembling your bike safely. We’ll cover the tools you need, common mistakes to avoid, and pro tips to make the process smoother. Think of this as your go-to manual for rear tire changes, whether you’re in your garage or stranded on a country road.
By the end of this article, you’ll feel confident tackling a flat tire with ease. No more waiting for help or pushing your bike miles to the nearest shop. You’ll be self-reliant, prepared, and ready for anything the road throws at you. So grab your toolkit, roll up your sleeves, and let’s get started.
Key Takeaways
- Gather the right tools: You’ll need tire levers, a pump or CO2 inflator, a spare tube or patch kit, and possibly a wrench depending on your bike.
- Learn to remove the rear wheel safely: Shift into the smallest gear, release the brake (if needed), and loosen the axle to avoid damaging the derailleur.
- Inspect the tire and rim: Always check for sharp objects, cuts, or debris before installing a new tube to prevent repeat flats.
- Install the tube correctly: Partially inflate the tube, align the valve stem, and tuck it evenly inside the tire to avoid pinching.
- Reinstall the wheel with care: Make sure the chain is properly seated on the cassette and the wheel is securely fastened to avoid accidents.
- Practice makes perfect: Try changing a tire at home before heading out on a long ride to build confidence and speed.
- Carry a repair kit: A compact kit with essentials can save you from being stranded during a ride.
📑 Table of Contents
- Why Learning to Change a Rear Tire Matters
- Tools and Supplies You’ll Need
- Step-by-Step Guide to Removing the Rear Wheel
- How to Remove and Replace the Tire and Tube
- Reinstalling the Rear Wheel Safely
- Common Mistakes and How to Avoid Them
- Tips for Faster and Easier Tire Changes
- When to Replace the Tire Instead of Just the Tube
- Conclusion
Why Learning to Change a Rear Tire Matters
Flat tires are one of the most common issues cyclists face. According to cycling forums and repair shops, over 70% of roadside bike breakdowns are due to punctures—and the rear tire is often the culprit. Why? It carries more weight, endures more friction, and is more exposed to road debris. That’s why knowing how to change rear tire on bike isn’t just convenient—it’s essential.
Imagine you’re halfway through a 50-mile ride when your rear tire goes flat. Without the skills to fix it, you’re stuck. You could call for a ride, but that’s expensive and time-consuming. Or you could walk your bike—exhausting and frustrating. But if you know how to change the tire, you can be back riding in 10 to 15 minutes. That’s freedom. That’s independence.
Beyond emergencies, regular maintenance helps extend the life of your tires and tubes. Learning to inspect your tire for wear, cuts, or embedded glass prevents future flats. It also helps you understand your bike better. When you know how each part works together—the cassette, derailleur, chain, and brakes—you become a more informed and capable rider.
Plus, changing a tire builds confidence. There’s something empowering about solving a problem with your own hands. It turns a stressful situation into a learning opportunity. And the more you practice, the faster and more efficient you become. Soon, you’ll be the go-to person in your cycling group for tire repairs.
Tools and Supplies You’ll Need

Visual guide about How to Change Rear Tire on Bike
Image source: flatironbike.com
Before you even think about removing a tire, make sure you have the right tools. Trying to improvise with a spoon or a rock might work in a survival movie, but it’s not ideal for your bike. Here’s a list of essentials for changing a rear tire:
Tire Levers
These small, durable plastic or metal tools are your best friends when it comes to prying a tire off the rim. Most cyclists carry two or three. Look for levers with smooth edges to avoid damaging the tube. Avoid using metal ones unless absolutely necessary—they can pinch or tear the tube.
Spare Tube or Patch Kit
A spare inner tube is the quickest fix for a flat. Match the tube size to your tire (e.g., 700x25c or 26×2.1). If you’re on a long ride, carry two tubes. Alternatively, a patch kit lets you repair the damaged tube, but it takes longer and requires drying time. For most riders, a spare tube is the better option.
Pump or CO2 Inflator
You’ll need to reinflate the tire after replacing the tube. A hand pump is reliable and doesn’t require cartridges, but it takes effort. A CO2 inflator is fast and lightweight—great for racing or quick fixes—but you’ll need to carry extra cartridges. Some pumps combine both options.
Multi-Tool or Wrench
Most modern bikes use quick-release skewers, so you might not need a wrench. But if your bike has bolt-on wheels, you’ll need a 15mm wrench. A multi-tool with Allen keys is handy for adjusting brakes or derailleurs during the process.
Gloves (Optional but Recommended)
Gloves protect your hands from dirt, grease, and sharp edges. They also give you a better grip, especially if the tire is tight. Latex or mechanic-style gloves work well.
Chain Tool (For Certain Bikes)
On single-speed or fixed-gear bikes, you might need to break the chain to remove the rear wheel. A chain tool lets you do this safely. Most geared bikes don’t require this step.
Portable Repair Kit
Many cyclists carry a small pouch with all the essentials: tube, levers, pump, patches, and a multi-tool. Keep it in your saddlebag or jersey pocket so it’s always within reach.
Step-by-Step Guide to Removing the Rear Wheel
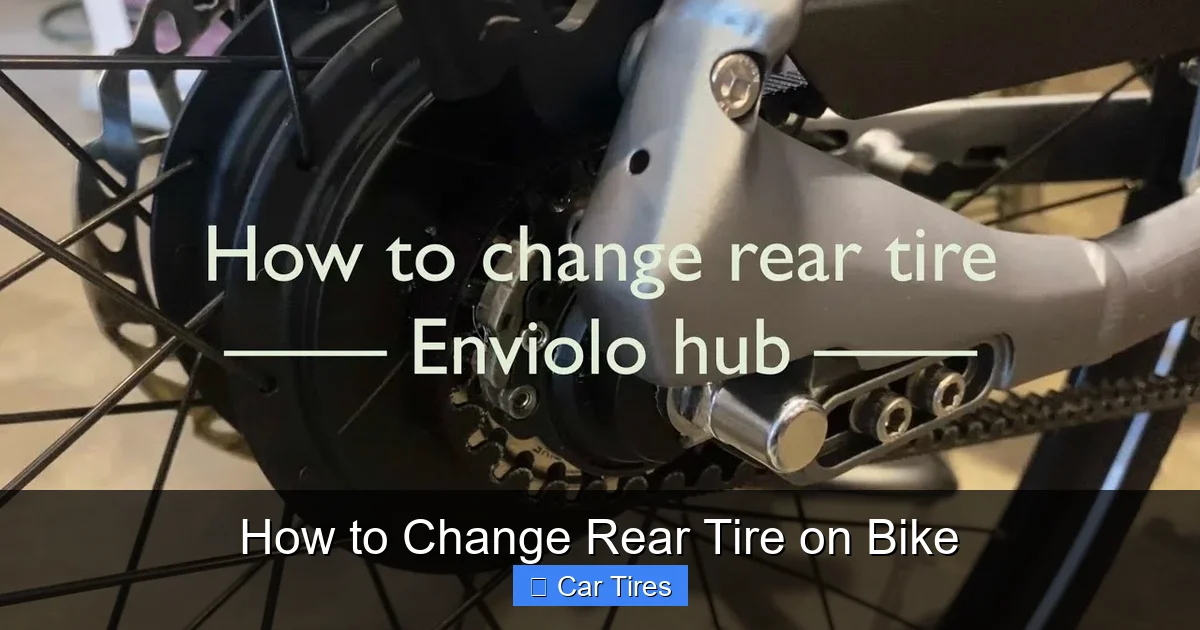
Visual guide about How to Change Rear Tire on Bike
Image source: i.ytimg.com
Now that you’re equipped, let’s get into the actual process. Removing the rear wheel is the trickiest part because of the chain and gears. But with patience, it’s straightforward.
Shift to the Smallest Gear
Start by shifting your chain onto the smallest rear cog (the outermost gear). This loosens the chain tension, making it easier to remove the wheel. If you have a front derailleur, shift to the smallest chainring too. This gives you maximum slack.
Release the Brakes (If Applicable)
If your bike has rim brakes (like V-brakes or calipers), you’ll need to open them to create space for the tire. Most have a quick-release lever on the brake arms. Flip it up to widen the gap. For disc brakes, you don’t need to do this—just be careful not to squeeze the brake lever while the wheel is off, or the pistons might stick out.
Open the Quick-Release or Loosen the Axle
Locate the skewer on the rear wheel. If it’s a quick-release, flip the lever open and unscrew the nut slightly until the wheel can move. For bolt-on wheels, use your wrench to loosen both sides evenly. Don’t remove the nuts completely unless necessary—just loosen them enough to slide the wheel out.
Lift the Bike and Slide the Wheel Out
Lift the rear of the bike and gently pull the wheel downward. The chain should slip off the cassette as you do this. If it’s stuck, wiggle the wheel slightly or use your fingers to guide the chain off. Be careful not to bend the derailleur—it’s fragile.
Set the Wheel Aside Safely
Place the wheel on a clean surface, away from traffic. Keep the chain and cassette clean to avoid dirt buildup. If you’re on the road, lay a cloth or jacket under the wheel to protect it.
How to Remove and Replace the Tire and Tube
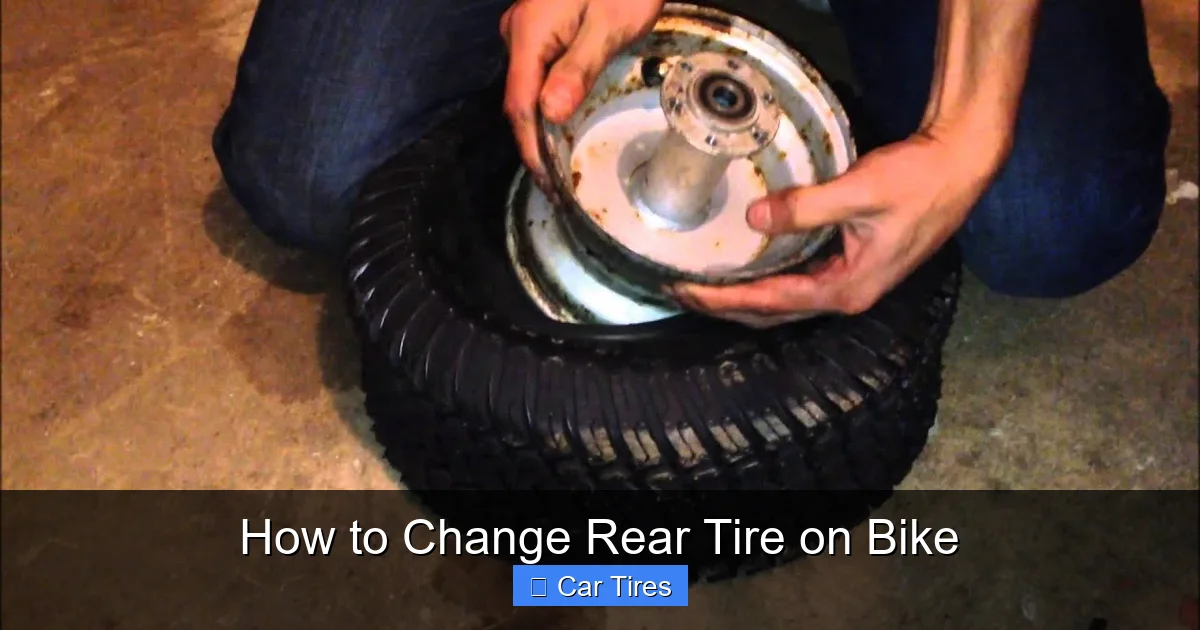
Visual guide about How to Change Rear Tire on Bike
Image source: i.ytimg.com
With the wheel off, it’s time to tackle the tire and tube. This part requires a bit of finesse, but it’s easier than it looks.
Deflate the Tube Completely
If there’s any air left, press the valve to release it. For Presta valves, unscrew the tip first. For Schrader valves (like car tires), press the pin in the center.
Use Tire Levers to Pry Off the Tire
Insert one tire lever under the bead of the tire and hook it to a spoke. Insert a second lever about 6 inches away and slide it around the rim to lift one side of the tire off. Once one side is off, you can usually pull the rest by hand.
Remove the Inner Tube
Gently pull the tube out from under the tire. Start at the valve and work your way around. Be careful not to stretch or twist it.
Inspect the Tire and Rim
This is a critical step. Run your fingers along the inside of the tire to feel for glass, thorns, or metal shards. Check the rim tape—the strip that covers the spoke holes—to make sure it’s intact and not exposing the tube to sharp edges.
Install the New Tube
Partially inflate the new tube (just enough to give it shape). Insert the valve into the rim hole and tuck the tube inside the tire. Make sure it’s not twisted. Start at the valve and work your way around, pushing the tube into the tire bead.
Reinstall the Tire
Starting at the valve, push one side of the tire bead back onto the rim. Use your hands to work it around. If it’s tight, use a tire lever—but be gentle to avoid pinching the tube. Once one side is on, the other should go on easily.
Inflate the Tube Slightly
Give the tube a small puff of air to help it seat properly. This prevents it from getting pinched when you fully inflate.
Check for Pinches and Inflate Fully
Spin the wheel and look for bulges or unevenness. If everything looks good, inflate to the recommended pressure (usually printed on the tire sidewall). Don’t overinflate—it can cause blowouts.
Reinstalling the Rear Wheel Safely
Now comes the moment of truth: putting the wheel back on. This step requires attention to detail to ensure everything is aligned and secure.
Position the Wheel in the Dropouts
Slide the wheel into the frame’s rear dropouts (the slots where the axle sits). Make sure the axle is seated properly on both sides. The chain should rest on the smallest cog.
Thread the Chain Back Onto the Cassette
Guide the chain back onto the cassette. If it’s stuck, gently pedal backward with your hand to help it engage. Don’t force it—this can damage the derailleur.
Tighten the Axle or Close the Quick-Release
For quick-release wheels, tighten the nut until it’s snug, then flip the lever closed. It should feel firm but not overly tight. For bolt-on wheels, tighten both sides evenly with a wrench.
Reconnect the Brakes (If Applicable)
If you opened the brakes earlier, close them now. Make sure the brake pads align properly with the rim. Test the brake lever—it should feel firm and responsive.
Spin the Wheel and Check Alignment
Give the wheel a spin. It should rotate smoothly without rubbing against the brakes or frame. If it wobbles, the wheel may not be seated correctly. Loosen the axle, adjust, and retighten.
Test Ride in a Safe Area
Before hitting the road, take a short test ride. Shift through the gears to ensure the chain moves smoothly. Listen for unusual noises or vibrations.
Common Mistakes and How to Avoid Them
Even experienced cyclists make mistakes when changing a rear tire. Here are some common pitfalls and how to avoid them.
Pinching the Tube
This happens when the tube gets trapped between the tire and rim during installation. To prevent it, partially inflate the tube before seating the tire, and avoid using tire levers near the valve.
Forgetting to Check for Debris
Reinstalling a tube without removing the cause of the flat will lead to another puncture. Always inspect the tire and rim carefully.
Over-tightening the Quick-Release
Too much force can damage the dropout or make it hard to open later. Tighten just enough to hold the wheel securely.
Misaligning the Wheel
If the wheel isn’t centered, it can rub against the frame or brakes. Always check alignment before tightening.
Ignoring the Derailleur
Forcing the chain or wheel can bend the derailleur hanger. Work slowly and gently, especially when reinstalling.
Tips for Faster and Easier Tire Changes
With practice, you’ll get faster and more efficient. Here are some pro tips to speed up the process.
Practice at Home
Try changing a tire in your garage before you need to do it on the road. This builds muscle memory and confidence.
Use Tubeless Tires (Optional)
Tubeless setups can seal small punctures automatically, reducing the need for tube changes. They require special rims and sealant but are worth considering for serious riders.
Carry a Tire Boot
A small piece of reinforced material (like a dollar bill or commercial boot) can temporarily patch a large tire cut until you get home.
Keep Your Tools Organized
Use a small pouch or saddlebag to keep your repair kit together. Label your tubes by size to avoid confusion.
Learn to Patch Tubes
While spare tubes are faster, patching is cheaper and eco-friendly. Carry a patch kit as a backup.
Stay Calm Under Pressure
Flats can be stressful, especially on a group ride. Take a deep breath, focus on one step at a time, and remember: you’ve got this.
When to Replace the Tire Instead of Just the Tube
Sometimes, a flat isn’t just a tube issue—it’s a sign that the tire itself is worn out. Here’s how to tell when it’s time for a full replacement.
Visible Wear Indicators
Many tires have wear bars or indicators that show when the tread is too low. If these are flush with the tread, it’s time to replace.
Cracks or Dry Rot
Check the sidewall for cracks, especially if the bike has been stored in the sun or cold. Dry rot weakens the tire and increases the risk of blowouts.
Bulges or Blisters
These indicate internal damage to the tire casing. Even if the tube is fine, a bulging tire is unsafe and should be replaced immediately.
Frequent Flats
If you’re getting flats often, even after careful inspection, the tire may be compromised. A new tire can save you time and frustration.
Age of the Tire
Even if a tire looks fine, rubber degrades over time. Most manufacturers recommend replacing tires every 3–5 years, depending on use.
Conclusion
Learning how to change rear tire on bike is a skill that pays off every time you ride. It turns a potential disaster into a quick fix, saves you money on shop visits, and gives you peace of mind on long rides. With the right tools, a clear process, and a little practice, anyone can master it.
Remember, the key is preparation. Carry your repair kit, know your bike’s quirks, and don’t rush the process. Take your time to inspect, install, and test everything properly. And most importantly, stay calm. Flats happen—but now, you’re ready for them.
So the next time you hear that dreaded hiss, don’t panic. Grab your levers, follow these steps, and get back on the road. You’ve got this.
Frequently Asked Questions
How long does it take to change a rear bike tire?
For a beginner, it might take 15–20 minutes. With practice, experienced cyclists can do it in under 10 minutes. The key is preparation and familiarity with your bike.
Can I change a rear tire without removing the wheel?
No, you must remove the rear wheel to access the tire and tube. The chain and cassette make it impossible to change the tire while the wheel is still attached.
What if my bike has disc brakes?
Disc brakes don’t need to be opened like rim brakes. Just be careful not to squeeze the brake lever while the wheel is off, or the pistons may extend and need resetting.
Do I need a special tool for tubeless tires?
Yes, tubeless tires require a tubeless-compatible pump or compressor to seat the bead. You’ll also need sealant and possibly a tire boot for larger cuts.
Can I use a car pump to inflate my bike tire?
Yes, if it has a Schrader valve adapter. Most car pumps work with Schrader valves, but Presta valves (common on road bikes) may need an adapter.
How often should I check my bike tires?
Check tire pressure before every ride and inspect for wear or damage weekly. Proper maintenance prevents flats and extends tire life.